BIESSE S.p.A. Woodworking Machinery
(l133h014.fm-141101)
&KDSWHU
0DFKLQLQJ
*URRYH([HFXWLRQ
To carry out this type of machining, proceed as described in the paragraph “Making an Immediate
Cut” on page 6 - 1, or in “Making an Immediate Cut Using Fast Programming” on page 6 - 2.
Before proceeding, it is necessary to set the grooving depth as described in the Software User’s
Manual. In case of manual setting, proceed as follows:
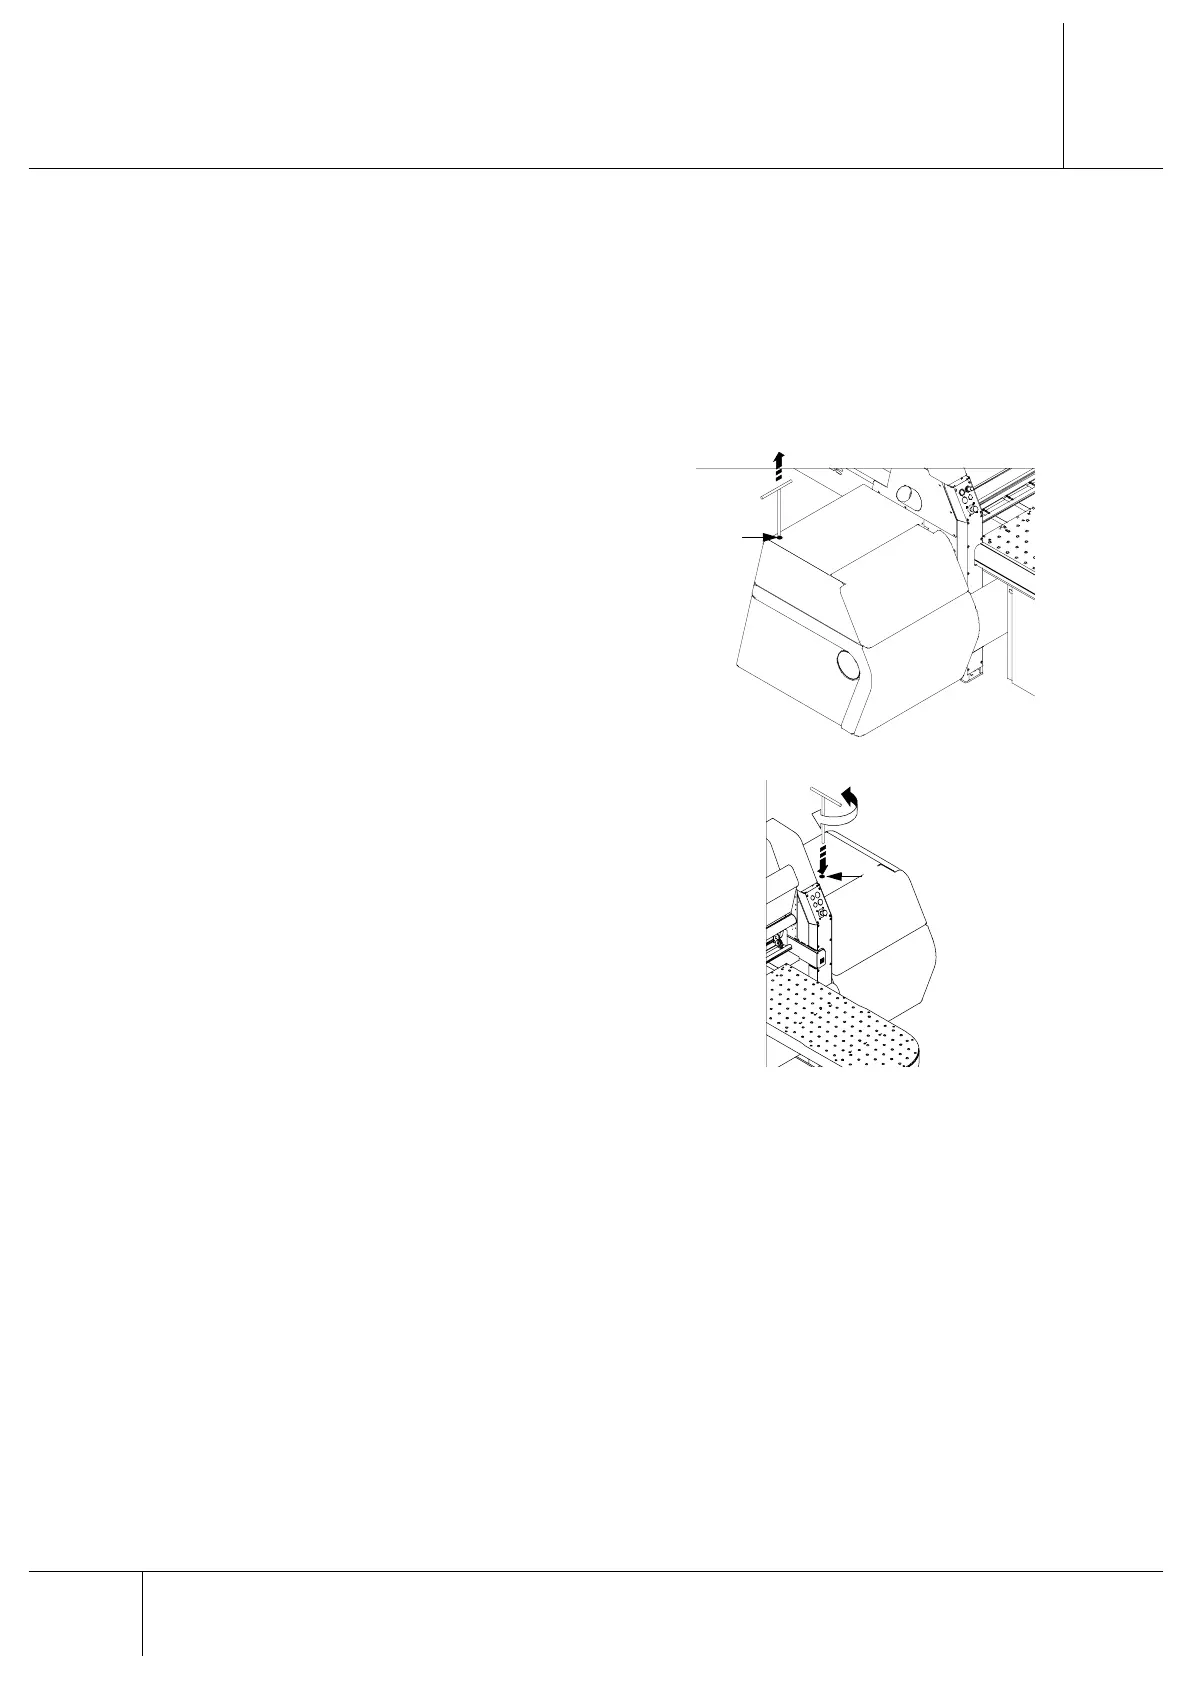
1. Move the blade carriage to the side opposite
to that where blade replacements are made.
2. Take the t-wrench which is housed in $ on
the left-hand side of the machine. In this way
and for safety measures, all movements of
the blade carriage are locked.
3. Insert the t-wrench in the hole % on the
right-hand side of the machine.
4. Turn clockwise to reduce depth and
anticlockwise to increase it. A full turn of the
t-wrench corresponds to a shift of PP. Make
trial grooves to make sure that the adjustment
has been made correctly.
5. When adjustments have been completed,
replace the t-wrench in its housing $.
0DFKLQLQJ+ROG
For a brief pause during a cycle with automatic loading, proceed as follows:
1. Turn the pushing device selector (yellow) on the main button pad to the right (ref. B8, page 3
- 3).
2. Wait for any cuts in progress to be completed.
3. Press F2 to stop the program that is being executed.
4. Press an emergency button (red mushroom-head button) (ref. F, page 3 - 2).
To restart the machining cycle proceed as follows:
1. Disengage the previously enabled emergency button.
$
%