55
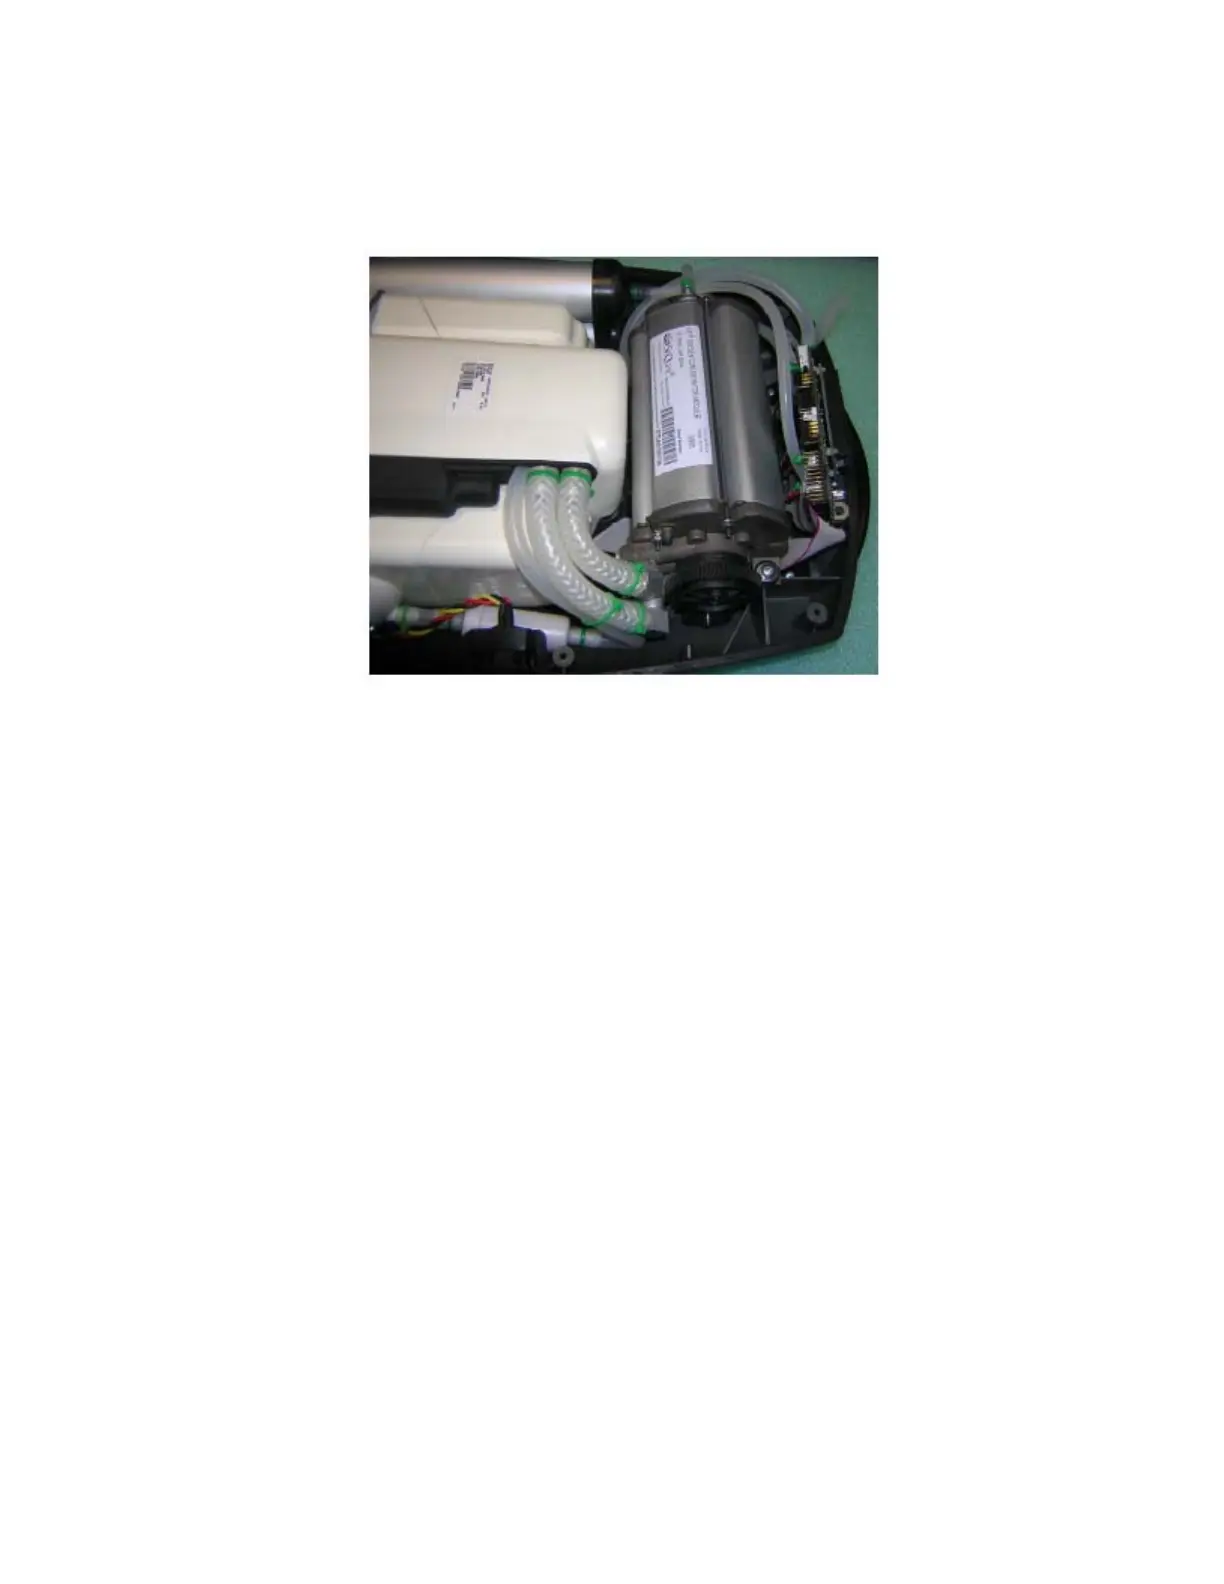
4. Reconnect silicone tubes to the filter. Ensure that the feed tubes are not blocked, crimped or
kinked upon completion of the installation or the unit will alarm for low oxygen purity after the
warm-up cycle is complete.
Figure 24: Installing the Compressor Intake Filter.
5. Re-install two cable ties on silicone tubes.
After replacing the Compressor Intake Filter, check the following:
• Verify proper seating of the filter in the Eclipse. The arrow on the filter body should point
toward the 9-volt battery.
• Ensure that the inlet tube is inserted securely into its hole in the compressor box and is
not pinched.
After filter is replaced and unit cover reinstalled, proper functionality should be checked by
following the Test Procedures described in this manual.