69
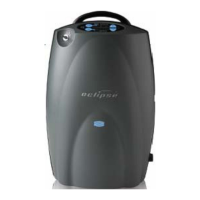
10. Cut the green cable ties to the braided tubes that connect into the ATF pressure and vacuum
ports as shown in below Figure. Disconnect the braided tubes.
11. Unscrew the 3 screws (M4x16 Pan Head Machine Screw, P/N 6961-416) and remove the screws
and washers (M4 Flat washer, P/N 6985-04) as shown below.
Figure 32: Remove ATF Module from Eclipse Case.
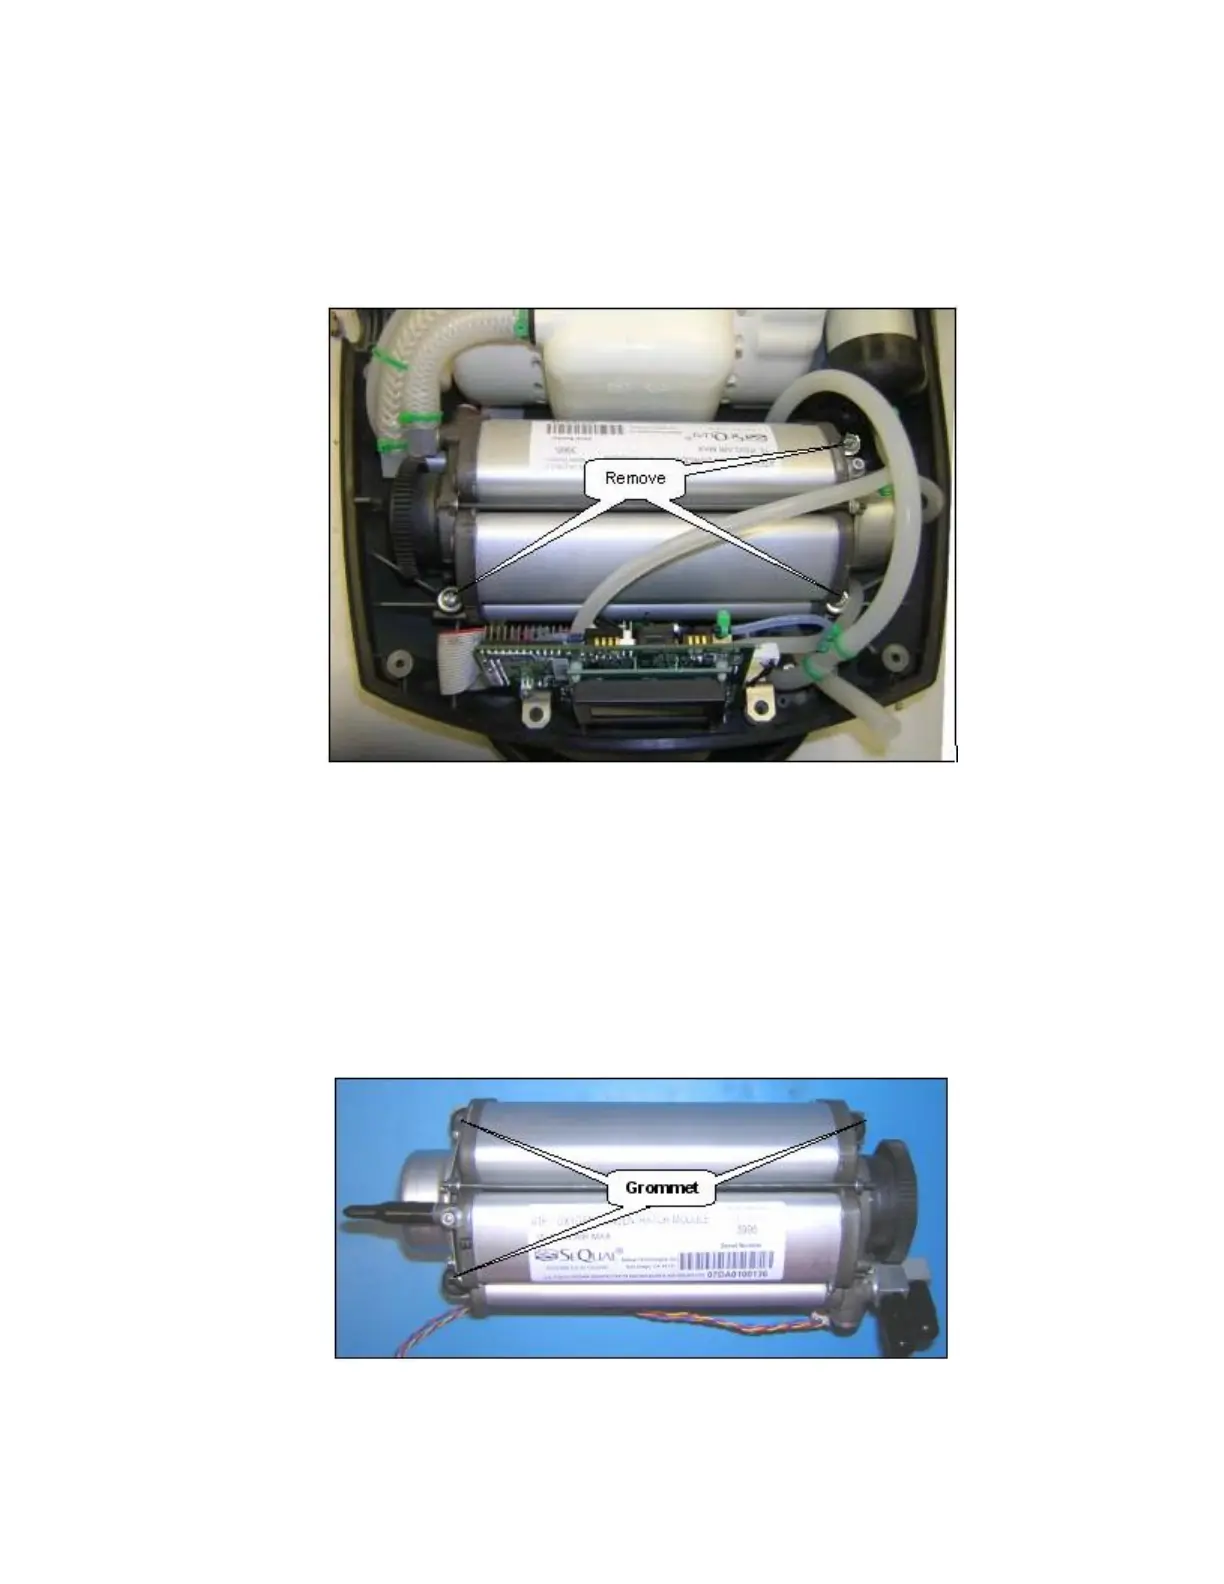
12. Lift the ATF. Take off the 3 grommets. Disconnect the wire harness from the gearbox of the
ATF.
13. Remove the ATF and cap the product, pressure and vacuum ports.
14. Install 3 Grommets into the mounting slots on the ATF as shown below. Position the ATF into the
bottom cover but DO NOT install the mounting screws yet. Route the 16” Silicone Tube under
the ATF as shown on Figure 34 below.
Figure 33: ATF Module Grommet Installation.