Diagnostic Information
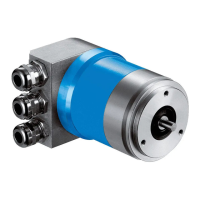
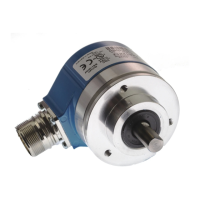
48 ATM60 / ATM90 / KHK53
Dec 2021
Value '1'
Bit 7..5 Not allocated --
Bit 4 EEPROM memory error See detail
Bit 3 Commissioning Diagnostics Alarm Device error
Bit 2..1 Not allocated --
Bit 0 Error in the position value See detail
The following applies to all alarms and warnings: True logic (value '1' means reference to an er-
ror).
9.4.3.1 Commissioning Diagnostics Alarm
Applicable (TRUE) if one of the supported alarms (incl. additional alarms) or warnings displays
an error.
This error leads to the provision of external diagnostic data 'Ext_Diag'. – See DP Standard Di-
agnostic Status-1 (0).
9.4.3.2 EEPROM Memory Error
An EEPROM error which is found through reading out the general encoder parameters, when
the encoder is used again following power-off.
9.4.3.3 Error in the Position Value
There can be different reasons for this error message:
• EEPROM error which is found during reading operations of encoder parameters relating to
position (e.g. when reading out the EEPROM after switching the encoder off and on again).
• The correct position cannot be determined using the algorithm for position calculation, be-
cause the scanner in the encoder supplies no valid signals.
• The distance between 'reading head’ and 'material measure’ is outside the permitted posi-
tion tolerance (for linear encoders).
This error triggers a 'Stat_Diag'. – See DP Standard Diagnostic Status-2 (0).
The DP communication is in the Data_Exchange mode; the encoder, however, provides no valid
data. The red LED is illuminated.
This state continues for as long as the existing cause of error is present.
9.4.3.4 Error Correction Measures
These measures only lead to a result when the EEPROM data is inconsistent. For this, the
EEPROM content must be re-configured to the factory setting (default values).
• Turn off operating voltage.
• Set node (device) address to zero (0) (DIP switch).
• Turn operating voltage back on, keeping the preset pushbutton (under the screw cap of the
connection adapter) pressed for 2 seconds approx.
• Wait for about 10 seconds. The EEPROM is now re-configured.
• Turn off operating voltage and re-set to original node address.
• Turn operating voltage back on and check the device for faulty behaviour.