Commissioning SMA Solar Technology AG
22 SWebBox-TEN101232 Technical Description
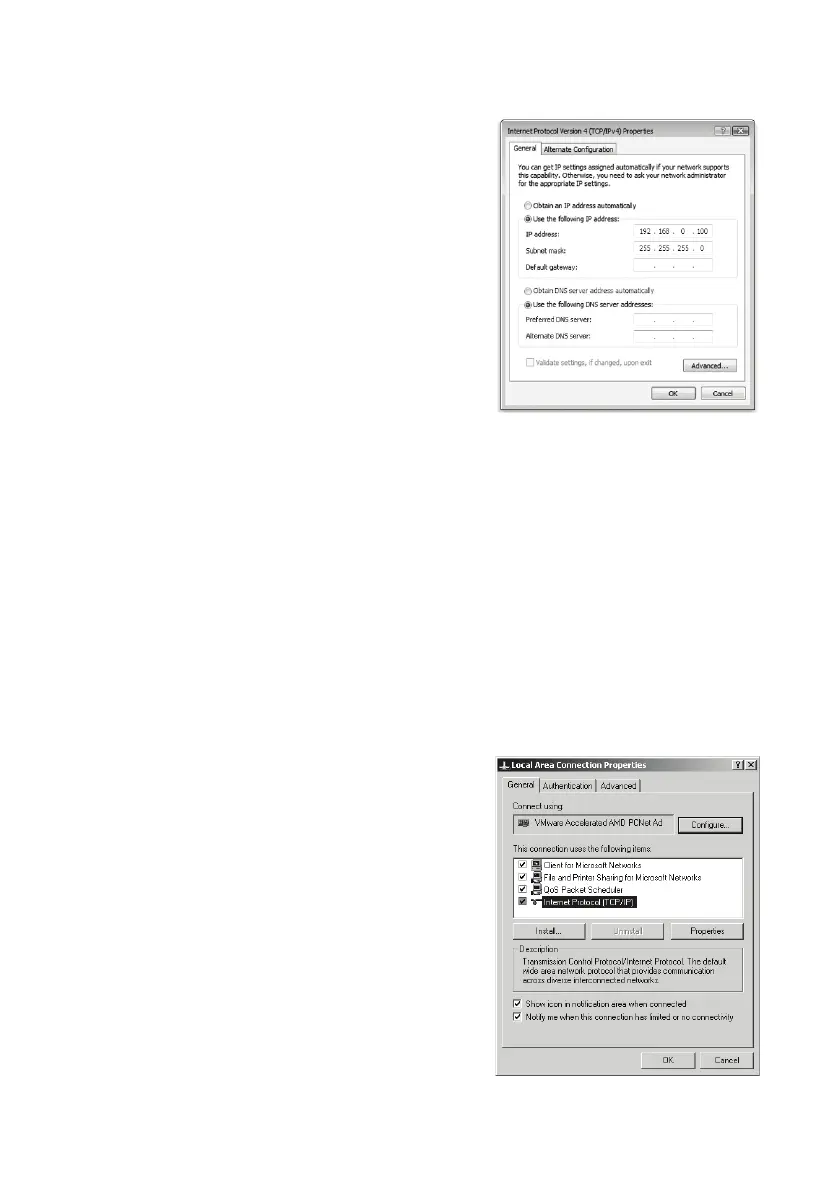
8. In the "Internet Protocol Version 4 (TCP/IPv4)
Properties" window enter the following properties
and confirm with [OK].
"IP address": 192.168.0.100
"Subnet mask" 255.255.255.0
9. Select [OK] in order to save the settings. Select [OK]
in order to close the next dialog.
☑ The computer is set to the network settings of the
Sunny WebBox.
You can now log in for the first time on the Sunny WebBox
user interface (see page 23).
6.4.3 Windows XP, Windows 2000
1. Start the computer.
2. In Windows select "Start > Run".
3. In the "Open" field enter "ncpa.cpl" and select [OK]
☑The "Network connections" window opens.
4. Double click on the LAN connection via which the Sunny WebBox is connected.
– If Windows displays several LAN connections, there are probably several network
connections installed in the computer. Ensure that you select the correct network connection,
with which the computer is connected to the Sunny WebBox. If necessary, refer to the
manual for your computer.
– In the event that no LAN connection is displayed, please refer to section
14”Troubleshooting” (page76).
5. Select [Properties].
☑The "Local Area Connection Properties" window
opens.
6. Note down the existing network settings so that you
can restore the settings in your computer after starting
up the Sunny WebBox.
7. Mark "Internet protocol (TCP/IP)" and select
[Properties].
☑The "Internet Protocol (TCP/IP) Properties"
window opens.

 Loading...


