SMA Solar Technology AG Settings
Technical Description SWebBox-TEN101232 67
10.8.2 Enabling/Disabling Notification in Case of Error
1. Integrate the Sunny WebBox in your network (see Section 25) or configure the GSM modem
(see section 27).
2. Select "WebBox > Settings > Data transmission" in the user interface.
3. Make a selection in the "Notification active" field.
4. Make a selection in the "Multiple Notices" field.
5. Make a selection in the "send errors as e-mail" field:
6. Enter your e-mail address. If the Sunny WebBox is to send notification to multiple e-mail
addresses, enter the e-mail addresses with commas as separators.
7. Select [testing].
☑ The Sunny WebBox sends a test e-mail to the telephone number entered. If the test e-mail
was not sent, check your e-mail inbox spam folder, your local network settings (see page
25), or the settings and signal strength of the GSM modem (see page 27).
8. If a GSM modem is installed on the Sunny WebBox, make a selection in the "Send error as SMS
message" field.
9. If a GSM modem is installed on the Sunny WebBox, enter the telephone number for SMS
message notification and select [testing].
☑ The Sunny WebBox sends an SMS message to the telephone number entered.
10. Select [Save].
☑ Notification of errors is enabled.
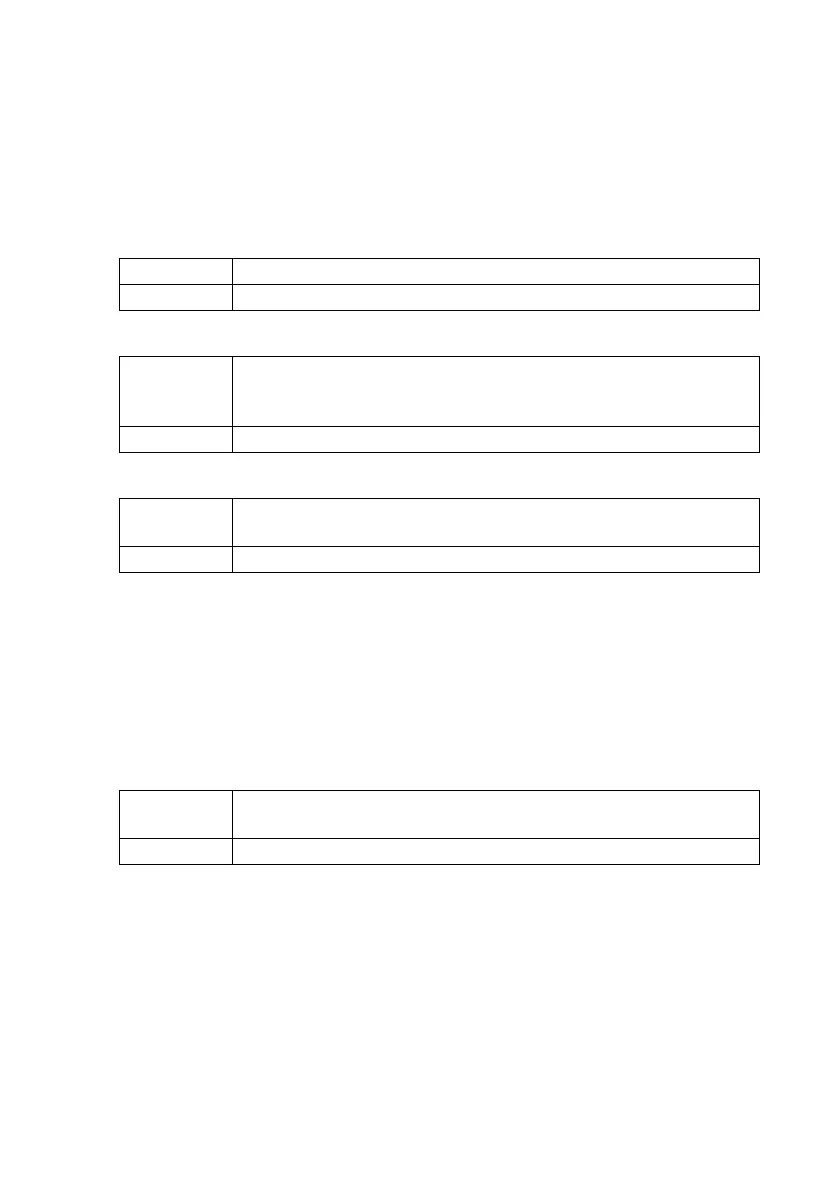
"yes" Notification is enabled. Adjust further settings.
"no" Notification is disabled. Select [Save].
"yes" The Sunny WebBox informs you immediately when an error type event
occurs. If the error persists after 24 and 48 hours, you will receive a reminder
from the Sunny WebBox.
"no" The Sunny WebBox informs you once when an error type event occurs.
"yes" The Sunny WebBox informs you via email when an error type event occurs.
The input field for the e-mail address will appear. Continue with step 6.
"no" E-mail notification is disabled. Continue with step 8.
"yes" The Sunny WebBox informs you via SMS when an error type event occurs.
The input field for the call number will appear. Continue with step 9.
"no" SMS message notification is disabled. Continue with step 10.

 Loading...


