Paramount GEM User Guide
149 | P a g e
Set To Current Position
Click this button to use the mount’s current mechanical position to define the slewing and tracking limit. If the
payload might collide with the side of the pier, for example, first slew the mount to the “post collision” position,
then click the button. To gain confidence that the slew limit is working, use the hand controller to try to slew the
mount (at the slowest slew rate) past the limit. A properly defined software limit will automatically stop the slew,
even when the mount is commanded from the hand controller.
Mount At Slew Limit Graphic
The mount graphic on the bottom of the Software Slew Limits pane is intended to convey an example of the
orientation of the Paramount mount at the east and west meridian slew limits. This graphic is not intended to be
“model specific” (in other words, the graphic that represents the mount will be the same for any Paramount model
mount selected in the TheSky Professional’s Telescope Setup window).
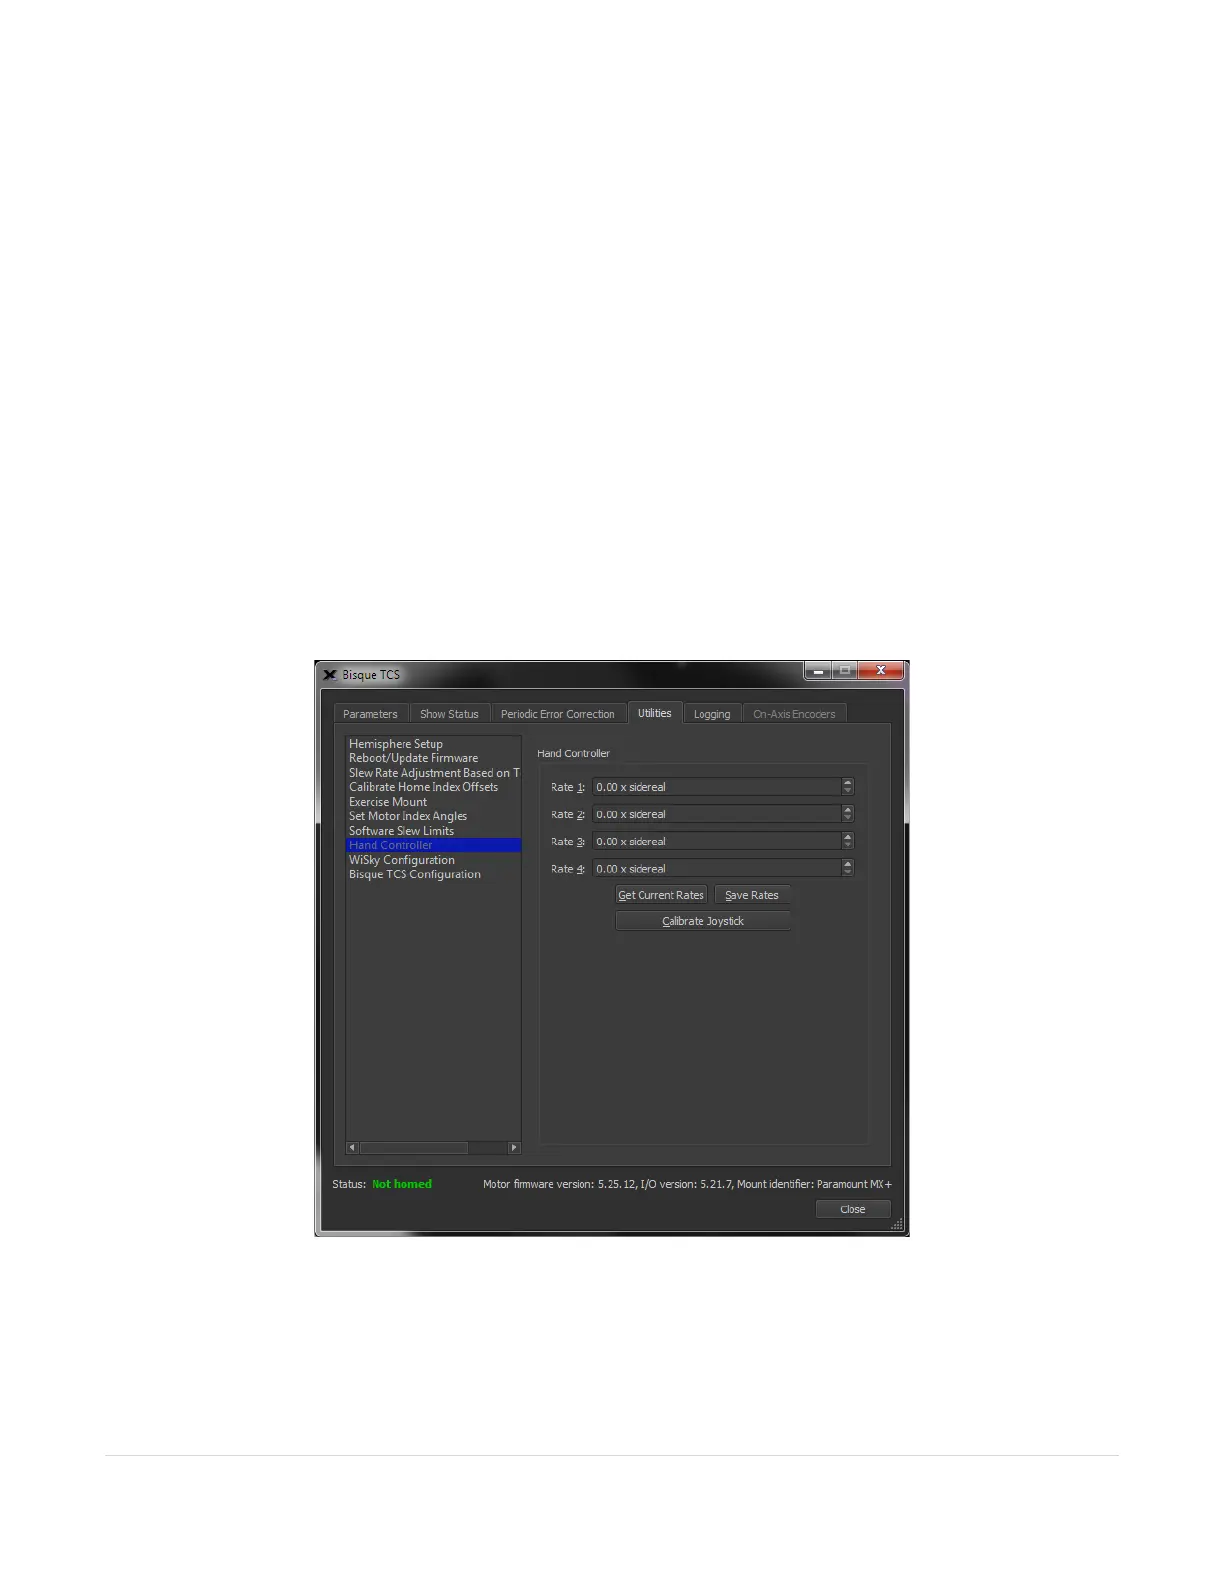
Hand Controller Settings
The four slew rates on the Hand Controller slew rate switch can be configured from the Hand Controller settings
on the Utilities tab.
Figure 73: The Hand Controller settings on the Utilities tab.
Rate 1-4
Enter the desired slew rate for the corresponding rate position, based on the sidereal rate. For example, to
configure switch Position 3 to slew the mount at 2 x sidereal, enter the number 2 in the Rate 3 text box, then click
the Save Current Rates button.