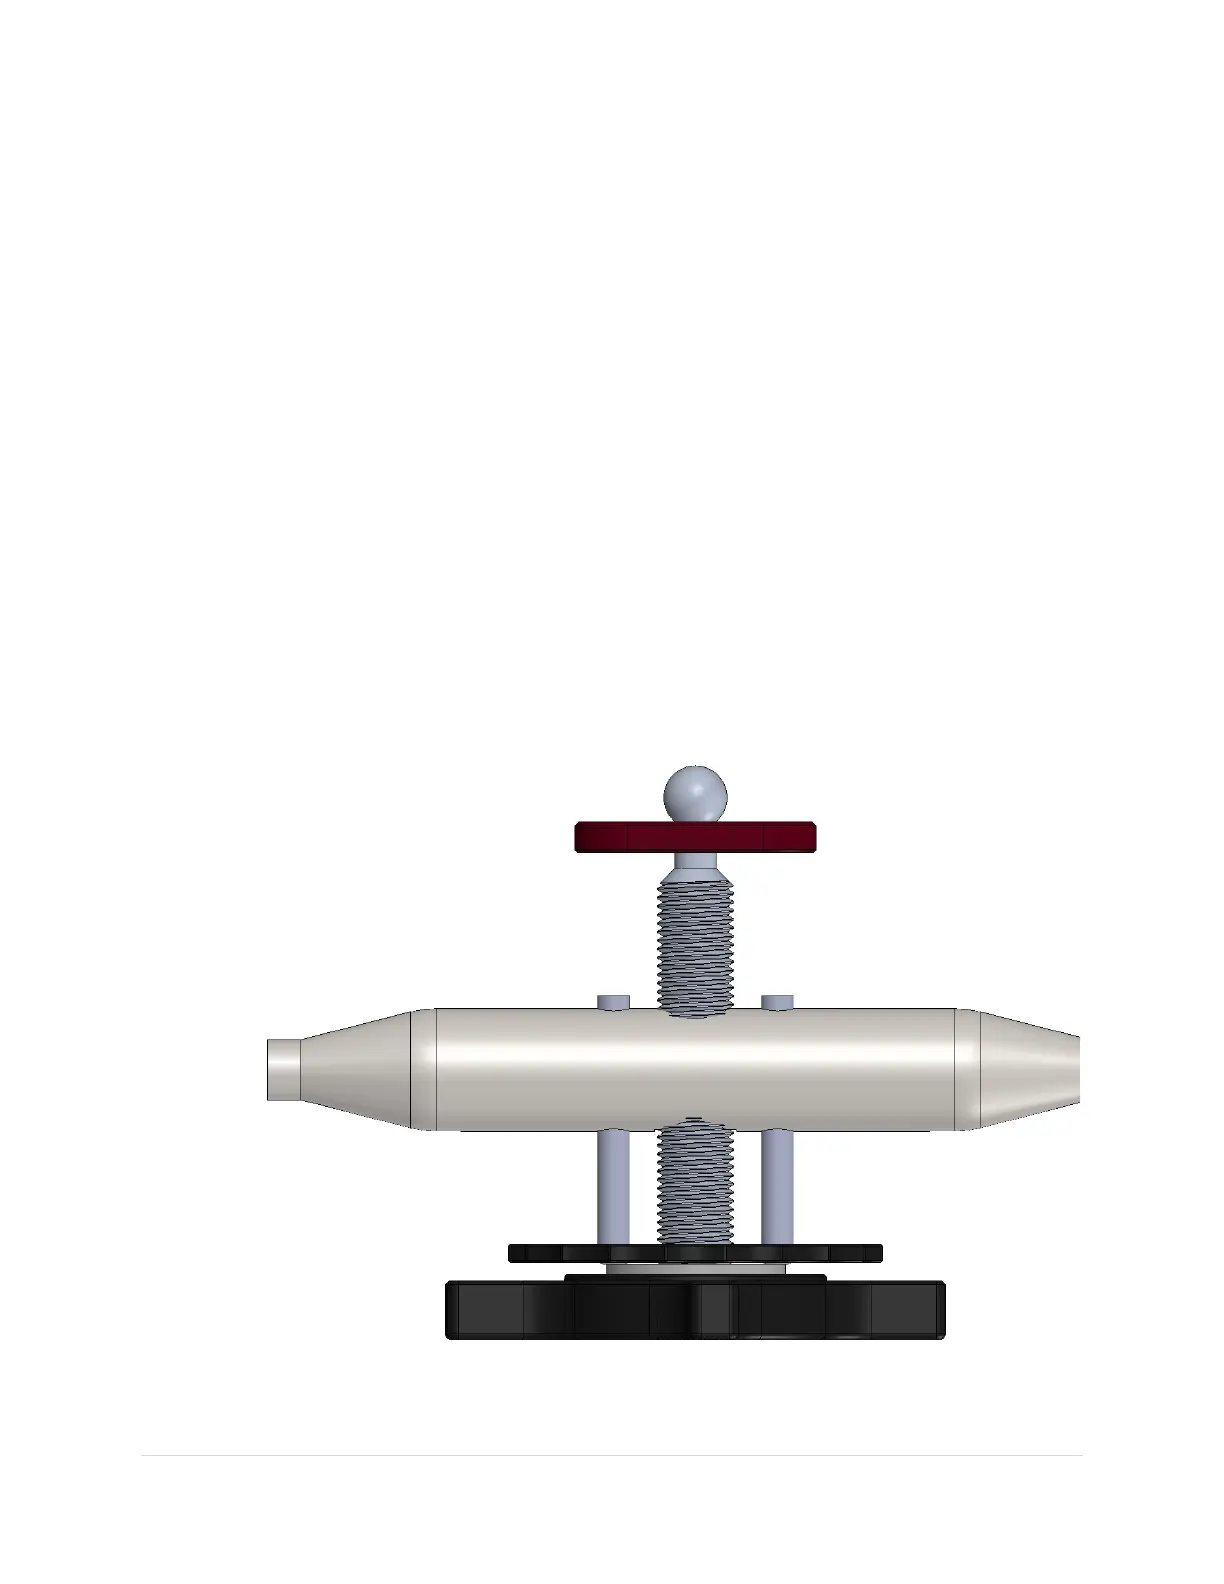
1. Important! As shown in Figure 40, rotate the fine elevation adjustment knob until
the stainless-steel bar is about in the middle of the threaded rod. Doing so ensures
there will be sufficient fine adjustment to achieve polar alignment when the bar is
placed in a given elevation slot (described below).
If the bar is not centered in the threads initially, there may not be enough travel to
reach the desired altitude in one direction. If you run out of travel when making
fine adjustments, start by centering the bar in the threads, then move the bar to a
higher or lower slot.
2. Loosen both of the altitude retaining knobs on the wedge side plates, then gently
lift the hour angle axis until the bar becomes unseated from the slots on the inside
of the wedge plates. The entire fine altitude adjustment mechanism can now swing
out from the wedge.
3. Align the arrow that is machined either side of the hour angle housing base (Figure
38) with the tic mark that is close to the observing site’s latitude, and then insert the
stainless-steel bar into the nearest slot.
The threads on the fine adjustment mechanism allow the altitude of the polar axis
to be moved up or down about 8 degrees from the center position. Provided the
bar is in the right slot, there should be ample “overlap” to get to the desired polar
axis elevation using the fine adjustment mechanism.
Figure 40: The Paramount MYT and MX fine altitude adjustment assembly at the mid-travel position.