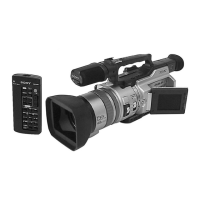
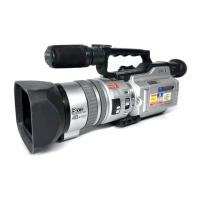
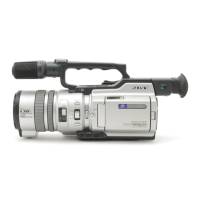
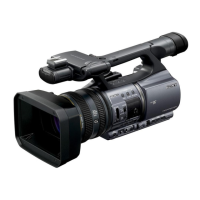
5-21
9. Pre White Balance Data Input
At 3200k, input the pre white balance standard data.
Subject Clear chart
(Color bar standard picture frame)
Adjustment Page E
Adjustment Address 2A, 2B
Note1: After the power is turned on, this adjustment can be done only
once.
Switch setting:
ND FILTER......................................................................OFF
(The data of page: 6, address: 9D is “00”.)
Adjusting method:
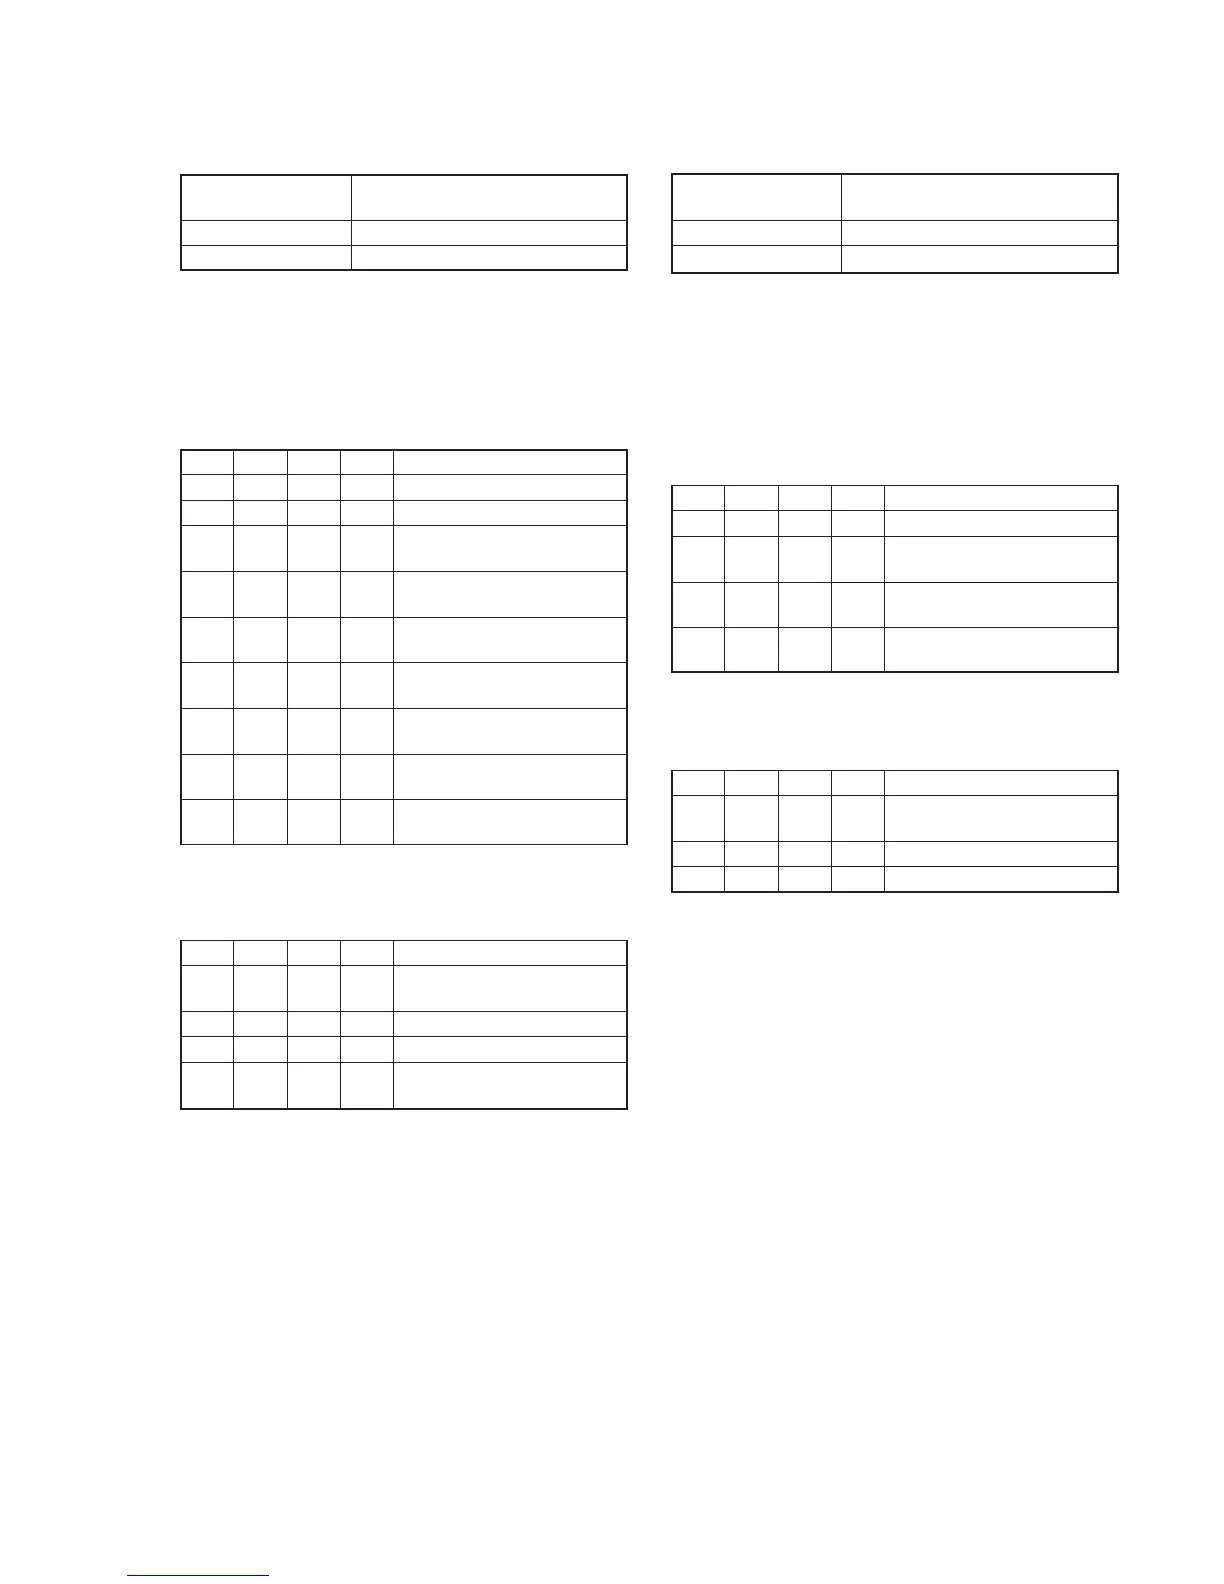
Order Page
Address
Data Procedure
1 0 01 01 Set the data.
2 6 02 00 Set the data.
3 F 20 00 Set the data, and press PAUSE
button.
4 F 21 15 Set the data, and press PAUSE
button.
5 F 22 00 Set the data, and press PAUSE
button.
6 F 23 2E Set the data, and press PAUSE
button.
7 6 01 7F Set the data, and press PAUSE
button.
8 6 01 7D Set the data, and press PAUSE
button. (Note)
9 6 02 Check that the data changes to
“01”.
Note: The adjustment data will be automatically input to page: E, address:
2A and 2B.
Processing after Completing Adjustments
Order Page
Address
Data Procedure
1 6 01 00 Set the data, and press PAUSE
button.
2 6 02 00 Set the data.
3 0 01 00 Set the data.
4 Perform “Auto White Balance
Standard Data Input”.
10. Auto White Balance Standard Data Input
At 3200K, input the white balance standard data.
Subject Clear chart
(Color bar standard picture frame)
Adjustment Page F
Adjustment Address 20 to 23
Note1: After the power is turned on, this adjustment can be done only
once.
Note2: Check that the data of page: 6, address: 02 is “00”. If not, to page:
6, address: 01, set data: 00, and press the PAUSE button.
Switch setting:
ND FILTER......................................................................OFF
(The data of page: 6, address: 9D is “00”.)
Adjusting method:
Order Page
Address
Data Procedure
1 0 01 01 Set the data.
2 6 01 11 Set the data, and press PAUSE
button.
3 6 01 0B Set the data, and press PAUSE
button. (Note)
4 6 02 Check that the data changes to
“01”.
Note: The adjustment data will be automatically input to page: F, address:
20 to 23.
Processing after Completing Adjustments
Order Page
Address
Data Procedure
1 6 01 00 Set the data, and press PAUSE
button.
2 6 02 00 Set the data.
3 0 01 00 Set the data.