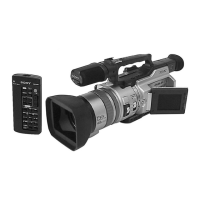
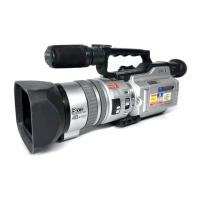
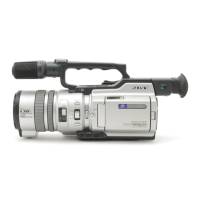
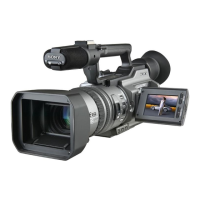
5-24
15. Auto White Balance Adjustment
Adjust to the proper auto white balance output data.
If it is not correct, auto white balance and color reproducibility will
be poor.
Subject Clear chart
(Color bar standard picture frame)
Filter Filter C14 for color temperature
correction
Adjustment Page F
Adjustment Address 34, 35
Note1: After the power is turned on, this adjustment can be done only
once.
Note2: Check that the data of page: 6, address: 02 is “00”. If not, to page:
6, address: 01, set data: 00, and press the PAUSE button.
Switch setting:
ND FILTER......................................................................OFF
(The data of page: 6, address: 9D is “00”.)
Adjusting method:
Order Page
Address
Data Procedure
1 Place the C14 filter for color
temperature correction on the
lens.
2 0 01 01 Set the data.
3 6 02 00 Set the data.
4 6 01 83 Set the data, and press PAUSE
button.
5 6 01 81 Set the data, and press PAUSE
button. (Note)
6 6 02 Check that the data changes to
“01”.
Note: The adjustment data will be automatically input to page: F, address:
34 and 35.
Processing after Completing Adjustments
Order Page
Address
Data Procedure
1 6 01 00 Set the data, and press PAUSE
button.
2 6 02 00 Set the data.
3 0 01 00 Set the data.
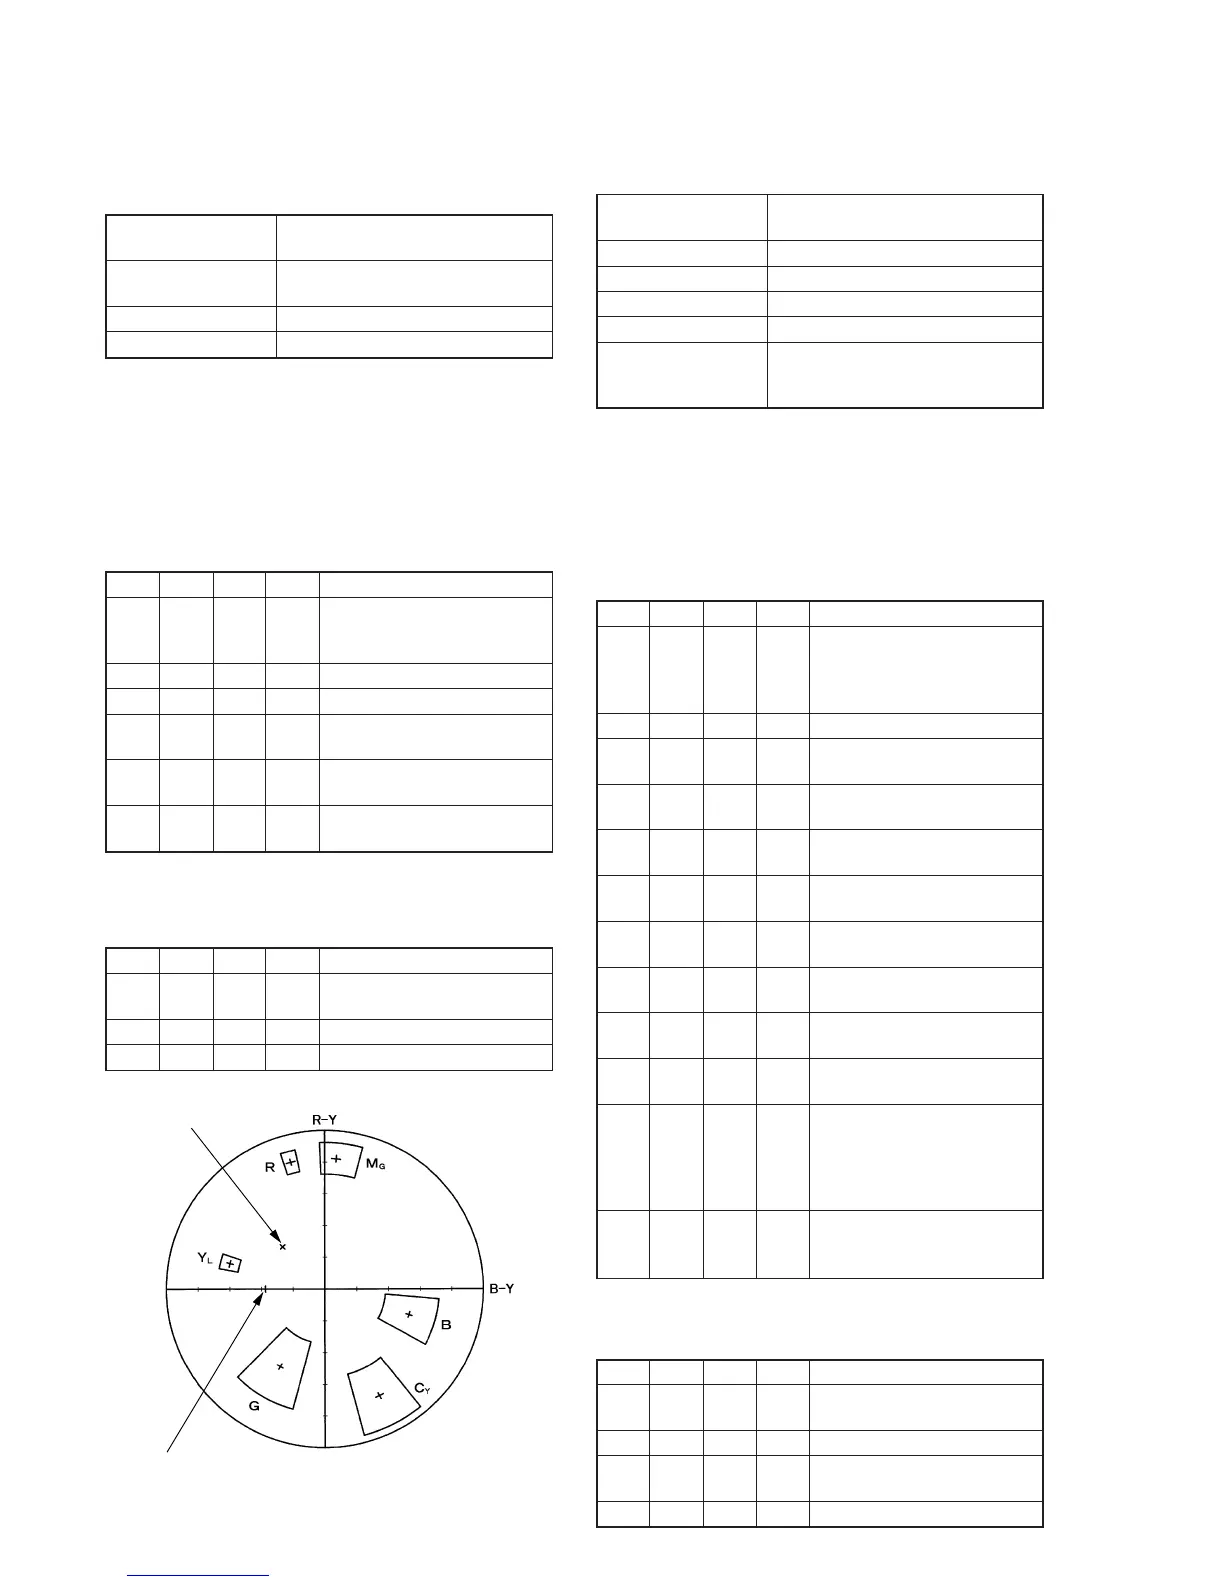
16. Color Reproduction Adjustment (ND Filter OFF)
When the ND FILTER switch is “OFF”, adjust the color difference
matrix coefficient so that proper color reproduction is produced.
Subject Color bar chart
(Color bar standard picture frame)
Measurement Point Video output terminal
Measuring Instrument Vectorscope
Adjustment Page F
Adjustment Address 44, 45, 46, 47
Specified Value All color luminance points should
settle within each color reproduction
frame. (Fig. 5-1-11)
Note1: After the power is turned on, this adjustment can be done only
once.
Note2: Check that the data of page: 6, address: 02 is “00”. If not, to page:
6, address: 01, set data: 00, and press the PAUSE button.
Switch setting:
ND FILTER......................................................................OFF
(The data of page: 6, address: 9D is “00”.)
Adjusting method:
Order Page
Address
Data Procedure
1 Check that the picture frame is
set to the specified position.
(Refer to “8. Picture Frame
Setting”.)
2 0 01 01 Set the data.
3 F 5E 2D Set the data, and press PAUSE
button.
4 F 44 00 Set the data, and press PAUSE
button.
5 F 45 00 Set the data, and press PAUSE
button.
6 F 46 20 Set the data, and press PAUSE
button.
7 F 47 20 Set the data, and press PAUSE
button.
8 6 01 AB Set the data, and press PAUSE
button.
9 6 01 A9 Set the data, and press PAUSE
button. (Note)
10 6 02 Check that the data changes to
“01”.
11 Adjust the GAIN and PHASE of
the vectorscope, and adjust the
burst luminance point to the
burst position of the color
reproduction frame. (Fig. 5-1-11)
12 Check that all color luminance
points settle within each color
reproduction frame. (Fig. 5-1-11)
Note: The adjustment data will be automatically input to page: F, address:
44 to 47.
Processing after Completing Adjustments
Order Page
Address
Data Procedure
1 6 01 00 Set the data, and press PAUSE
button.
2 6 02 00 Set the data.
3 F 5E 1D Set the data, and press PAUSE
button.
3 0 01 00 Set the data.
NTSC Burst position
PAL Burst position
Fig. 5-1-11.