1-1. DSR-2000
Location and Function of Parts
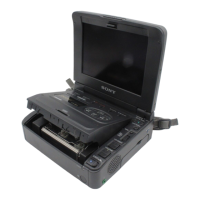
Chapter 1 Overview
22
Chapter 1 Overview
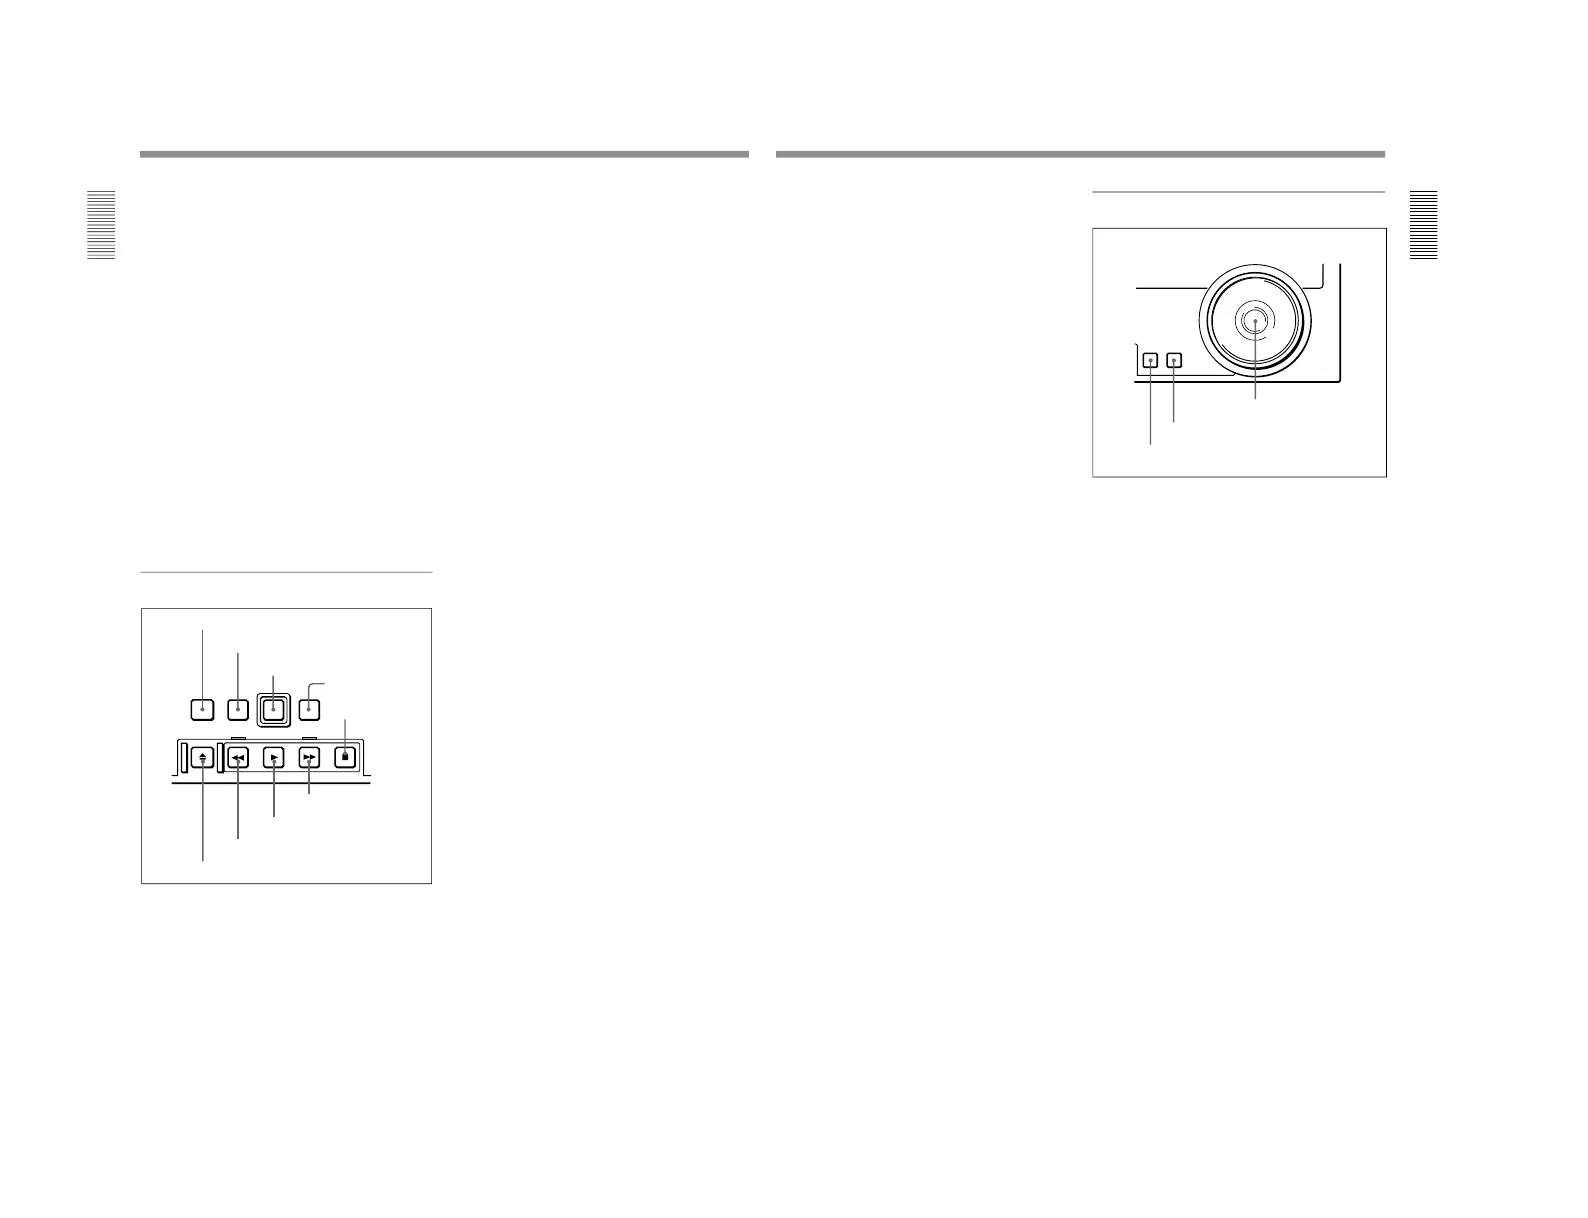
8 ENTRY/SHIFT button
Use this button for setting edit points, carrying out
ClipLink operations, and so forth.
•To set a video IN point or OUT point: Hold down the
IN button or OUT button, and press this button.
•To set an audio IN point or OUT point: Hold down
the AUDIO IN button or AUDIO OUT button, and
press this button.
For more information about ClipLink operation, see
Chapter 5 “ClipLink Operation
” (page 97).
9 IN button and OUT button
To set a video IN point or OUT point, hold down the
IN button or OUT button, and press the ENTRY/
SHIFT button.
After you have made the setting, pressing the IN
button or OUT button displays the IN point or OUT
point on the time counter display.
!º REVIEW button
Use this button to carry out a review of the editing
results after carrying out automatic editing.
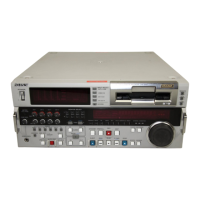
5 Tape transport control section
1 STANDBY button
2 PREROLL button
3 REC button
4 EDIT button
5 STOP button
6 EJECT button
7 REW button
8 PLAY button
9 F FWD button
1 STANDBY button
When a cassette is inserted and this button is off, to put
the VCR in standby mode, press the button, turning it
on.
In standby mode, the drum is rotating and the tape is in
contact with the drum. As a result, recording or
playback can start immediately.
To end standby mode, press the STANDBY button,
turning it off.
If a certain period of time (value can be varied using
extended menu item 501) elapse in standby mode, the
unit automatically switches out of standby mode to
protect the tape.
2 PREROLL button
Press this button to cue up to the preroll point (before
the IN point by the time set as the preroll time) on the
tape. You can change or select the preroll time and the
state of the unit at the end of preroll (stop mode
1)
or
still playback mode) using basic menu item 001 and
extended menu item 401.
Cuing up to edit points
Hold down the IN, OUT, AUDIO IN, or AUDIO OUT
button while pressing this button to cue up to the
corresponding edit point.
3 REC (record) button
To start recording, press this button together with the
PLAY button, turning it on.
Monitoring in E-E mode
When the unit is in stop mode, pressing this button
lights it, and you can monitor the video and audio in E-
E mode. To return to the original state, press the STOP
button.
During playback, search, fast forward, or rewind,
holding down this button allows you to monitor the
video and audio in E-E mode. In this case the button
does not light.
1) Stop mode: the state in which the device currently the
subject of operation is stopped, and the STOP button is
lit.
...............................................................................................................................
..........................................................
Chapter 1 Overview
Chapter 1 Overview
23
4 EDIT button
To carry out manual editing, press this button
simultaneously with the PLAY button.
Monitoring in E-E mode
When the unit is in stop mode, pressing this button
lights it, and you can monitor the input signal selected
with the ASSEMBLE button or INSERT buttons in E-
E mode. To return to the original state, press the STOP
button. During playback, search, fast forward, or
rewind, holding down this button allows you to
monitor the video in E-E mode.
5 STOP button
To stop recording or playback, press this button,
turning it on.
When you stop playback, the unit switches either to
still playback or to E-E mode according to setup menu
settings, and the settings of the PB/EE button and PB
button.
Fault display function
This button flashes when there is no external reference
signal input or the input external reference signal is not
synchronized to the input video signal. (See the
description of extended menu item 105.)
6 EJECT button
To eject the cassette, press this button. While the
cassette is being ejected, this button lights.
7 REW (rewind) button
To rewind the tape, press this button, turning it on.
8 PLAY button
To start playback, press this button, turning it on.
To operate in capstan override mode
Hold down this button, and turn the search dial.
For details of capstan override mode, see
“
3 Search dial”
on this page.
9 F FWD (fast forward) button
To fast forward the tape, press this button, turning it
on.
6 Search control section
1 SEARCH button
To use the search dial for playback in shuttle or jog
mode, press this button, turning it on. Pressing the dial
toggles between shuttle and jog modes. In shuttle
mode, the SHUTTLE indicator in the display section
lights, and in jog mode, the JOG indicator in the
display section lights.
2 VARIABLE button
To use the search dial for playback in variable speed
mode, press this button, turning it on. Pressing the dial
toggles between variable speed mode and jog mode.
3 Search dial
Turn this to carry out playback in the modes shown in
the following table. Turning the dial clockwise lights
the · indicator in the display section and plays back
in the forward direction. Turning the dial
counterclockwise lights the ª indicator in the display
section and plays back in the reverse direction. When
the tape is stopped, the π indicator in the display
section lights.
Pressing this dial toggles between shuttle mode and
jog mode (or between variable mode and jog mode).
When playing back in shuttle or variable mode, the
SHUTTLE indicator in the display section lights, and
when playing back in jog mode, the JOG indicator
lights.
You can carry out noiseless playback in the range of ±
1 times normal speed.