Chapter 2: Installation and Setup
Procedure 8: Set the IP Address
SmartBits 600x/6000x Installation Guide | 41
Connecting to the SmartBits Chassis
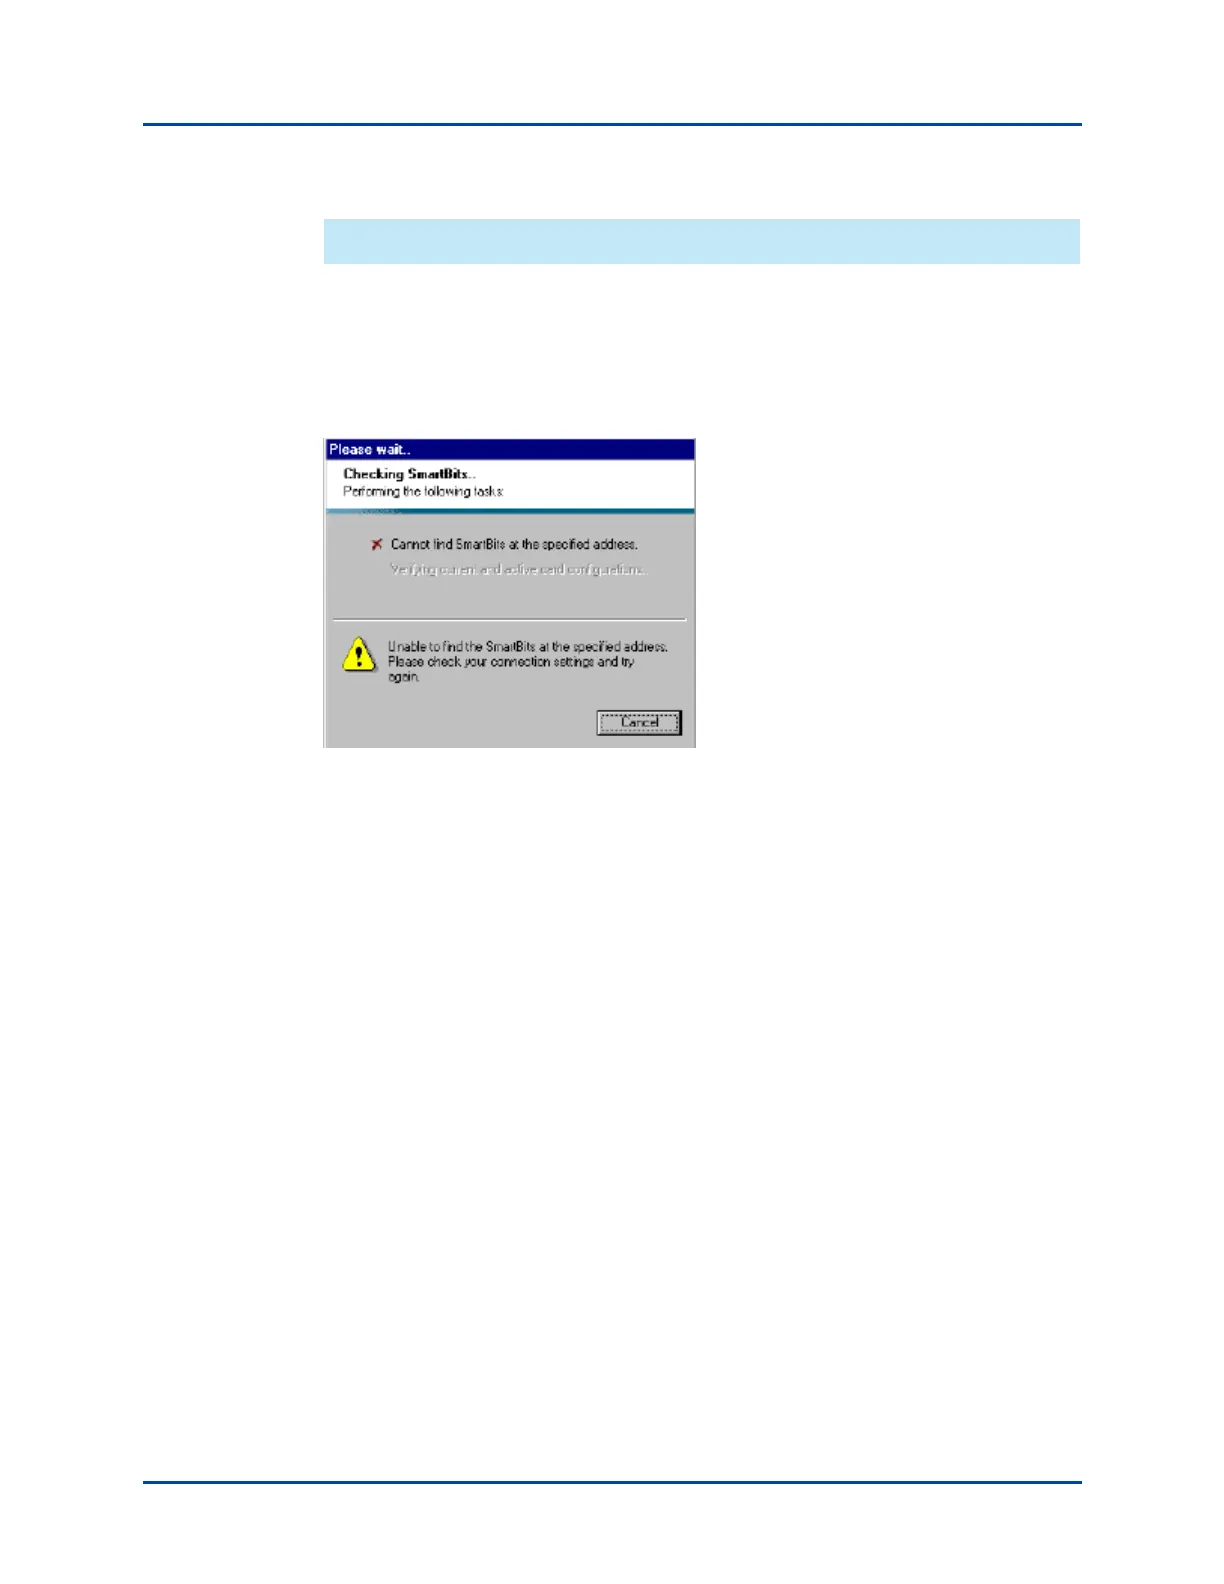
When you select an icon on the SmartBits tab, SmartWindow tries to find an accessible
SmartBits chassis of the selected type and connect to it.
The Launcher informs you of its progress (Figure 2-6). If it cannot find a chassis, you may
need to check the setup connections shown in “Procedure 4: Connect SmartBits to PC,
Power, and LAN” on page 34.
Figure 2-6. Connection Status Messages (SmartBits Tab)
Procedure 8: Set the IP Address
All SmartBits chassis are now designed with a default IP address of 192.168.0.100. This
feature enables quick and easy connection/start up of your chassis without the need of a
serial cable connection. This procedure is described on page 42.
If you prefer not to use the default IP address and want to set a unique IP address in an
unconfigured SmartBits chassis, you can use any of the following means to do so:
• HyperTerminal (serial port) – see page 43
• Telnet (Ethernet) – see page 47
• SmartWindow (Ethernet) – see page 48.
Artisan Technology Group - Quality Instrumentation ... Guaranteed | (888) 88-SOURCE | www.artisantg.com