Maintenance Waukesha Cherry-Burrell
®
Brand Universal 3 Pump
Page 50 95-03103 11/2018
4. Install the drive ring as shown in Figure 86. The side of the
drive ring tab that protrudes, faces the body; the flat side of
the tab faces up. (The flat side of the tab is facing the camera
in Figure 86 and Figure 87.)
5. Note the orientation of the tabs; for pumps 130-U3 and
smaller, the tabs of the drive ring are perpendicular to the
side ports of the body. See Figure 90 on page 51 for the
orientation as installed.
6. Figure 87 shows the drive ring installed.
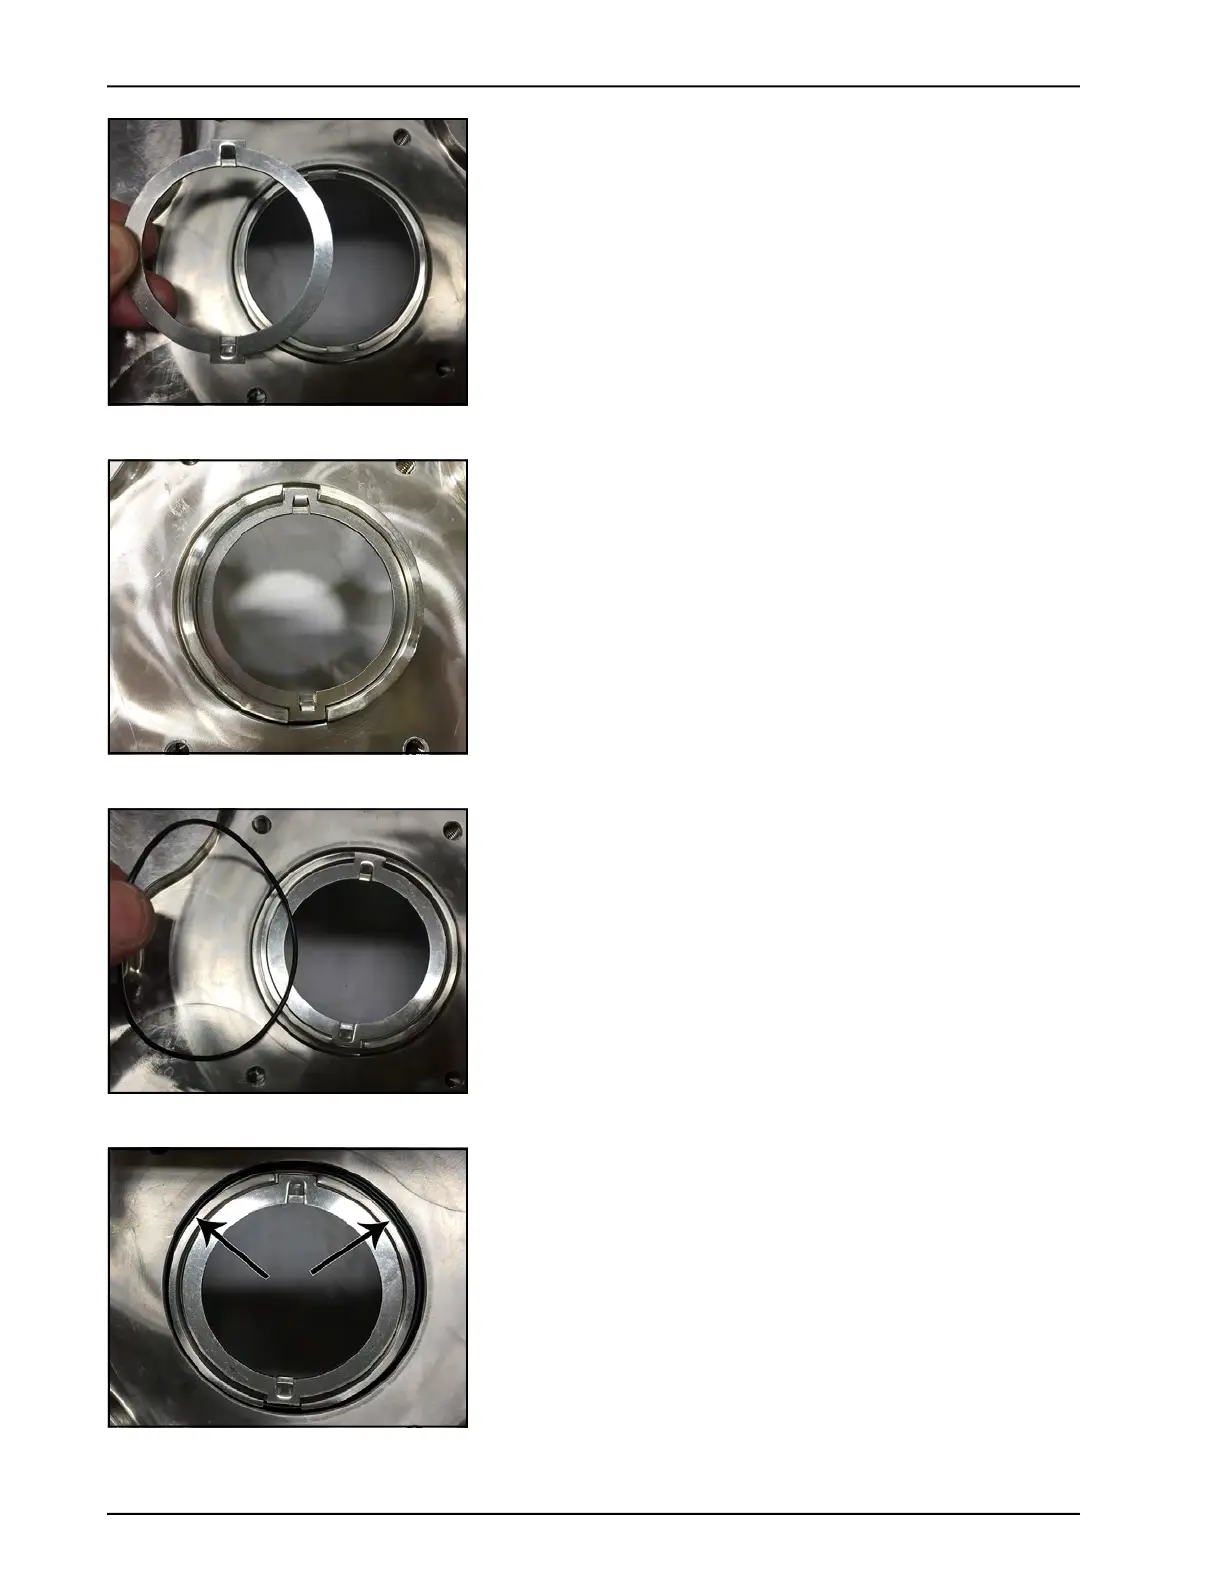
7. Install the seal housing O-ring. The O-ring fits in the body,
around the shaft ring. See Figure 89.
8. Figure 89 shows the seal housing O-ring installed.
Figure 86 - Install drive ring
Figure 87 - Drive ring installed
Figure 88 - Install seal housing O-ring
Figure 89 - Seal housing O-ring
installed