P340 flexiprobe Operation Manual 52
9.3 Job Browser
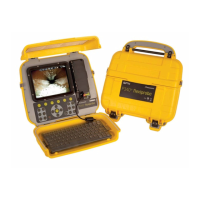
From the main menu press JOB to access the Job Browser menu, see Figure 9.4.
This menu screen is organized into three areas.
Job details: This shows the client, site and survey
details of the job selected in the jobs list.
Jobs list: This is the list, in chronological order, of
all the jobs stored in your memory storage device.
The letter “A” denotes that a job is active. See
Section 9.4.1 for more details.
Menu bar: This shows all the available commands.
Use the Job Browser to review all the jobs present in your
storage device, see which job is active, create a new job,
resume an existing one and add a site or survey to an
existing job.
1. Use the arrow keys, Pg Up, Pg Dn, Home and End
to browse the Jobs list. You can also navigate by keying the job number.
2. Press OK or ►to review the selected job by entering the Job Reviewer screen. See Section 9.4
There are three commands available that will all take you to the Job Reviewer screen to perform a different
function:
NEW: Create a new job. See Section 9.1
+SITE: Add a site to the selected job (client). See Section 9.5.
+SURV: Add a survey to the selected job (site). See .Section 9.5.
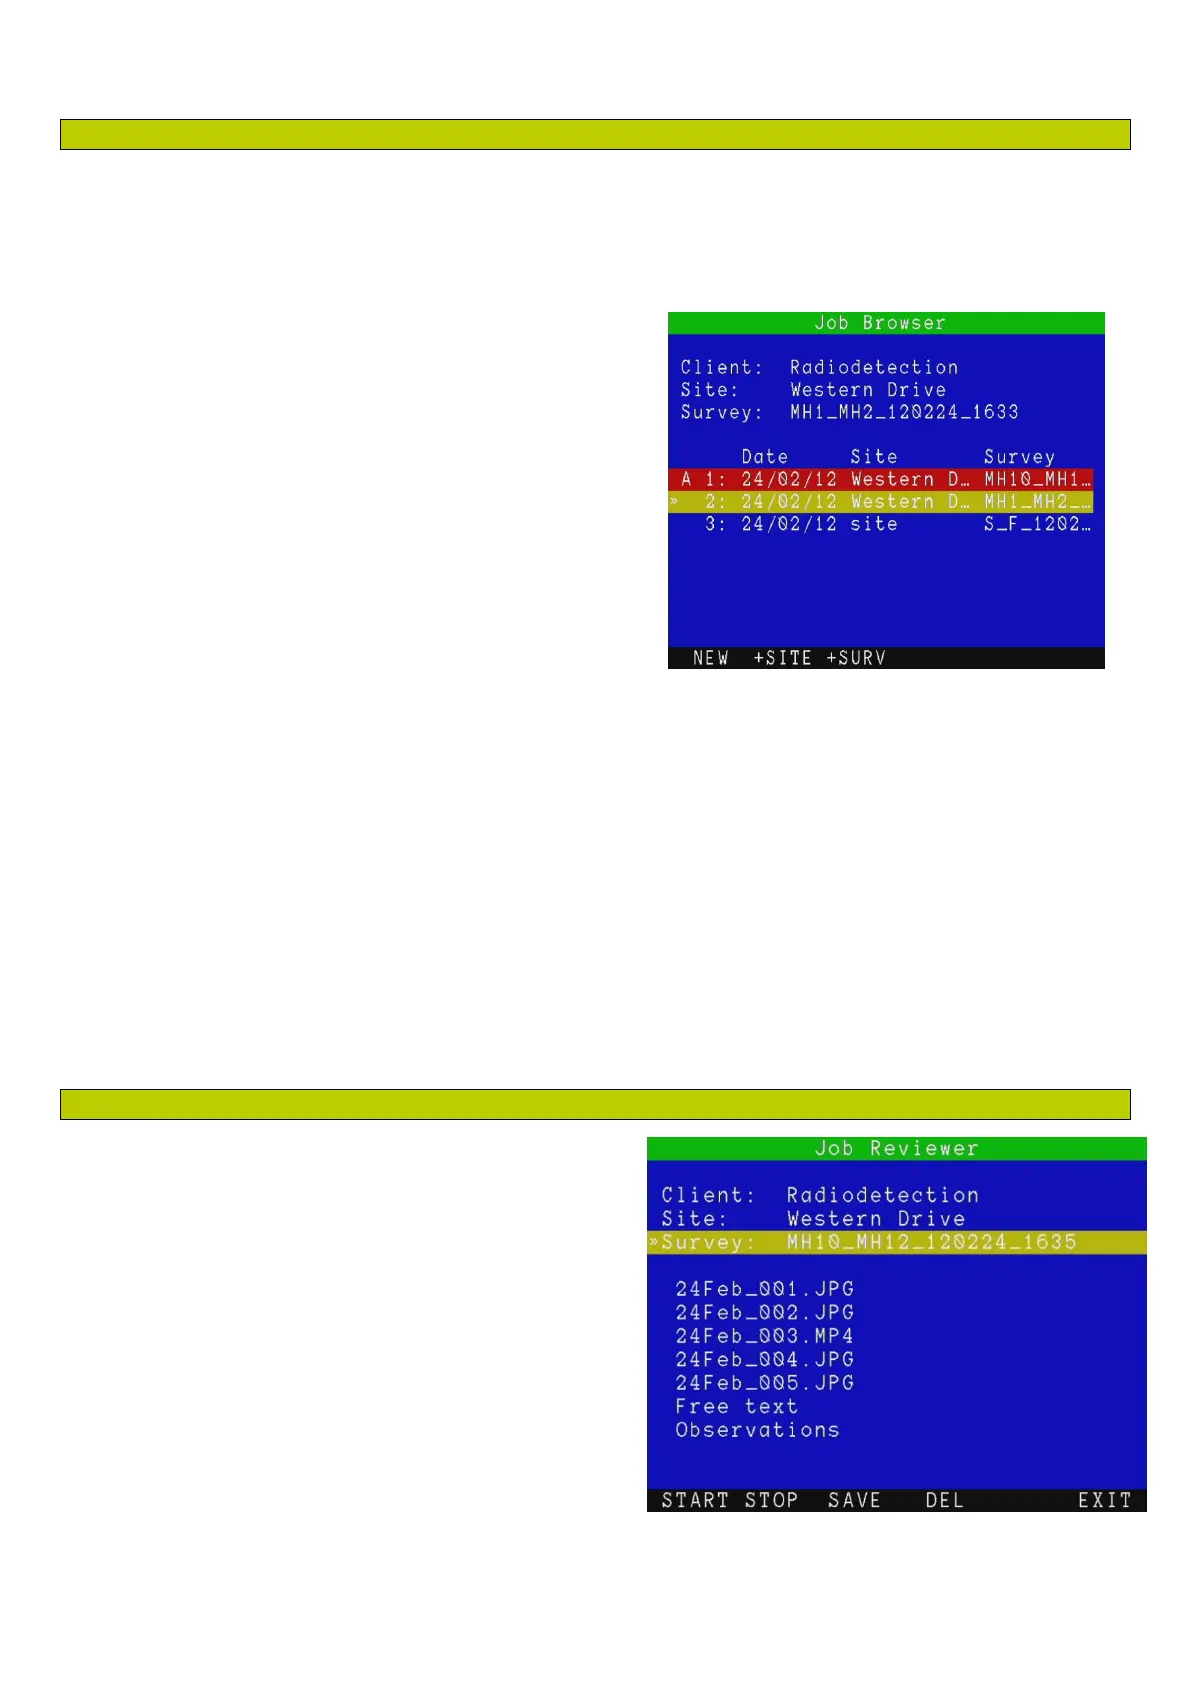
9.4 Job Reviewer
The Job Reviewer, Figure 9.5 is the menu that allows
creating, editing or reviewing a job client, site and
survey data. It also allows reviewing quickly all the files
associated with the selected job.
The Job Reviewer screen is divided into 3 areas:
Job details: This shows client, site and survey
details.
File browser: This shows all the files associated
with the job.
Menu bar: This shows all the available
commands.
Figure 9.4: Job browser menu
Figure 9.5: Job Reviewer Menu