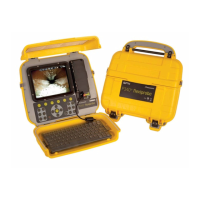
P340 flexiprobe Operation Manual 74
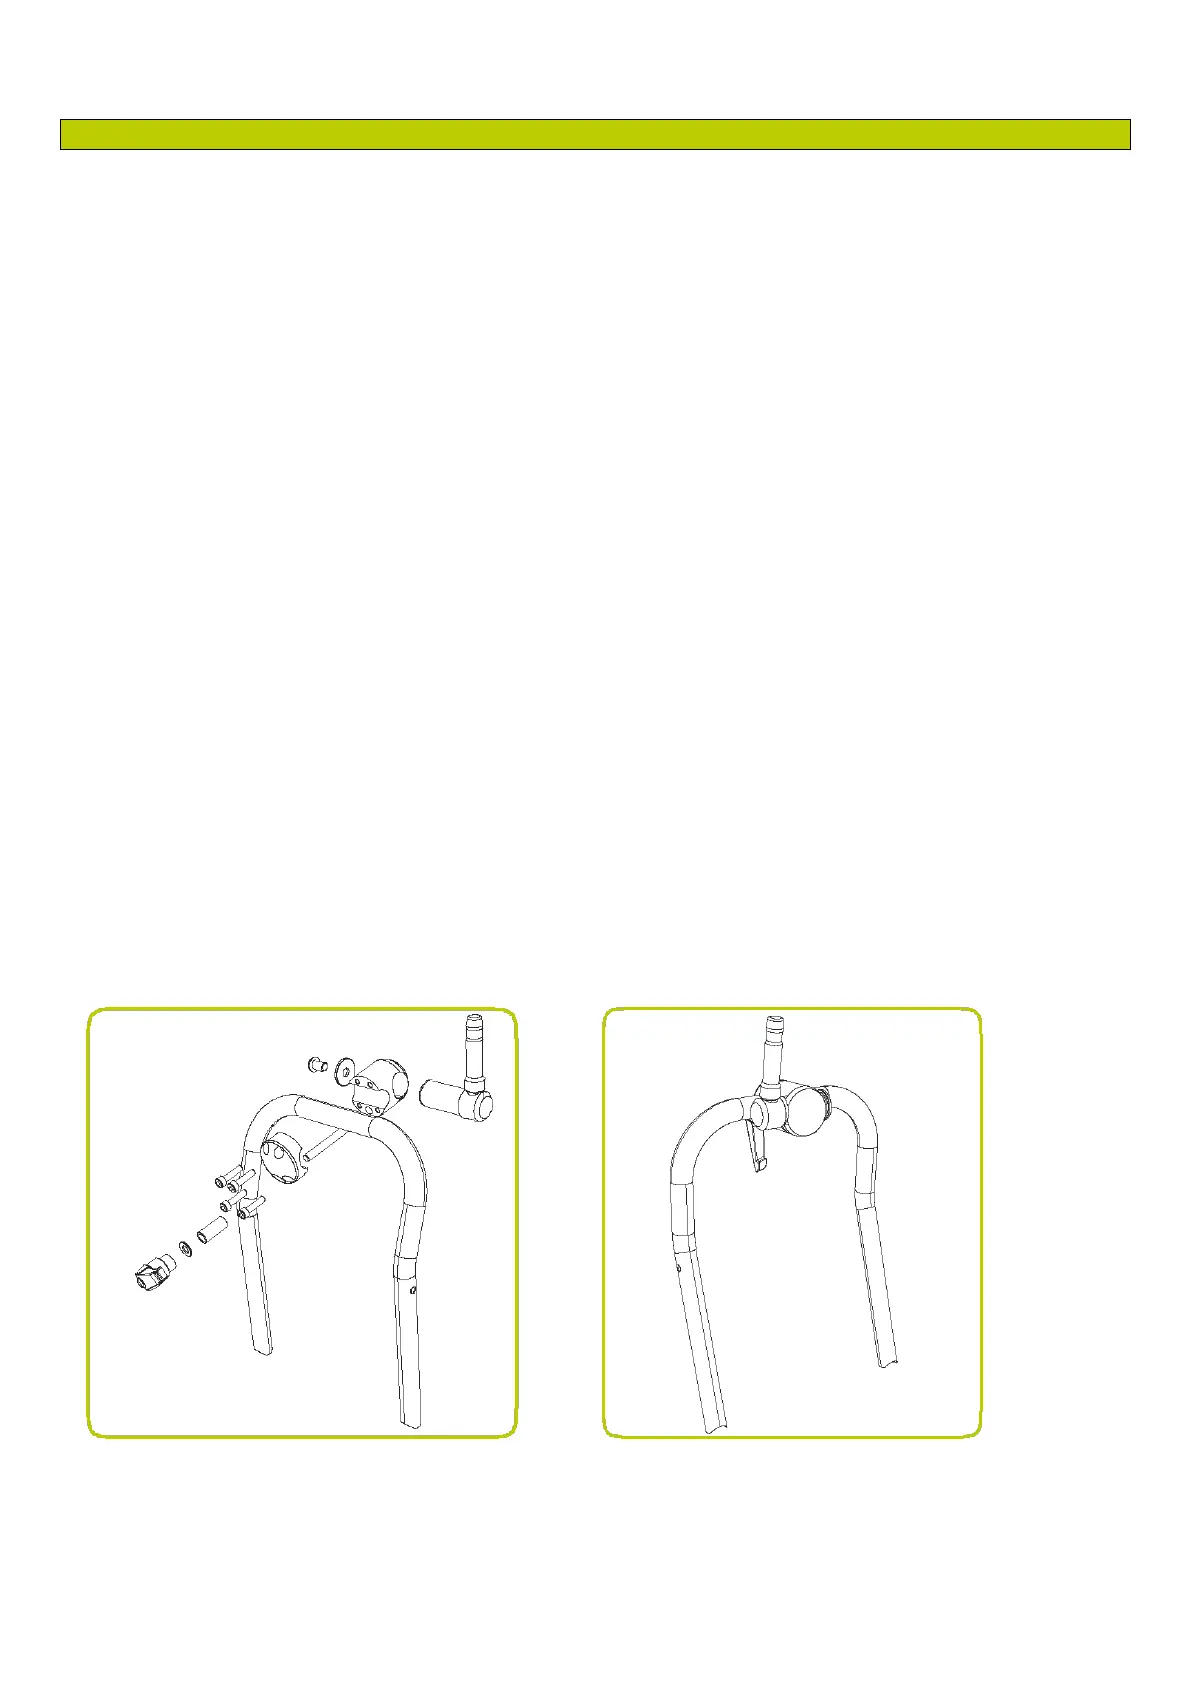
11.2 Clamp assembly
Use the optional flexiprobe clamp to attach the controller onto the pushrod reel. This is not required on
P343 reels.
The flexiprobe clamp is supplied in its assembled state. Figure 11.4 illustrates the clamp in exploded form
in place above the reel.
To install the clamp:
1. Remove the black handle, by rotating anti clockwise. Place safely to
one side.
2. Slide washer and collar off the shaft and place safely to one side.
3. Remove the 4 x 6mm bolts using a 5mm Allen key (not supplied) and place safely to one side.
4. Remove end clamp and place safely to one side.
5. Place the clamp unit onto the coiler cross bar, with the threaded shaft lowermost and the clamp
spigot pointing upwards. Place end clamp in the clamp unit and secure in place using 4 x 6mm
bolts.
6. Place the collar, then the washer onto the threaded shaft.
7. Place the black handle back on the threaded shaft until hand tight.
8. The clamp should appear as shown in Figure 11.5.
Figure 11.4: Pushrod clamp exploded Figure 11.5 Installed pushrod clamp
Figure 11.5: Installed pushrod
camp