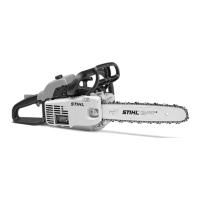
52 MS 200, MS 200 T
9.5.2 Testing the Wiring
Harness
(MS 200)
– Remove the chain sprocket
cover, bar and chain, b 5
In this model a wiring harness is
installed in the handle housing to
extend the short circuit wire. It is
possible that the break may be in
either the short circuit wire or the
wiring harness.
Test the wiring harness separately
to determine which wire is
damaged.
: Take out the screw (arrow).
: Take out the screws (arrows) and
pull out the annular buffer,
b 11.2
– Lift the handle housing slightly.
161RA163 TG161RA164 TG
: Pull short circuit wire connector
(2) off the wiring harness (1).
– Connect the ohmmeter to the
ground wire (arrow) and the
wiring harness (1).
– Set the switch shaft to "
0".
The resistance measured must be
about 0 Ω. If it is much higher, the
reason is a break and the wiring
harness has to be replaced,
b 9.5.3.
If the wiring harness is in order, the
fault is in the short circuit wire.
Install a new short circuit wire,
b 9.5.3.
– Set the switch shaft to "F".
The resistance measured must be
infinitely high. If not, fit a new short
circuit wire or wiring harness,
b 9.5.3, b 9.5.4.
– Reassemble in the reverse
sequence.
161RA165 TG
1
2
9.5.3 Removing and Installing
– Remove the chain sprocket
cover, bar and chain, b 5
: Take out the screws (arrows).
– Remove the covers(1 and 2).
– Remove the fan housing, b 10.2
– Remove the flywheel, b 9.4
– Remove the ignition module,
b 9.2.1
On a MS 200, a wiring harness if
installed to extend the short circuit
wire. Apart from the preparartions,
the procedure for removing and
installing the short circuit wire is the
same on both models.
MS 200
: Take out the screw (arrow) and
loosen the handlebar.
161RA166 TG
1
2
161RA167 TG

 Loading...