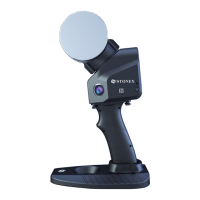
Tip!
The center (c) of the scan area is placed
along the bisector of the horizontal angle
(α):
Turn the laser window toward the center of
the scene and set the scan angle in order to
embrace the whole scene or just a portion.
Alternatively you can set a new index.
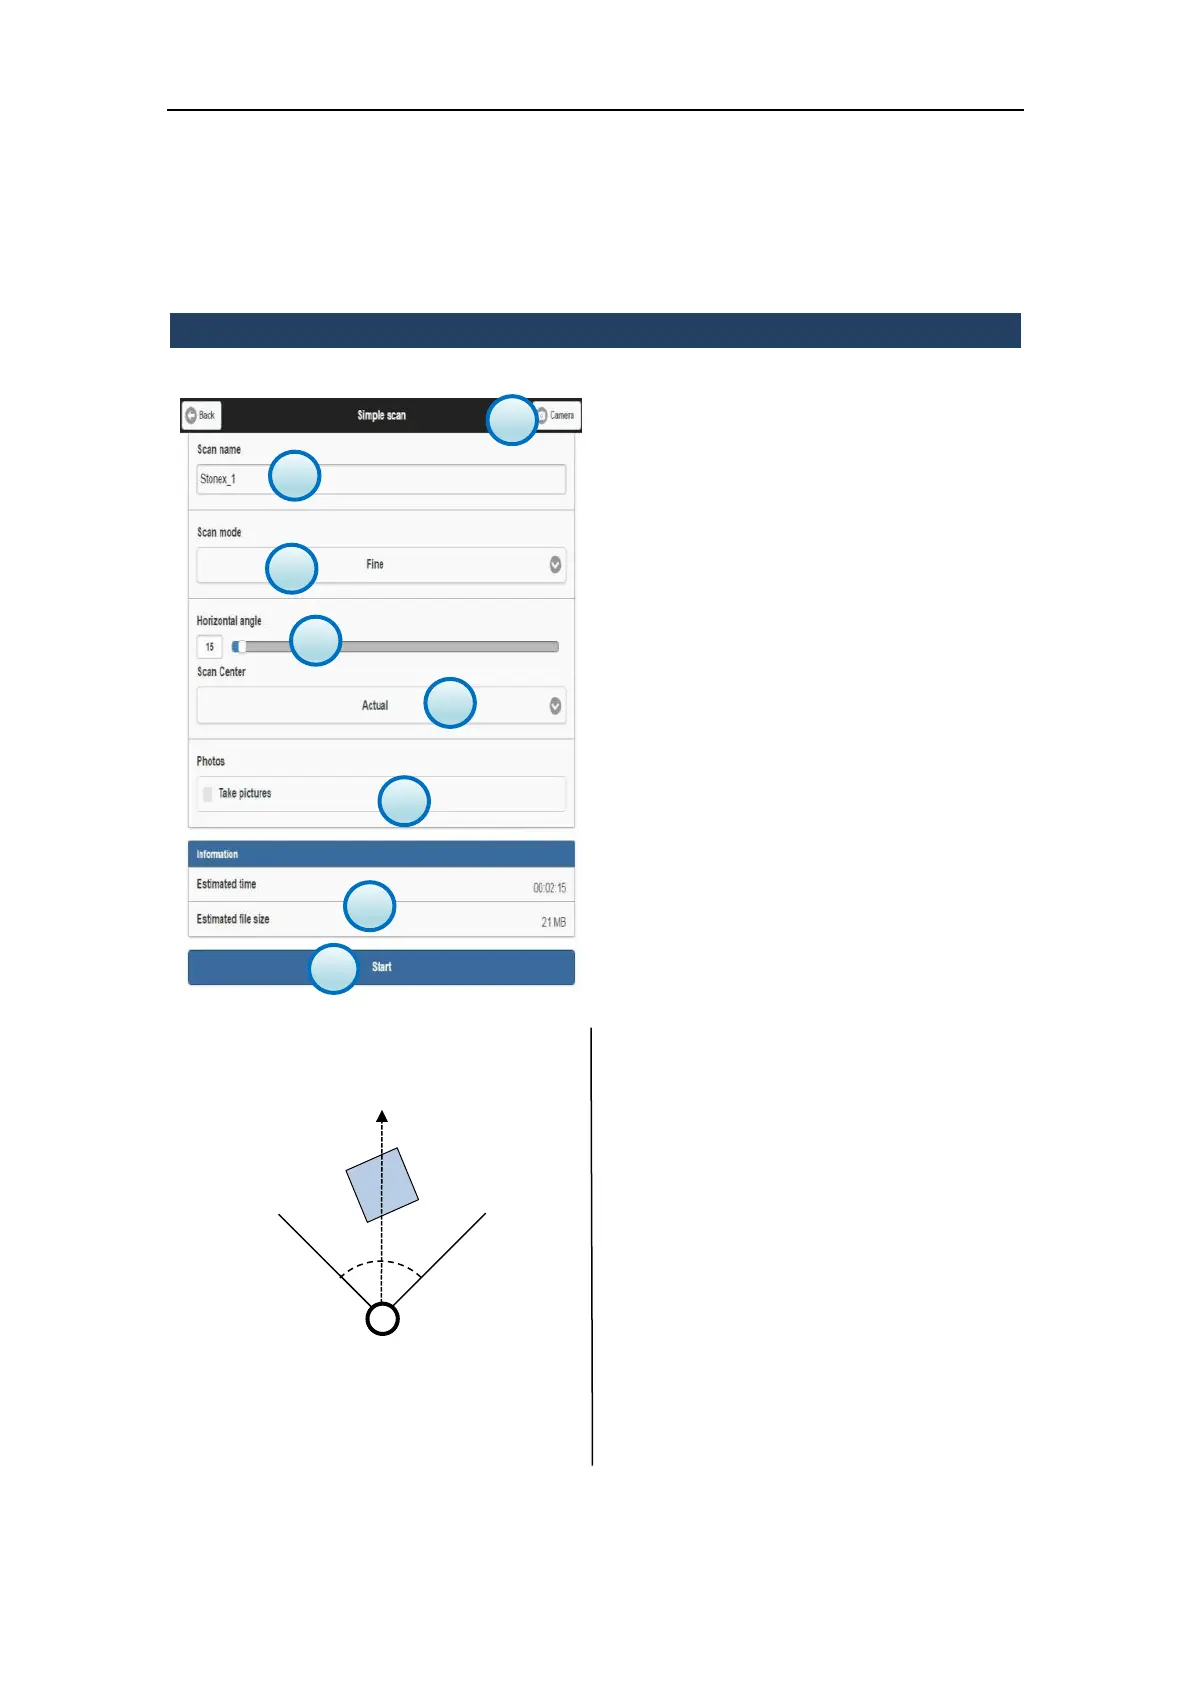
1. Scan name
Enter the name of the new scan that you want
to start.
2. Scan mode
Select the scan resolution from the drop-
down list (par. 1.4).
3. Horizontal angle
Set the angle for the horizontal rotation of the
scanner (unit: °deg).
4. Starting Position of Scan
Set the starting position of Laser X300 (Index
or Actual Position)
5. Photos
Enable/Disable the photos capture using the
X300 internal cameras.
When the control is enabled, the X300
automatically takes the pictures after
scanning.
The two synchronized onboard cameras allow
to cover the vertical angle of the scan.
The number of the pictures varies according
to the the width of the horizontal angle.
6. Camera
Enter the Camera menu (see par. 3.5.7).
7. Information
It displays scan estimated time and file size
information depending on the settings
(photos included).
8. Start
Press the Start button to start scanning,
according to the given settings.