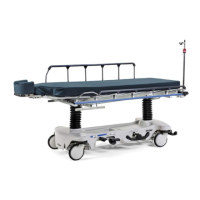
page 3–2
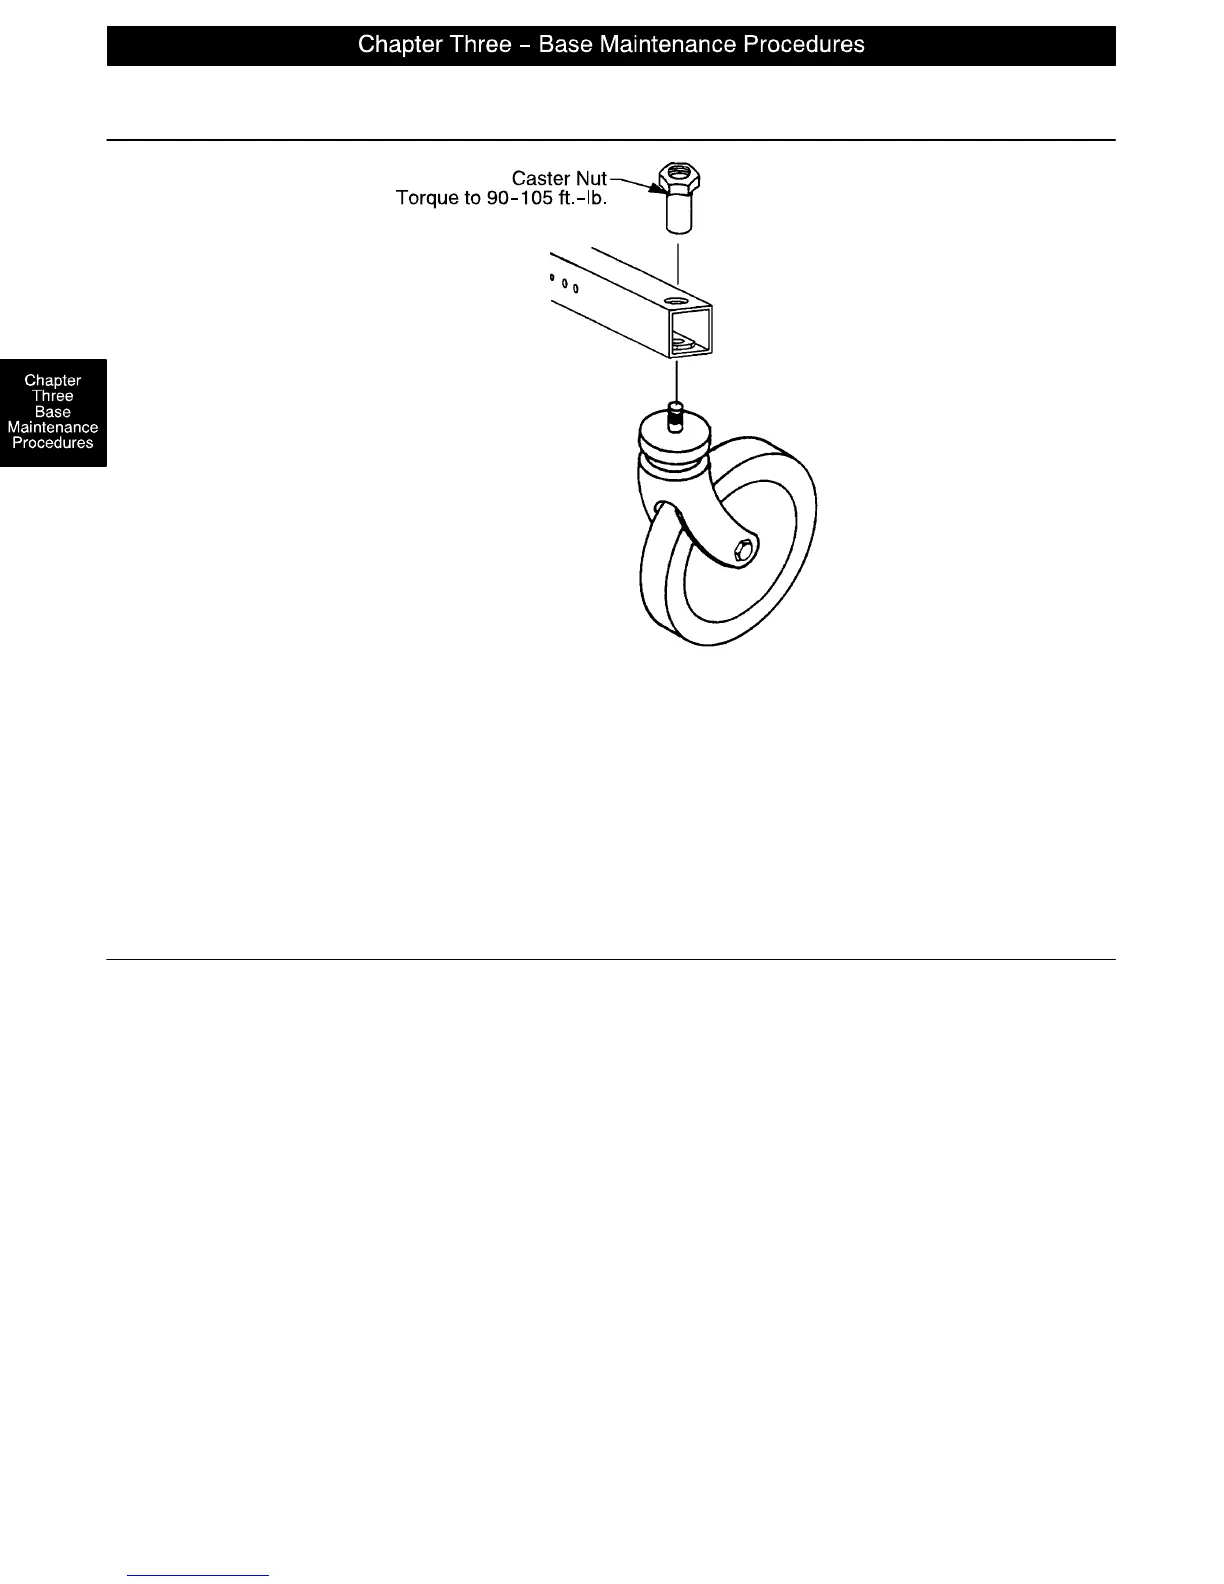
Caster Assembly Replacement
1. Remove the old caster assembly.
2. Install the replacement caster and caster nut. Tighten the caster nut to 90–105 ft.–lb. with a torque wrench.
NOTE
A new caster assembly with a 3M patch does not require the application of Loctite at assembly. However,
the patch is appropriate for only one installation. If the caster is removed and reassembled for any reason,
apply Loctite 242 to two or three threads of both the bolt and caster nut and tighten to 90–105 ft.–lb. with a
torque wrench.
Fifth Wheel Replacement
Required Tools:
Pliers String or Bungee Cord 3/16” Allen Wrench
(2) 9/16” Box End Wrenches
Procedure:
1. Apply the stretcher brakes.
2. Pump the litter up to full height.
3. Lift and support the base hood using string or bungee cord.
4. Using pliers, remove the cotter pin from the end of the fifth wheel pivot rod and remove the two washers.
5. Pull up on the fifth wheel arm and pull down on the tension spring to release the pressure on the arm.
6. Using a 3/16” Allen wrench, remove the hex Allen bolt from the center of the pivot rod and pull the pivot
rod out of the wheel arm.
7. Reverse the above steps to install a new fifth wheel assembly.
NOTE
To replace the wheel only, use two 9/16” box end wrenches to remove the bolt and nut holding it to the wheel
arm.