page 4–5
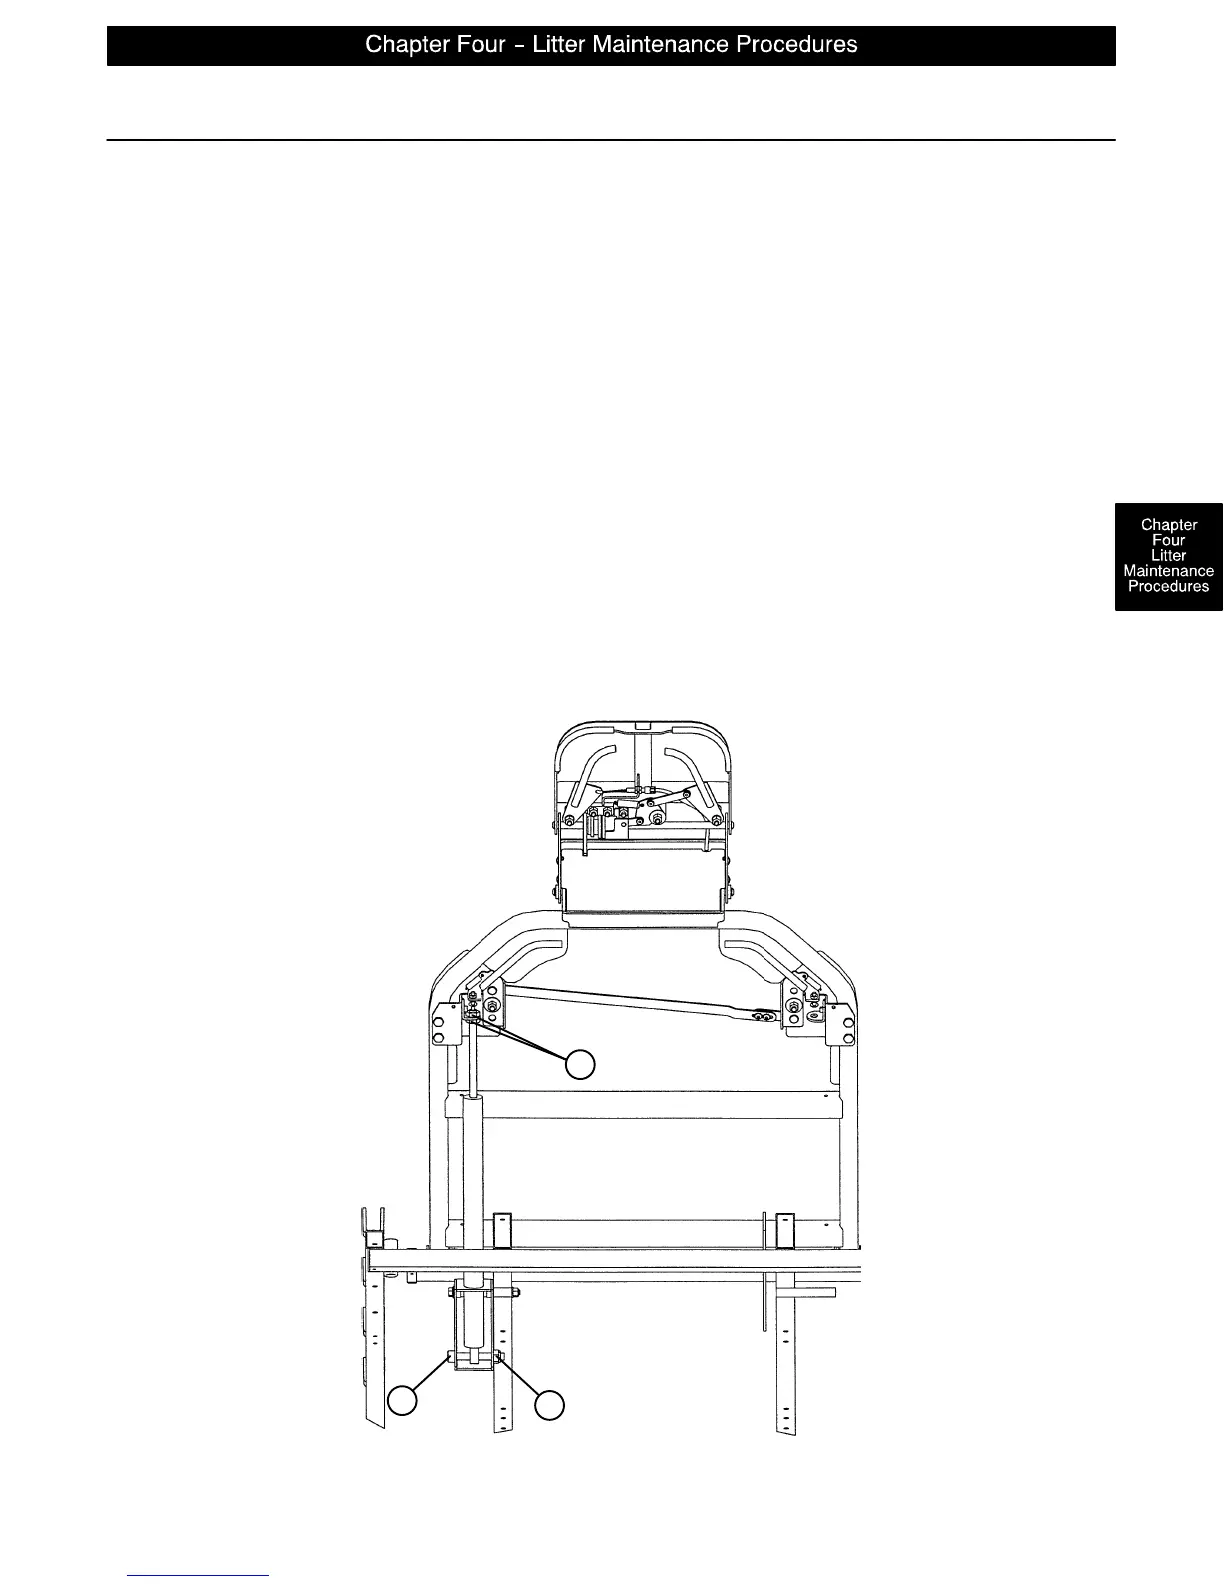
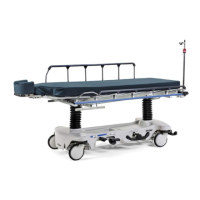
Pneumatic Cylinder Replacement
Required Tools:
(2) 17 mm. Wrenches 11/16” Open End Wrench 5/16” Hex Allen Wrench
Adjustment Procedure:
1. Apply the stretcher brakes.
2. Pump the litter up to full height.
3. Move the Fowler to 70.
4. Using two 17 mm. wrenches, remove both the large nuts (A) from the top of the pneumatic cylinder.
5. Using a 5/16” hex Allen wrench and an 11/16” open end wrench, remove the nut (B) and bolt (C) from
the bottom of the cylinder.
6. Raise the Fowler to 90 and remove the cylinder.
7. Press down on the release pin on the replacement cylinder to fully extend the cylinder.
8. Put the large nut on the new cylinder and screw it down securely.
9. Using a 5/16” hex Allen wrench and an 11/16” open end wrench, install the nut (B) and bolt (C) on the
bottom of the cylinder.
10. Check the Fowler adjustment (see page 4–3) before returning the stretcher to service.
A
C
B