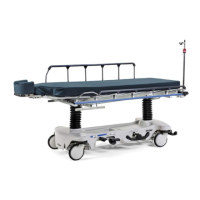
page 3–12
Hydraulic Jack Valve Replacement (Continued)
Replacement of Release Valve
WARNING
To avoid personal injury or damage to the stretcher, remove the litter and the base hood before beginning
service on the jacks. Lower the jack rod completely to relieve the pressure on the pump piston side of the
jack. This will prevent large hydraulic fluid loss and possible damage when the base plugs are removed.
1. Remove the release valve (10).
2. Install the new the release valve (10).
3. Pump up the jack to the maximum height.
4. Be sure there are no hydraulic leaks before replacing the base hood and the litter.
Replacement of Poppet Valve
WARNING
To avoid personal injury or damage to the stretcher, remove the litter and the base hood before beginning
service on the jacks. Lower the jack rod completely to relieve the pressure on the pump piston side of the
jack. This will prevent large hydraulic fluid loss and possible damage when the base plugs are removed.
1. Remove the base plug (7) and the seal (8).
2. Remove the compression spring (9).
3. Using small needle nose pliers, remove the poppet valve (2).
4. Install the new poppet valve (2).
5. Reinstall the compression spring (9).
6. Reinstall the seal (8) and the base plug (7) and tighten to 10 foot–pounds torque.
7. Pump up the jack to the maximum height to check its operation.
8. Check for hydraulic leaks before replacing the base hood and the litter.