100 EN
Note Read the “Notes and Cautions” section at the end of this
procedure before using the Sidne™ console to control the
ESU.
Note Do not attempt to install any other software driver until the
installation of the ESU Driver is complete and the Sidne™
console has restarted (after step 6 of this section).
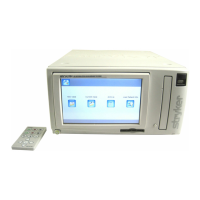
The Sidne™ ESU Driver 2.0 upgrade allows the Sidne™ console to
communicate with the Valleylab Force FX™ Electrosurgical Unit (ESU).
Follow the instructions below to install the Sidne™ ESU Driver 2.0
upgrade on the Sidne™ console:
1. Ensure that the ESU is powered Off.
2. Power On the Sidne™ console and wait until Sidne™ says
“Sidne™ ready.”
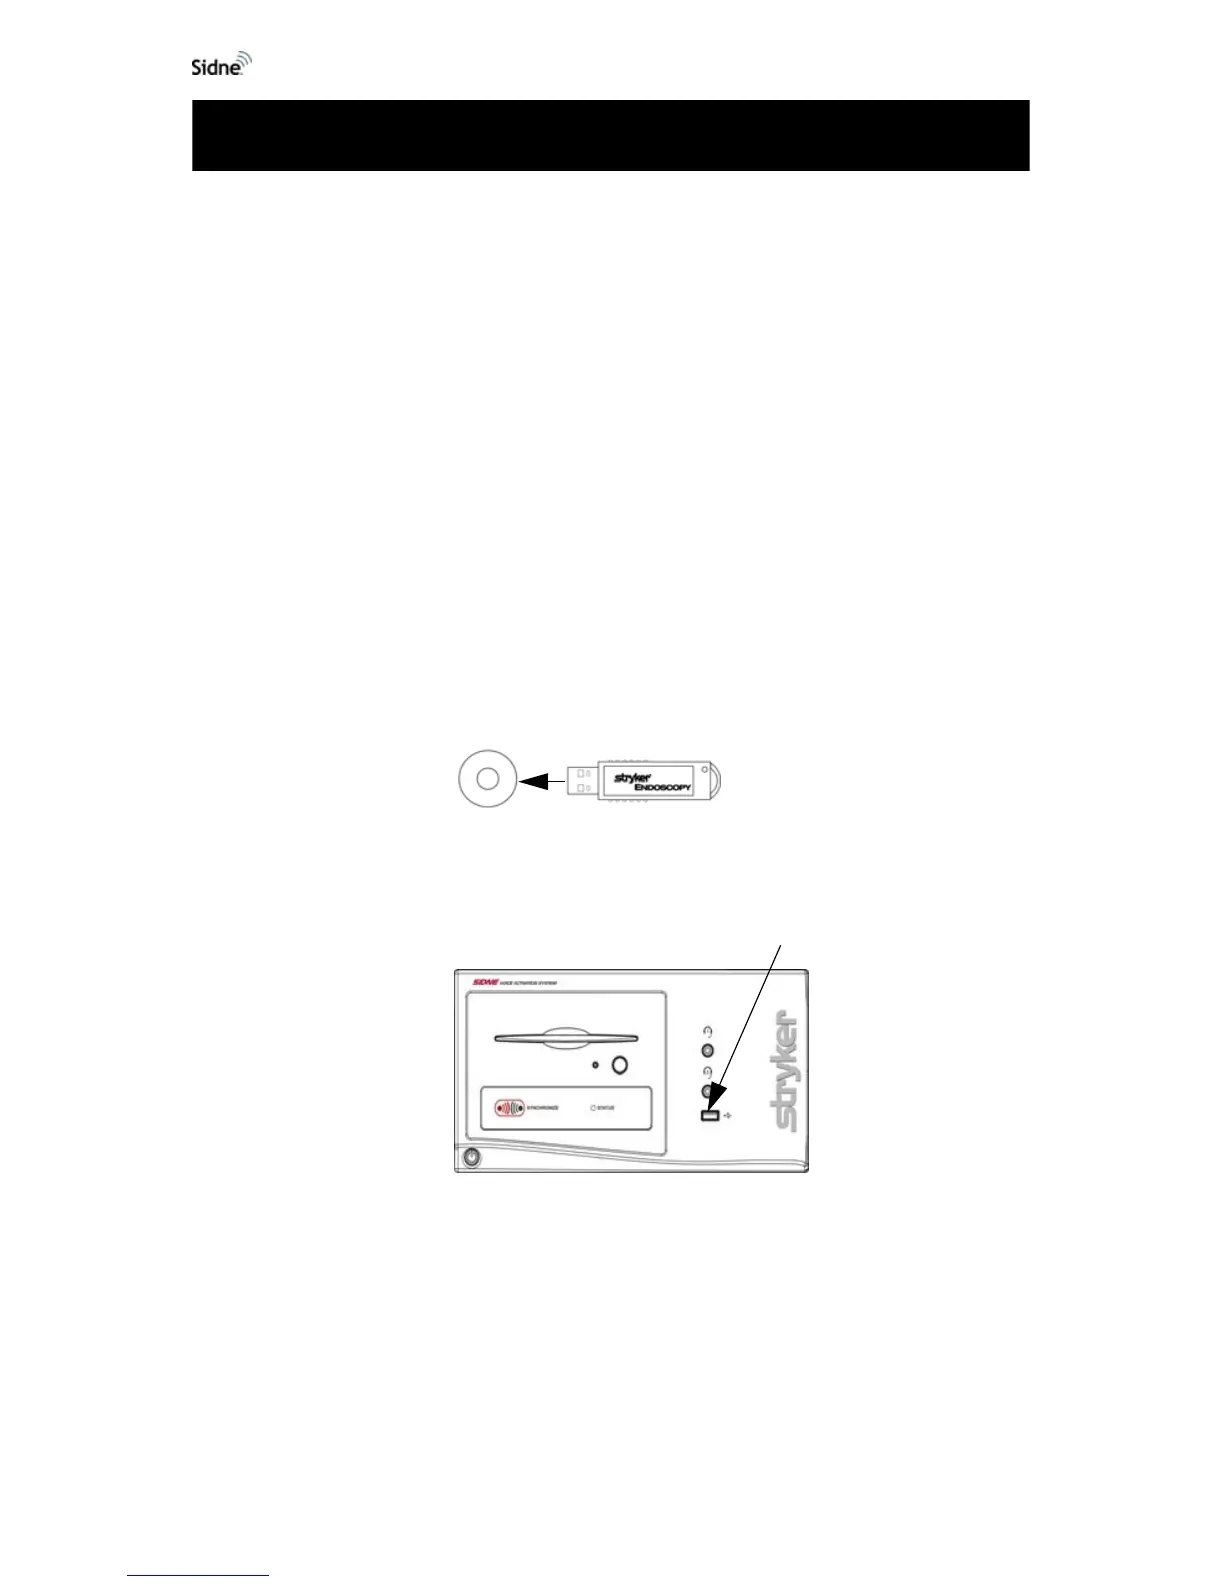
3. Remove the cap from the ESU driver dongle (see Figure 11).
Figure 11: Removing the cap from the ESU driver dongle
4. Insert the dongle into the device-driver dongle port on the front
Sidne™ panel (see
Figure 12).
Figure 12: Inserting the dongle into Sidne™
Note After installation, the driver dongle will work only with the
system to which it has been installed. It can be reinstalled
on that system, but it will not work with other systems.
5. Follow the voice instructions given by Sidne™:
Installing the ESU Driver Upgrade