Unsupported Probe dialog
This dialog tells you that you have attached an unsupported probe.
To open the Unsupported Probe dialog:
1. Double-tap a Channel badge to open the channel configuration menu.
2. Tap the Probe Setup panel.
3. Read the Probe Information.
If you have attached an unsupported probe, remove the unsupported probe and attach a supported probe to the input channel.
See also.
Probe Compensation configuration menu (analog channels Probe Setup panel) on page 267
Other panel (Channel configuration menu) on page 268
Deskew configuration menu (Other panel, Channel configuration menu) on page 269
Probe Compensation configuration menu (analog channels Probe Setup panel)
Use this menu to compensate probes that support automatic frequency compensation. This menu is only available when a
compensation-supported probe is installed on the channel.
To open the Probe Compensation dialog:
1. Double-tap the Channel badge on the Settings bar to open the channel configuration menu.
2. Tap the Probe Setup panel.
3. Tap Compensate Probe.
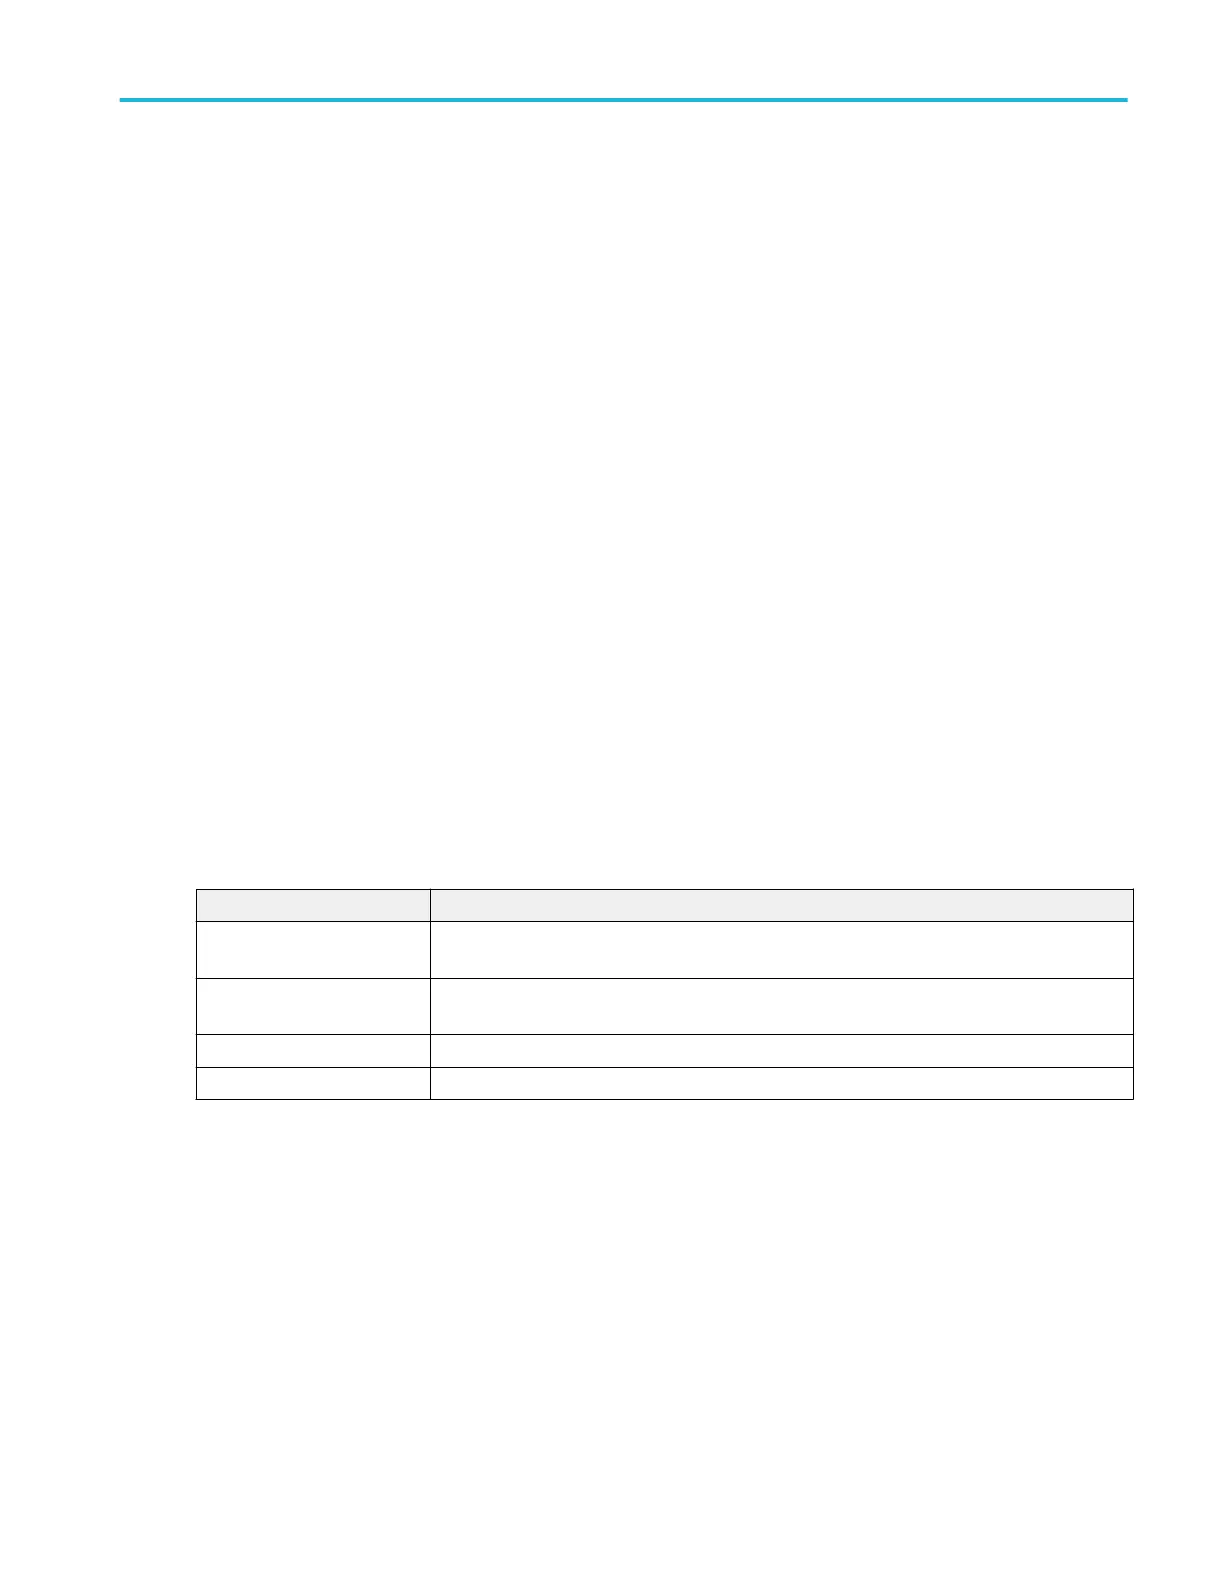
Probe Compensation dialog. Available fields and controls vary with the type of probe that is attached. For more information,
consult the probe documentation. Read the information on the menu before starting the probe compensation process.
Field or control Description
Compensate Probe Tap to compensate the attached probe. Before compensating the probe, read the instructions in
the dialog.
Restore Factory Defaults Tap to restore the probe compensation factory defaults and remove the previous compensation
results.
Probe Compensation Status Probe compensation status can be Running, Passed, Failed or Default.
OK Tap to close the dialog.
See also.
Unsupported Probe dialog on page 267
Other panel (Channel configuration menu) on page 268
Deskew configuration menu (Other panel, Channel configuration menu) on page 269
Menus and dialog boxes
MSO54, MSO56, MSO58, MSO58LP, MSO64 Help 267