5-7
INSTRUMENTATION 5.3
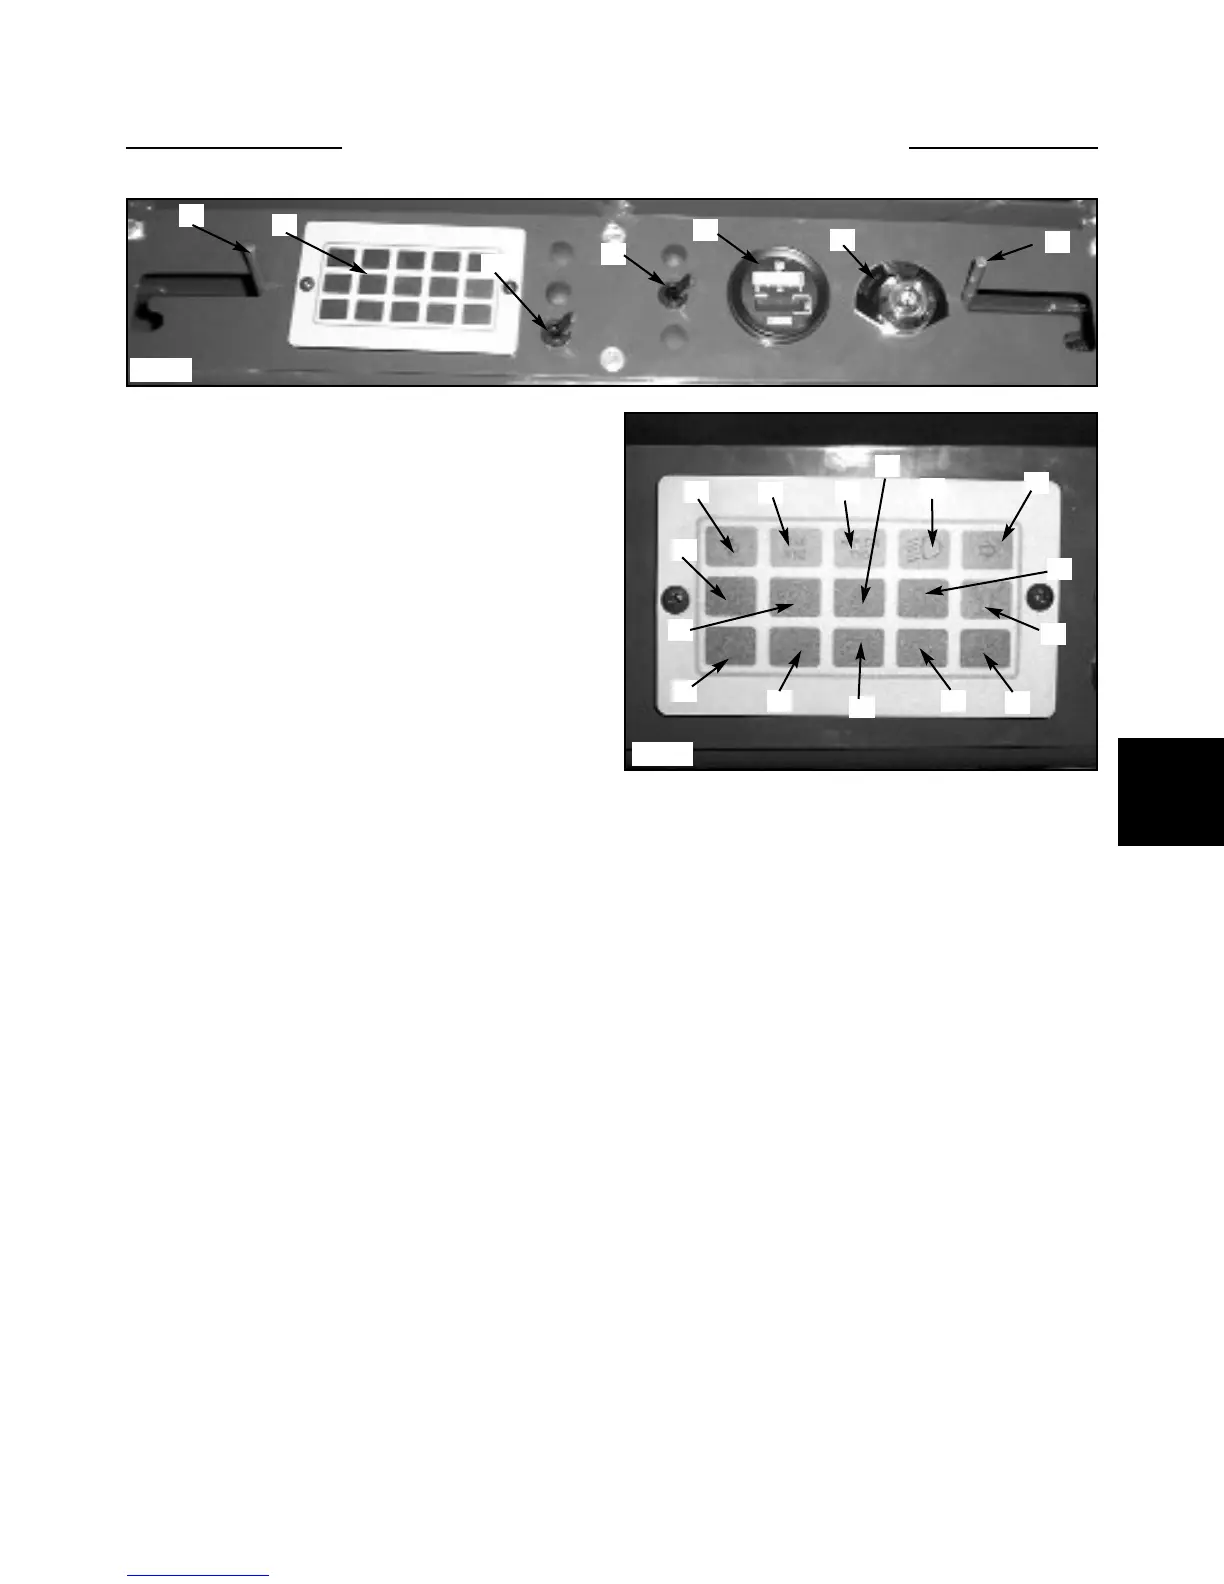
Legend for fig. C5088, C5087
1 Boom Support Pin Rods
2 Indicator Panel
3 Work Light Switch
4 Electric Auxiliary
5 Fuel gauge / Hour meter
6 Ignition Switch
7 LH Directional Signal
8 Electric Auxiliary Engaged
9 -Not used-
10 Work Light Indicator
11 RH Directional Signal Indicator
12 Hydraulic Oil Temperature High Indicator
13 Parking Brake On Indicator
14 Seat Belt Unfastened Indicator
15 -Not used-
16 Rotating Beacon On Indicator
17 Engine Oil Pressure Low Indicator
18 Engine Coolant Temperature High Indicator
19 Alternator Not Charging Indicator
20 -Not used-
21 Preheat On Indicator
To replace a malfunctioning switch or indicator light:
1 Remove the seat and the battery access panel.
Disconnect the negative cable from the battery.
2 Remove the 6 screws retaining the electrical panel to
the dash pod. (fig. C5088)
3 Disconnect the spade terminals on the rear of the
switch.
4 Remove the switch by loosening the hex nut on the
back, then unscrewing the knurled nut on the front of the
electrical panel.
5 Replace an indicator bulb by turning out the socket
and pull bulb out.
6 Replace the switch, indicator light and panel in the
reverse order.
Switch & Bulb Replacement
C5088
C5087
4
1
1
2
3
6
5
12
15
11
10
13
9
8
7
16
21
20
19
18
17
14
5