101
MOD332
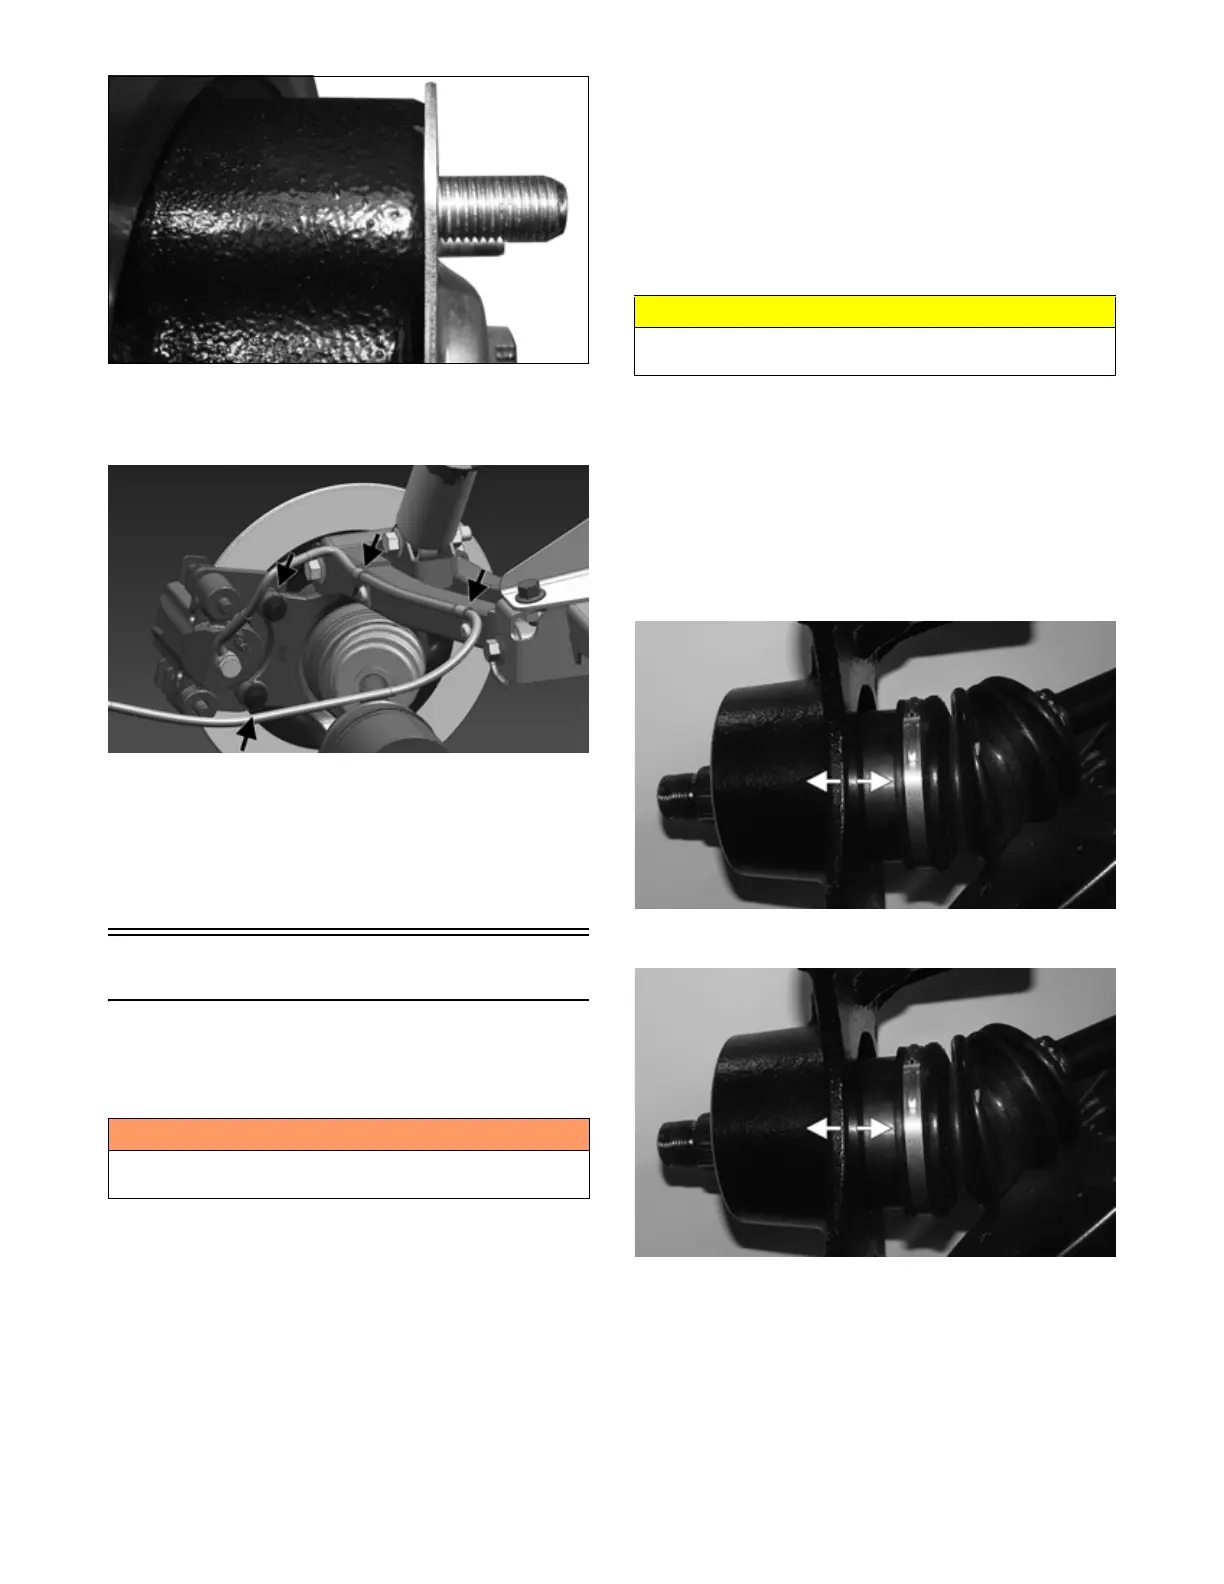
4. Secure the brake calipers to the knuckle with two
new “patch-lock” cap screws tightened to 20 ft-lb
(27.2 N-m).
OHA092
5. Install the wheel and tighten the wheel nuts in 20
ft-lb increments to a final torque of 40 ft-lb (54.4
N-m) (steel wheel), 60 ft-lb (81.6 N-m) (aluminum
wheel w/black nuts), or 80 ft-lb (108.8 N-m) (alumi-
num wheel w/chrome nuts).
6. Remove the vehicle from the support stand.
Drive Axles
REMOVING REAR DRIVE AXLE
1. Secure the vehicle on a support stand to elevate the
wheels.
2. Remove the wheel.
3. Remove the hubs (see Hub Assembly in this sec-
tion).
4. Slide the hub out of the knuckle and set aside.
5. Remove the cap screw and lock nut securing the
knuckle to the upper A-arm. Discard the lock nut.
NOTE: Never reuse a lock nut. Once a lock nut has
been removed, it must be replaced with a new lock
nut.
6. While holding the drive axle stationary, pull the top
of the knuckle out and down until it is free of the
drive axle.
7. Place a drain pan under the vehicle to contain any oil
leakage.
8. Pull out sharply on the axle to dislodge the splines
from the gear case. Remove the axle.
NOTE: Keeping the axle level will aid in removal.
9. Repeat for other side.
REMOVING FRONT DRIVE AXLE
1. Remove the outer tie rods from the knuckle; then
remove the lower and upper ball joint cap screws
taking care not to strip the threads on the ball joint
shaft; then, using a rubber mallet, tap the end of the
axle and free it from the knuckle assembly. Repeat
for the other side. Discard lock nuts. Inspect cap
screws and replace if damaged.
MOD325
2. Pull the steering knuckle away from the axle.
MOD349
3. Place a drain pan under the vehicle to contain any oil
leakage; then pull out sharply on the axle to dislodge
the splines from the gear case. Remove the axle.
4. Repeat for other side.
CLEANING AND INSPECTING AXLES
NOTE: Always clean and inspect the drive axle
components to determine if any service or replace-
ment is necessary.
! WARNING
Make sure the ATV is solidly supported on the support
stand to avoid injury.
CAUTION
Do not attempt to use a slide hammer or gear case/axle
damage will occur.