25
MOD331
MOD332
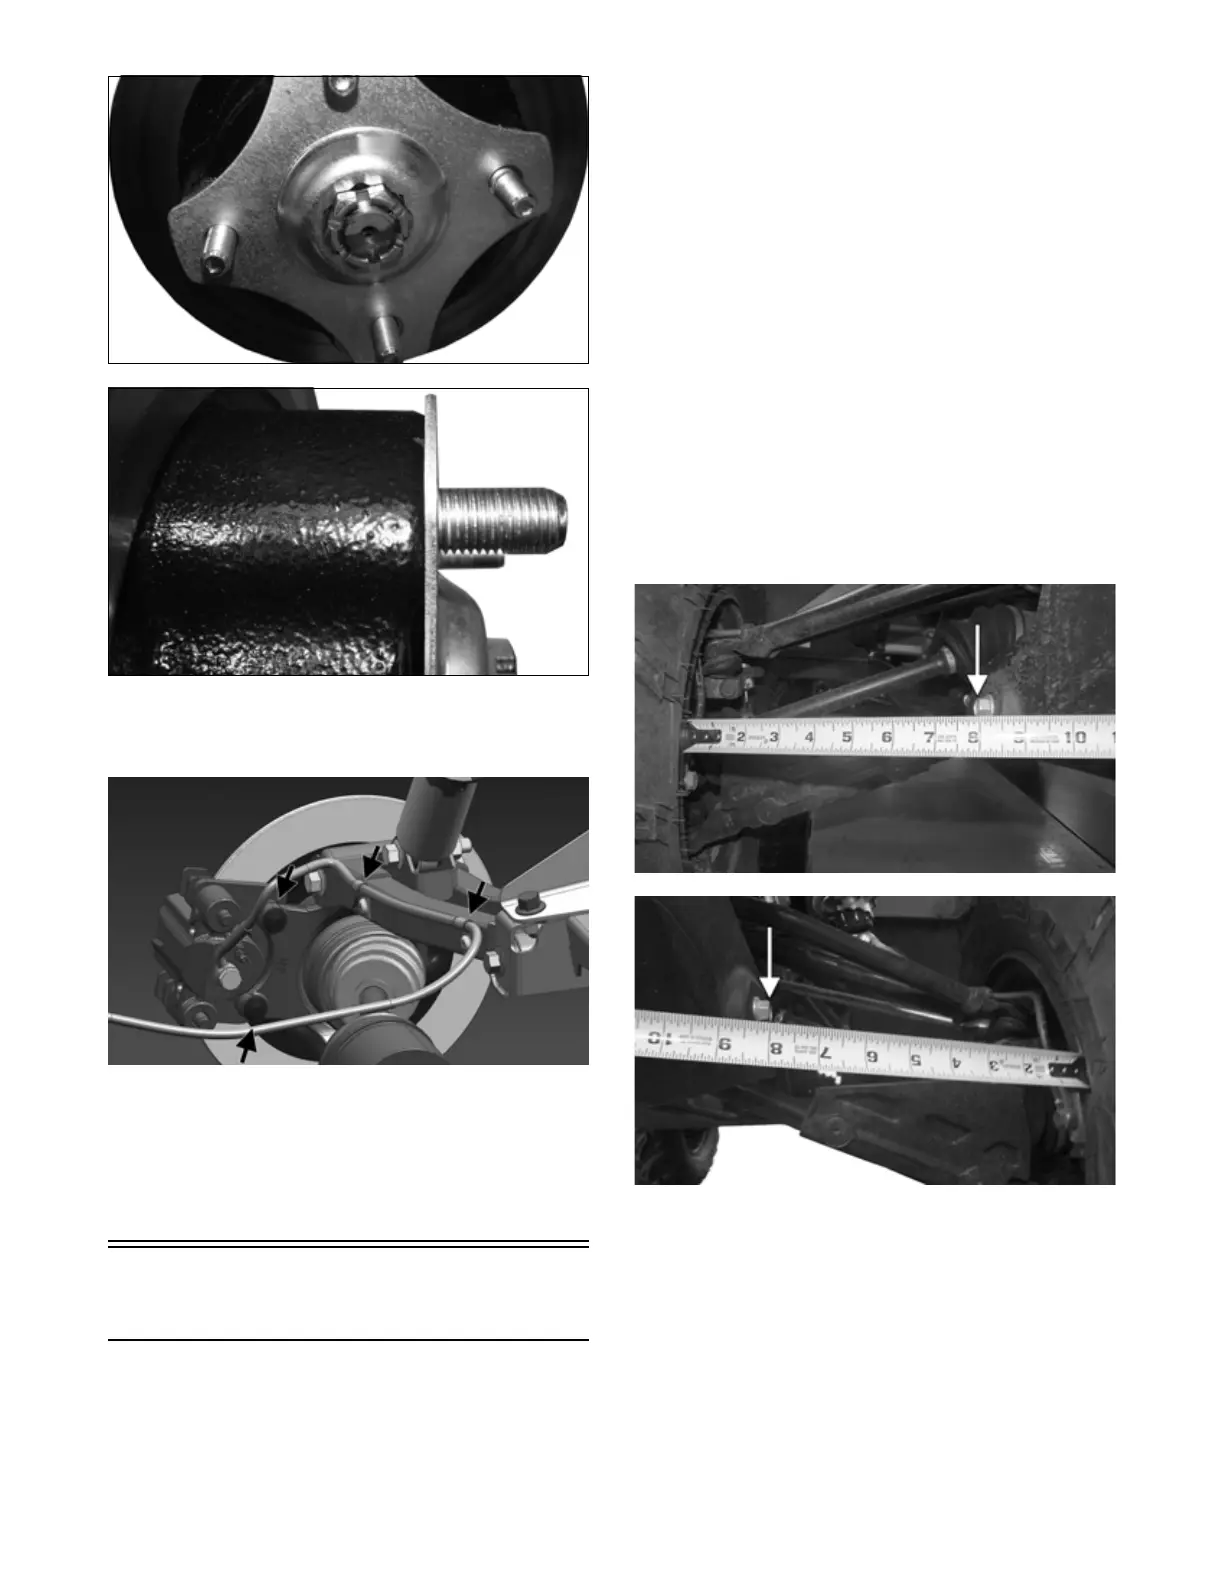
7. Secure the brake calipers to the knuckle with two
new “patch-lock” cap screws tightened to 20 ft-lb
(27.2 N-m).
OHA092
8. Install the wheel and tighten the wheel nuts in 20
ft-lb increments to a final torque of 40 ft-lb (54.4
N-m) (steel wheel), 60 ft-lb (81.6 N-m) (aluminum
wheel w/black nuts), or 80 ft-lb (108.8 N-m) (alumi-
num wheel w/chrome nuts).
9. Remove the vehicle from the support stand.
Measuring/Adjusting
Toe-Out
1. Thoroughly wash the ATV to remove excess weight
(mud, etc.).
2. Refer to the specifications and ensure the tires are
properly inflated to the recommended pressure.
NOTE: Ensure the inflation pressure is correct in
the tires or inaccurate measurements can occur.
3. Place the ATV in a level position taking care not to
push down or lift up on the front end; then turn the
handlebar to the straight ahead position.
NOTE: When measuring and adjusting, there
should be a normal operating load on the ATV (with-
out an operator but with approved accessories).
4. Measure the distance from the outside edge of each
handlebar grip to equal reference points on each side
of the rear rack.
5. Adjust the handlebar direction until the two measure-
ments are equal; then secure the handlebar to the rear
rack using tie-down straps.
NOTE: Care must be taken not to allow the handle-
bar to turn while securing it.
6. Measure the distance from the inside of each front
wheel rim to the bolt securing the front fascia to the
front bumper.
XR215A
XR214A
NOTE: The distances from the inside wheel rims to
the bolts should be equal. If the measurements are
equal, proceed to step 8; if the measurements are not
equal, proceed to step 7.
7. To make the measurements equal, loosen the inner
and outer tie rod jam nuts and adjust accordingly;
then tighten the jam nuts and proceed to step 8.