113
3. Slide the driveshaft forward and out.
ASSEMBLY
1. Lightly coat the splines of the driveshaft with molyb-
denum grease; then couple the driveshaft to the tran-
saxle by gently sliding the driveshaft toward the
rear of the vehicle. Verify the O-rings and boot
are intact for the coupler.
2. Install the front differential as described in the Front
Differential section.
Transaxle
REPLACING SEALS
Output (Axle) Seal
NOTE: The transaxle does not need to be removed
for this procedure.
1. Support the vehicle on an appropriate stand; then
remove a rear wheel and axle.
2. Using an awl and a mallet, pry the seal from the case
taking care not to damage the seal bore.
TA118
3. Wipe any oil or dirt from the seal area of the tran-
saxle.
4. Using an appropriate seal installer and protector,
install a new seal so it seats fully past the chamfer of
the case — approximately 1.5-2.0 mm (0.06-0.08 in)
deep.
TA113
TA115
Input (Driven Clutch) Seal
NOTE: The transaxle does not need to be removed
for this procedure.
1. Support the vehicle on an appropriate stand; then
remove the left rear wheel, the outer clutch cover, the
clutches, and the inner clutch cover.
2. Using an awl and a mallet, pry the seal from the case
taking care not to damage the seal bore.
TA109
3. Wipe any oil or dirt from the seal area of the transaxle.
4. Using an appropriate seal installer and protector,
install a new seal so it seats flush with the case
(0.5 mm deep).
TA110
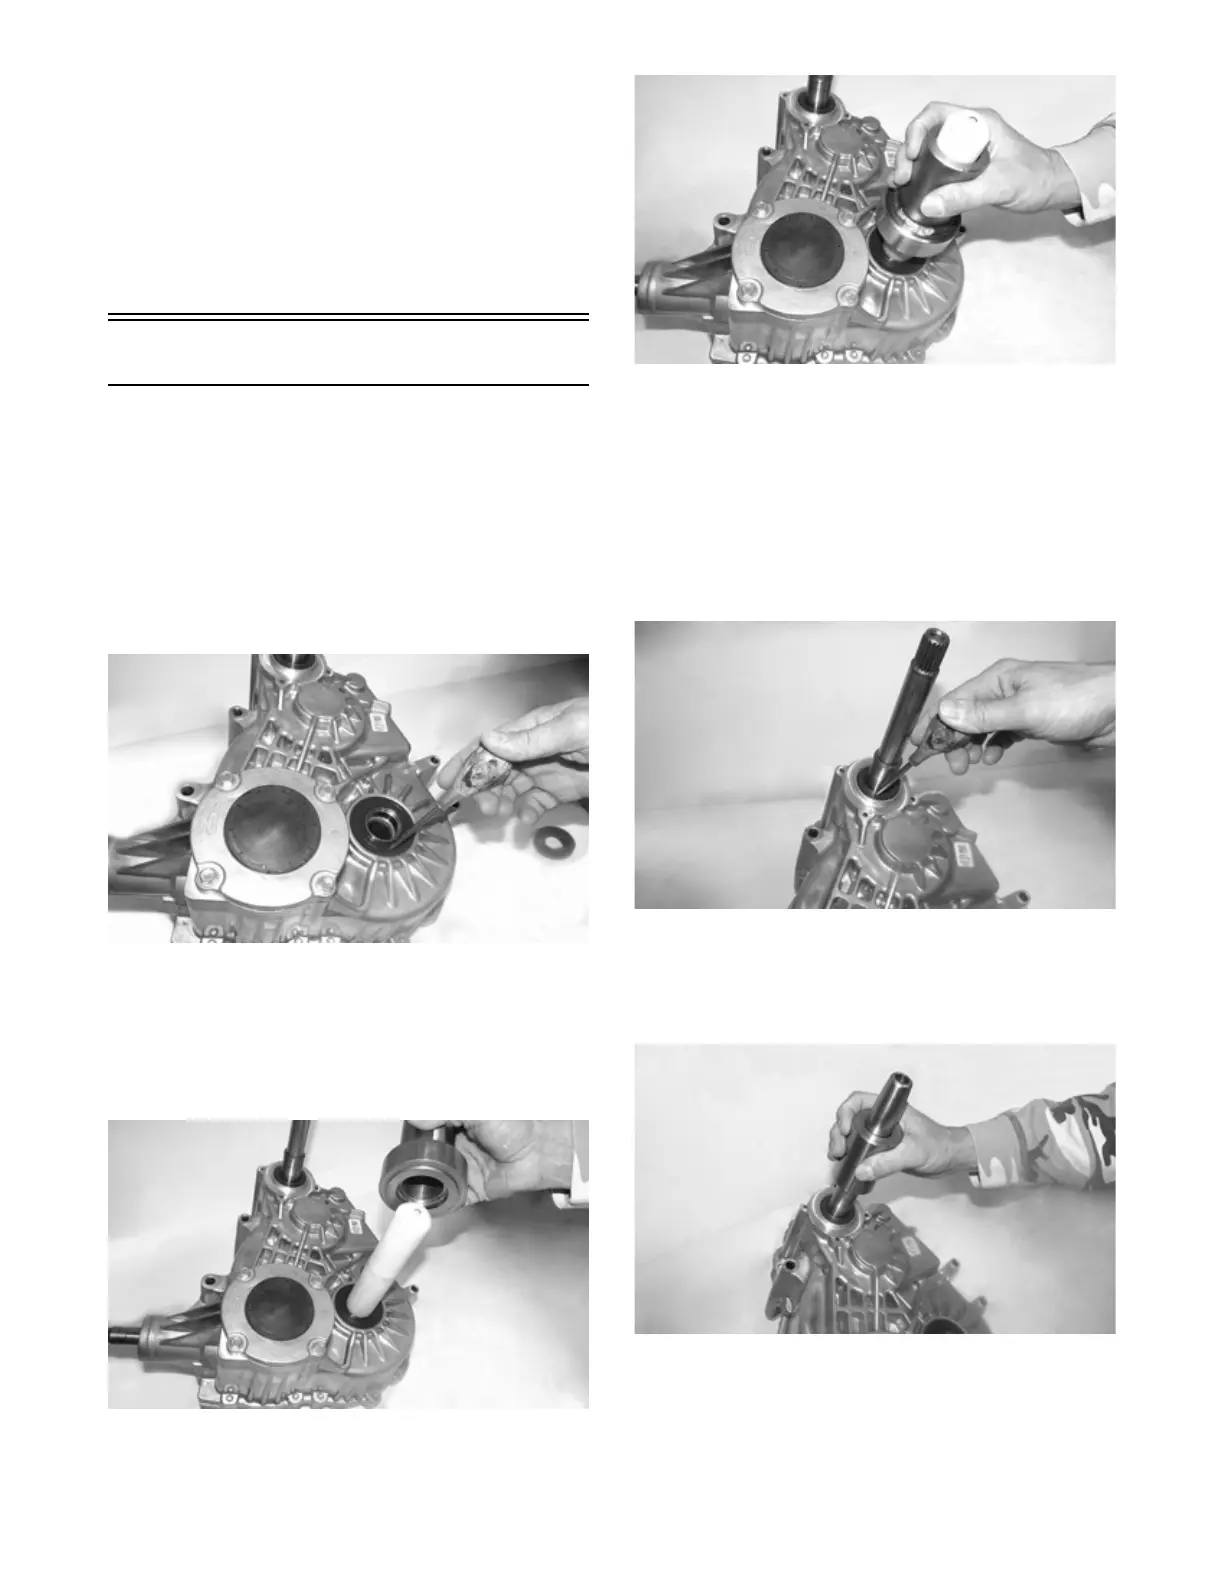
Front Output Seal
NOTE: The transaxle must be removed for this pro-
cedure.
1. Using an awl and a mallet, pry the seal from the case
taking care not to damage the seal bore.