72
1. Connect the Tachometer to the engine or utilize the
LCD gauge.
2. Connect the Oil Pressure Test Kit to the oil pressure
test port according to manufacturer’s instructions.
OHA121
NOTE: Some oil seepage may occur when installing
the oil pressure gauge. Wipe up oil residue with a
cloth.
3. Start the engine and run at idle. With the oil tempera-
ture at 140° to 212° F (60° to 100° C), the oil pres-
sure gauge must read 20 to 80 psi (1.5 to 6.0 bar).
4, Oil pressure at 3000 RPM should read 35 to 80 psi
(2.5 to 6.0 bar).
NOTE: If the oil pressure is lower than specified,
check for low oil level, or defective oil pump.
NOTE: If the oil pressure is higher than specified,
check for too heavy engine oil weight (see General
Information/Foreword), clogged oil passage, clogged
oil filter, or improper installation of the oil filter.
Liquid Cooling System
CHECKING/FILLING
1. If equipped, remove 12 screws holding rack over-
mold to rack and remove overmold.
OHA052
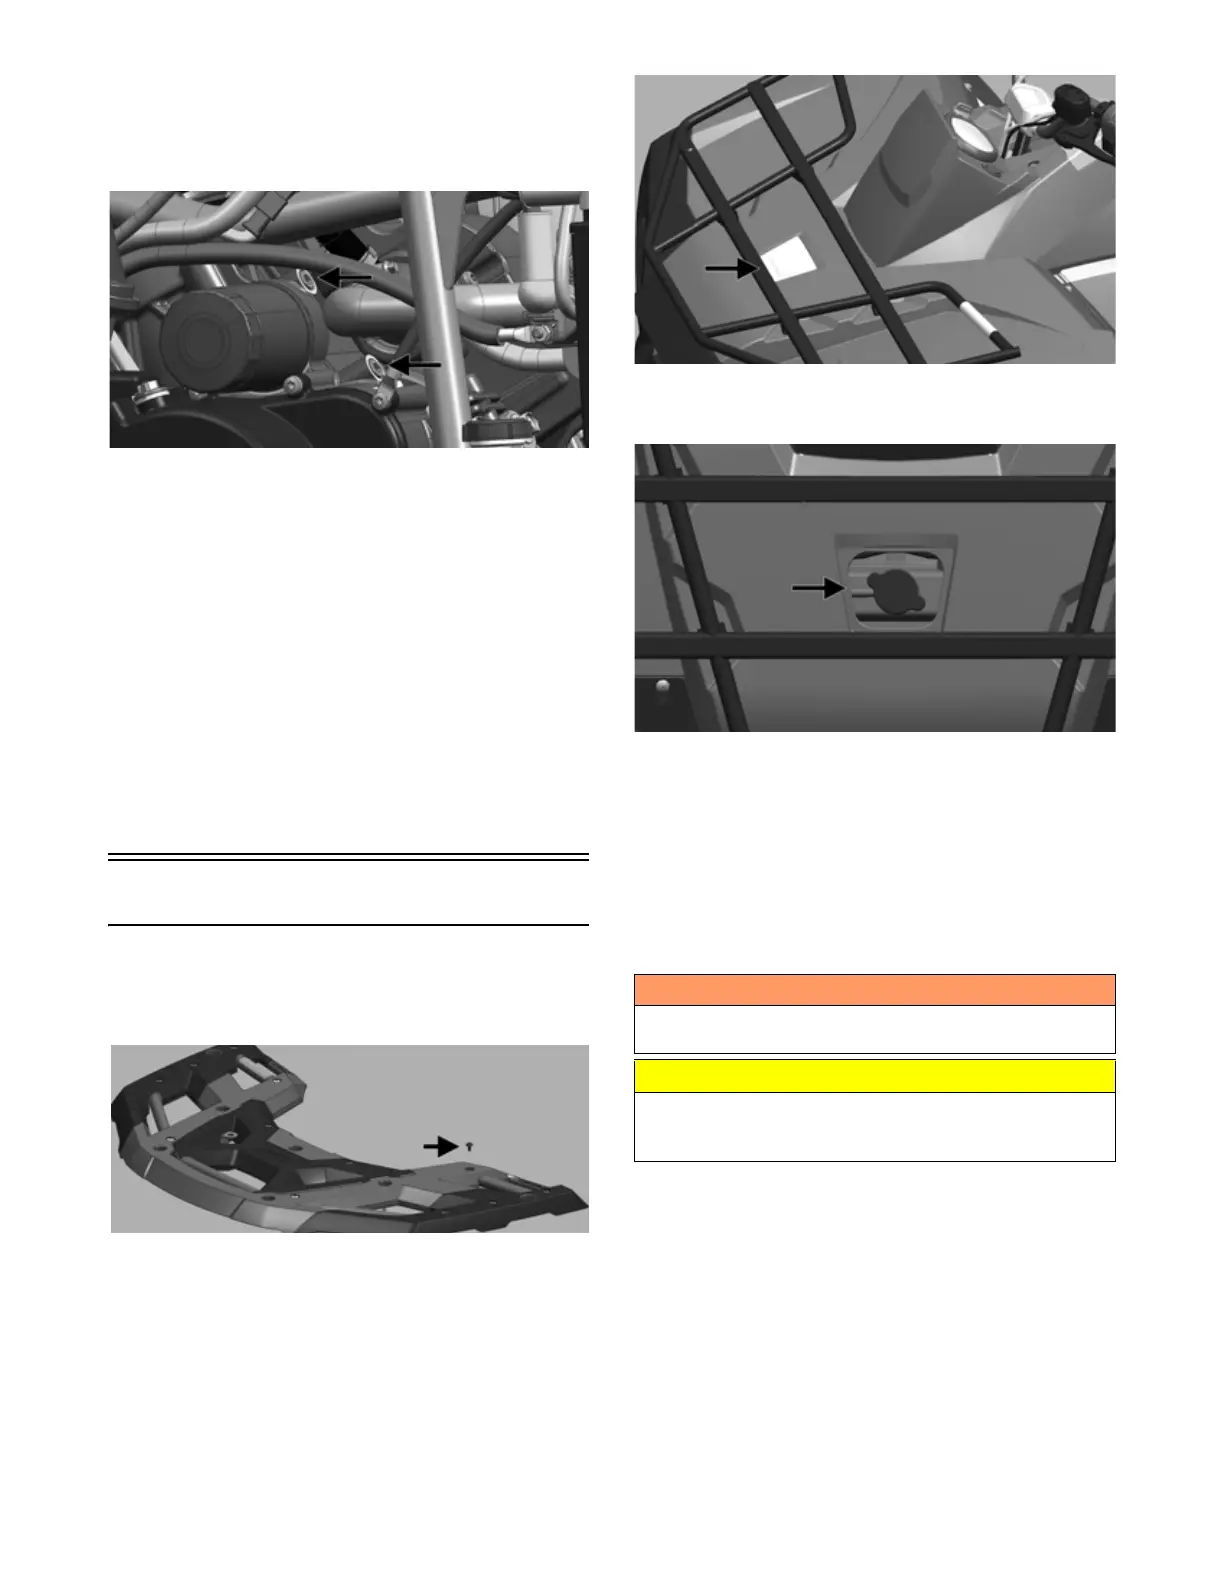
2. Remove the rubber access plug from the front fender.
OHA013
3. Carefully rotate the radiator cap counterclockwise to
release pressure; then remove the cap.
OHA014
4. Add coolant as necessary; then install the radiator
cap and access plug. Reinstall rack overmold if
equipped.
NOTE: Use a good quality, biodegradable gly-
col-based, automotive-type antifreeze. When filling
the cooling system, use a coolant/water mixture which
will satisfy the coldest anticipated weather conditions
of the area in accordance with the coolant manufac-
turer’s recommendations.
While the cooling system is being filled, air pockets may
develop; therefore, remove the bleed screw, fill radiator
until a steady stream of coolant comes out, replace the
bleed screw and then finish filling the system.
! WARNING
Never check the coolant level when the engine is hot or
the cooling system is under pressure.
CAUTION
After operating the ATV for the initial 5-10 minutes, stop
the engine, allow the engine to cool down, and check
the coolant level. Add coolant as necessary.