28
OHA202
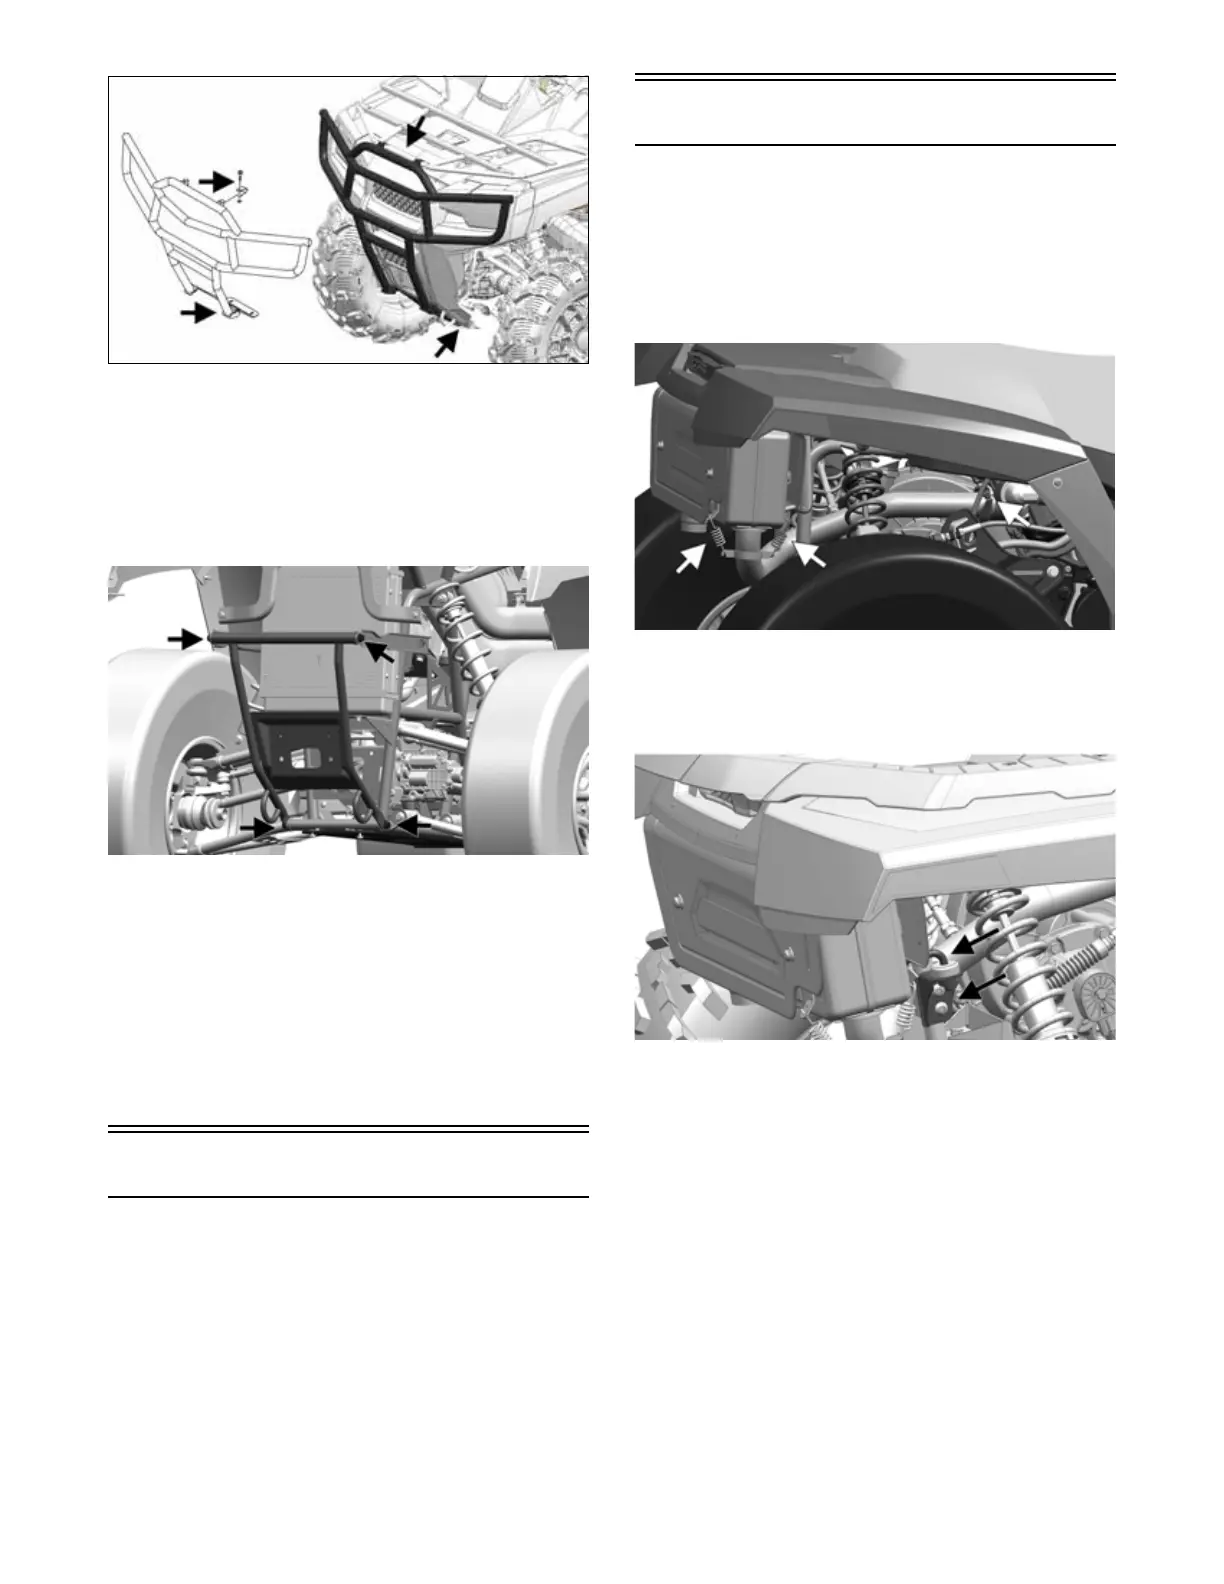
NOTE: To remove the front bumper, the front fascia
must be removed (see Front Body Panels).
1. Remove the two cap screws securing the upper
bumper to the mounting tabs.
2. Remove the two cap screws securing the lower
bumper to the frame.
OHA072
INSTALLING
1. With the bumper properly positioned, install the two
cap screws securing the lower bumper to the frame.
Tighten to 35 ft-lb (47.6 N-m).
2. Install the two cap screws to secure the upper
bumper to the mounting tabs. Tighten to 35 ft-lb
(47.6 N-m).
3. Install front fascia, and if equipped, install the winch
and front brush guard.
Skid Plate
REMOVING/INSTALLING
1. Remove the 12 self-tapping screws securing the skid
plate to the underside of the frame; then remove the
skid plate.
2. Place the skid plate into position on the underside of
the frame; then install the 12 self-tapping screws.
Tighten to 6 ft-lb (8.1 N-m).
Muffler
REMOVING
1. Using an appropriate tool, remove the springs secur-
ing the muffler to the exhaust pipe.
2. Loosen two flange nuts securing exhaust pipe to
engine and move exhaust pipe out of the way of muf-
fler.
OHA073
3. Remove the right and left lower attachment point
brackets by removing the two screws securing brack-
ets to the frame in order to free lower attachment
pins.
OHA161
4. Slide the muffler to unhook it from the top two
attachment points and account for an exhaust gasket.
INSPECTING
1. Inspect muffler externally for cracks, holes, and dents.
NOTE: Muffler shield can be removed for better
inspection. Remove four screws and account for four
springs and four flat washers.
2. Inspect the muffler internally by shaking the muffler
back and forth and listening for rattles or loose debris
inside the muffler.
NOTE: For additional details on cleaning the muf-
fler/spark arrester, see Periodic Mainte-
nance/Tune-up section.