18
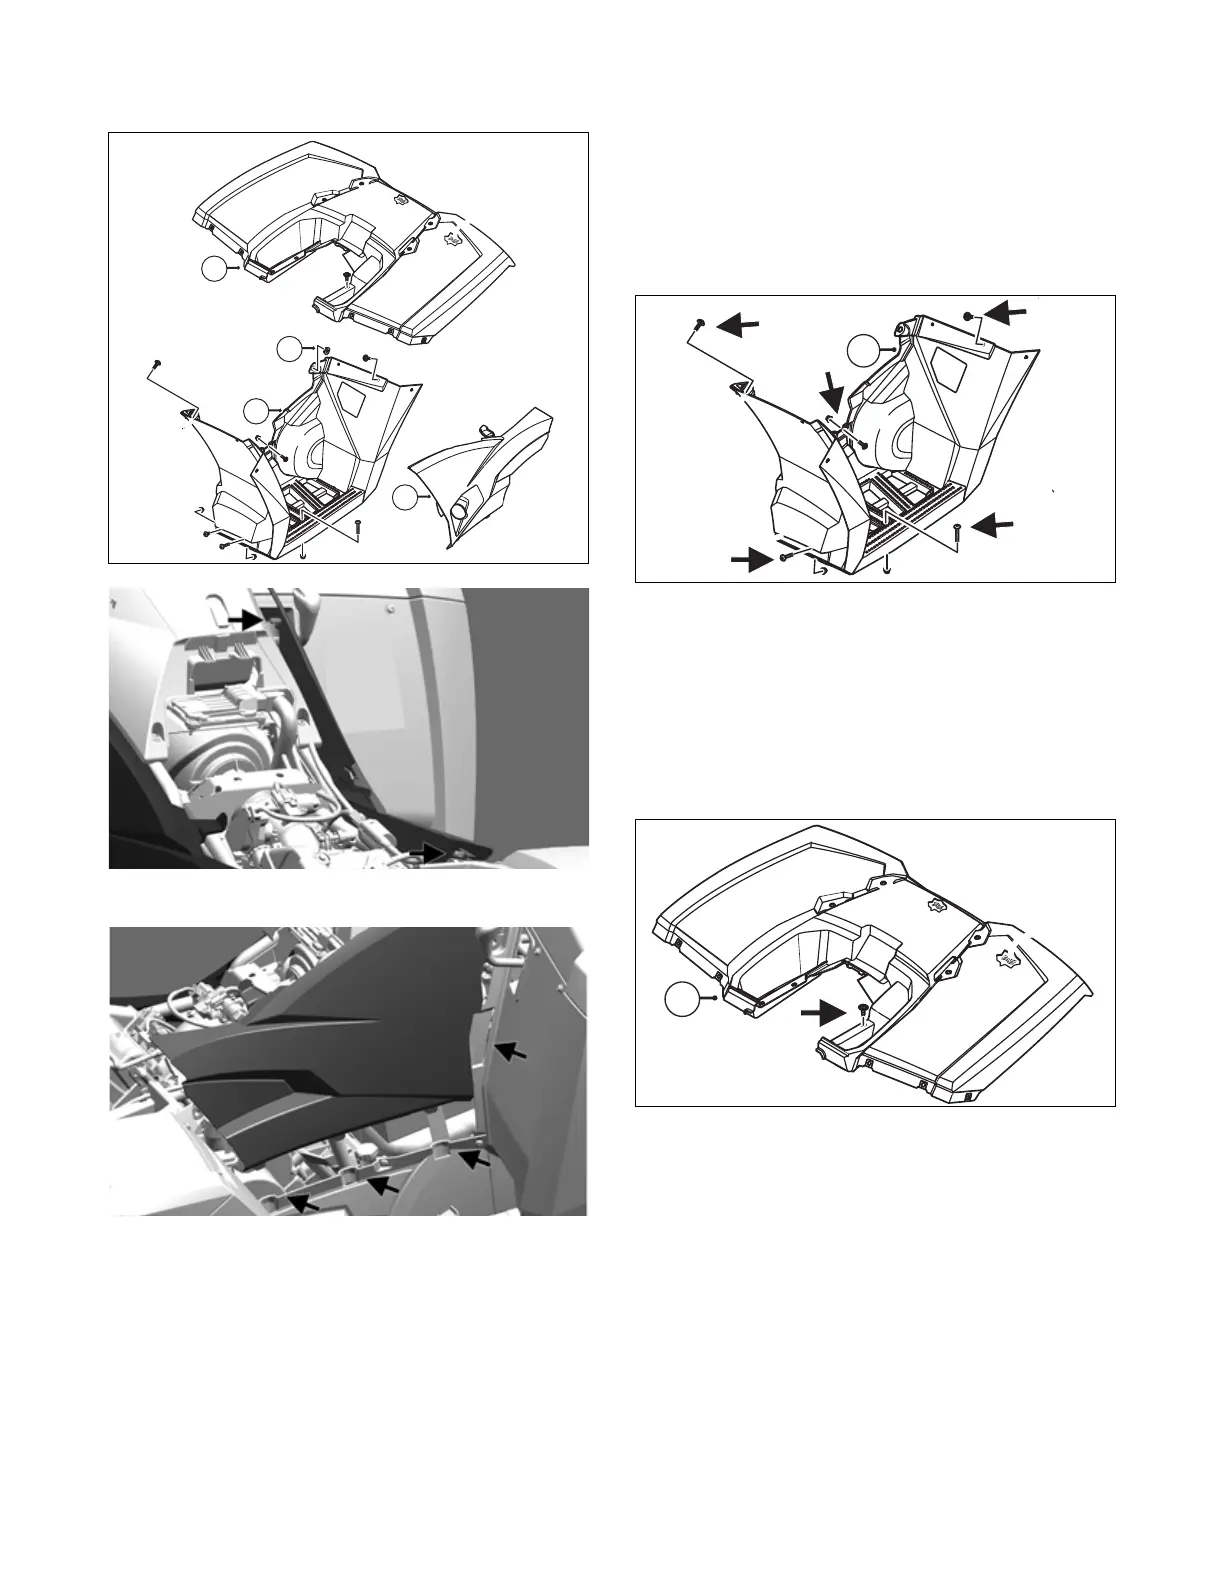
1. Pull top of right-hand side panel (A) out to clear lip
of front fender and pull pegs from grommets (B).
OHA053
OHA049
2. Lift up to remove panel from front and bottom slots.
OHA050
3. Remove gas cap and repeat previous steps for
left-hand side panel (A).
NOTE: Replace gas cap after left-hand side panel is
removed to prevent debris from falling into gas tank
while working on vehicle.
4. To remove the right-hand footwell (C): Remove the
three screws and lock nuts (discard lock nuts) hold-
ing the footwell to the frame. Remove the screw and
nut securing the rear brake reservoir tank. Remove
the seven screws securing footwell to front and rear
fender panels. Turn right-hand footwell so the open-
ing will clear the shifter knob; then remove footwell.
NOTE: Shifter knob can be removed for easier foot-
well removal.
OHA052
5. To remove left-hand footwell (C), repeat previous
step.
NOTE: Rear rack must be removed before remov-
ing rear fender.
6. To remove rear fender (D), remove the four trilobe
machine screws holding fender to frame. Lift up
fender and disconnect taillight wiring harness to
remove fender.
OHA055
CLEANING AND INSPECTING
1. Clean all components with warm soap and water.
2. Inspect for cracks and/or loose/missing clip nuts.
Check footwell assembly for loose nuts.
3. Inspect for any missing decals and heat shield foil.
INSTALLING
1. Connect the taillight wiring harness and position rear
fender in place. Secure rear fender to the frame with
the four trilobe machine screws. Tighten to 8 ft-lb
(10.8 N-m).