30
NOTE: There should be an average operating load
on the ATV when adjusting the headlight aim.
2. Measure the distance from the floor to the midpoint
of each headlight.
3. Using the measurements obtained in step 2, make
horizontal marks on the aiming surface directly in
front of the headlights.
4. Make vertical marks which intersect the horizontal
marks on the aiming surface directly in front of the
headlights.
5. Switch on the lights. Make sure the HIGH beam is
on. DO NOT USE LOW BEAM.
6. Observe each headlight beam aim. Proper aim is
when the most intense beam is centered on the verti-
cal mark 2 in (5 cm) below the horizontal mark on
the aiming surface.
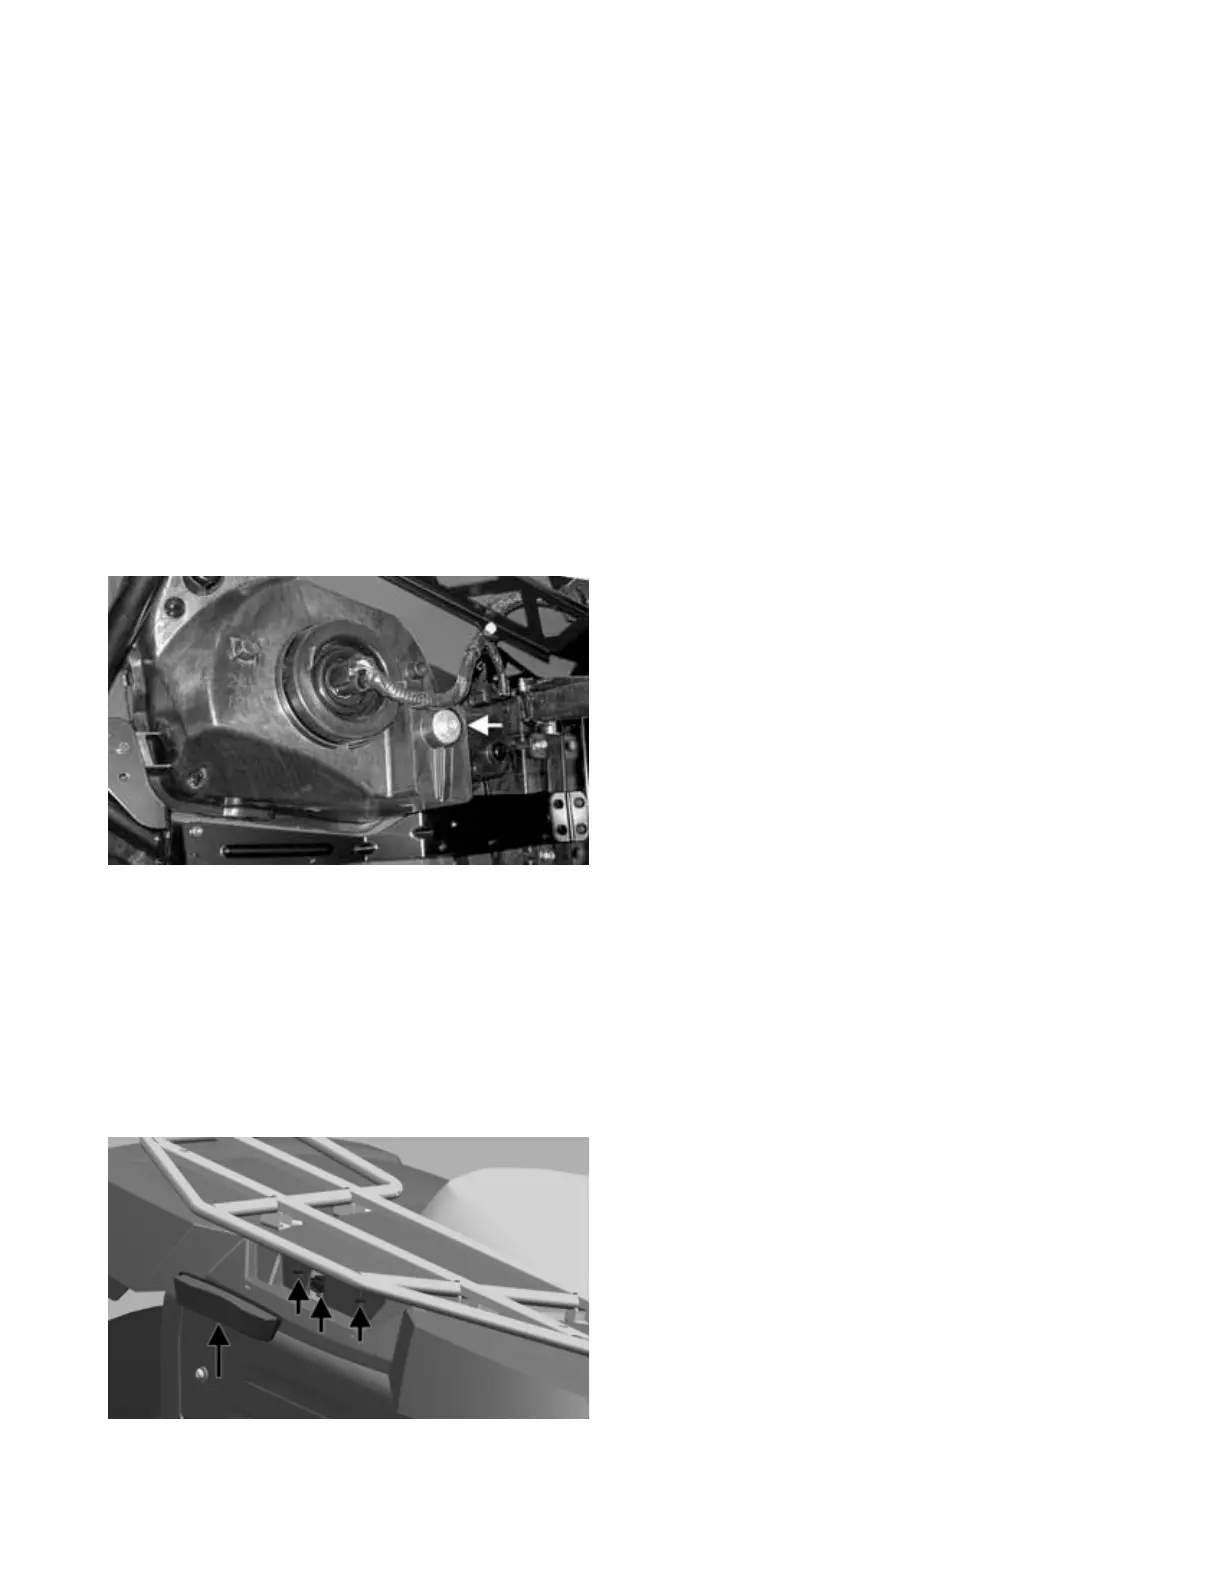
7. With a 10 mm wrench, turn the headlight adjuster
clockwise to adjust the beam down or counterclock-
wise to adjust the beam up.
MOD046A
TAILLIGHT
NOTE: The taillight is a non-serviceable compo-
nent; it must be replaced as an assembly.
NOTE: For better access to taillight screws and har-
ness, remove rack (see Racks sub-section) and lift up
on rear fender.
1. Disconnect the wiring harness and remove the two
screws securing the taillight and shield to rear
fender;
OHA036
2. Position taillight and shield and secure with existing
screws. Tighten the screws securely; then connect
the wiring harness.