3 Setup
Setting up the tripod
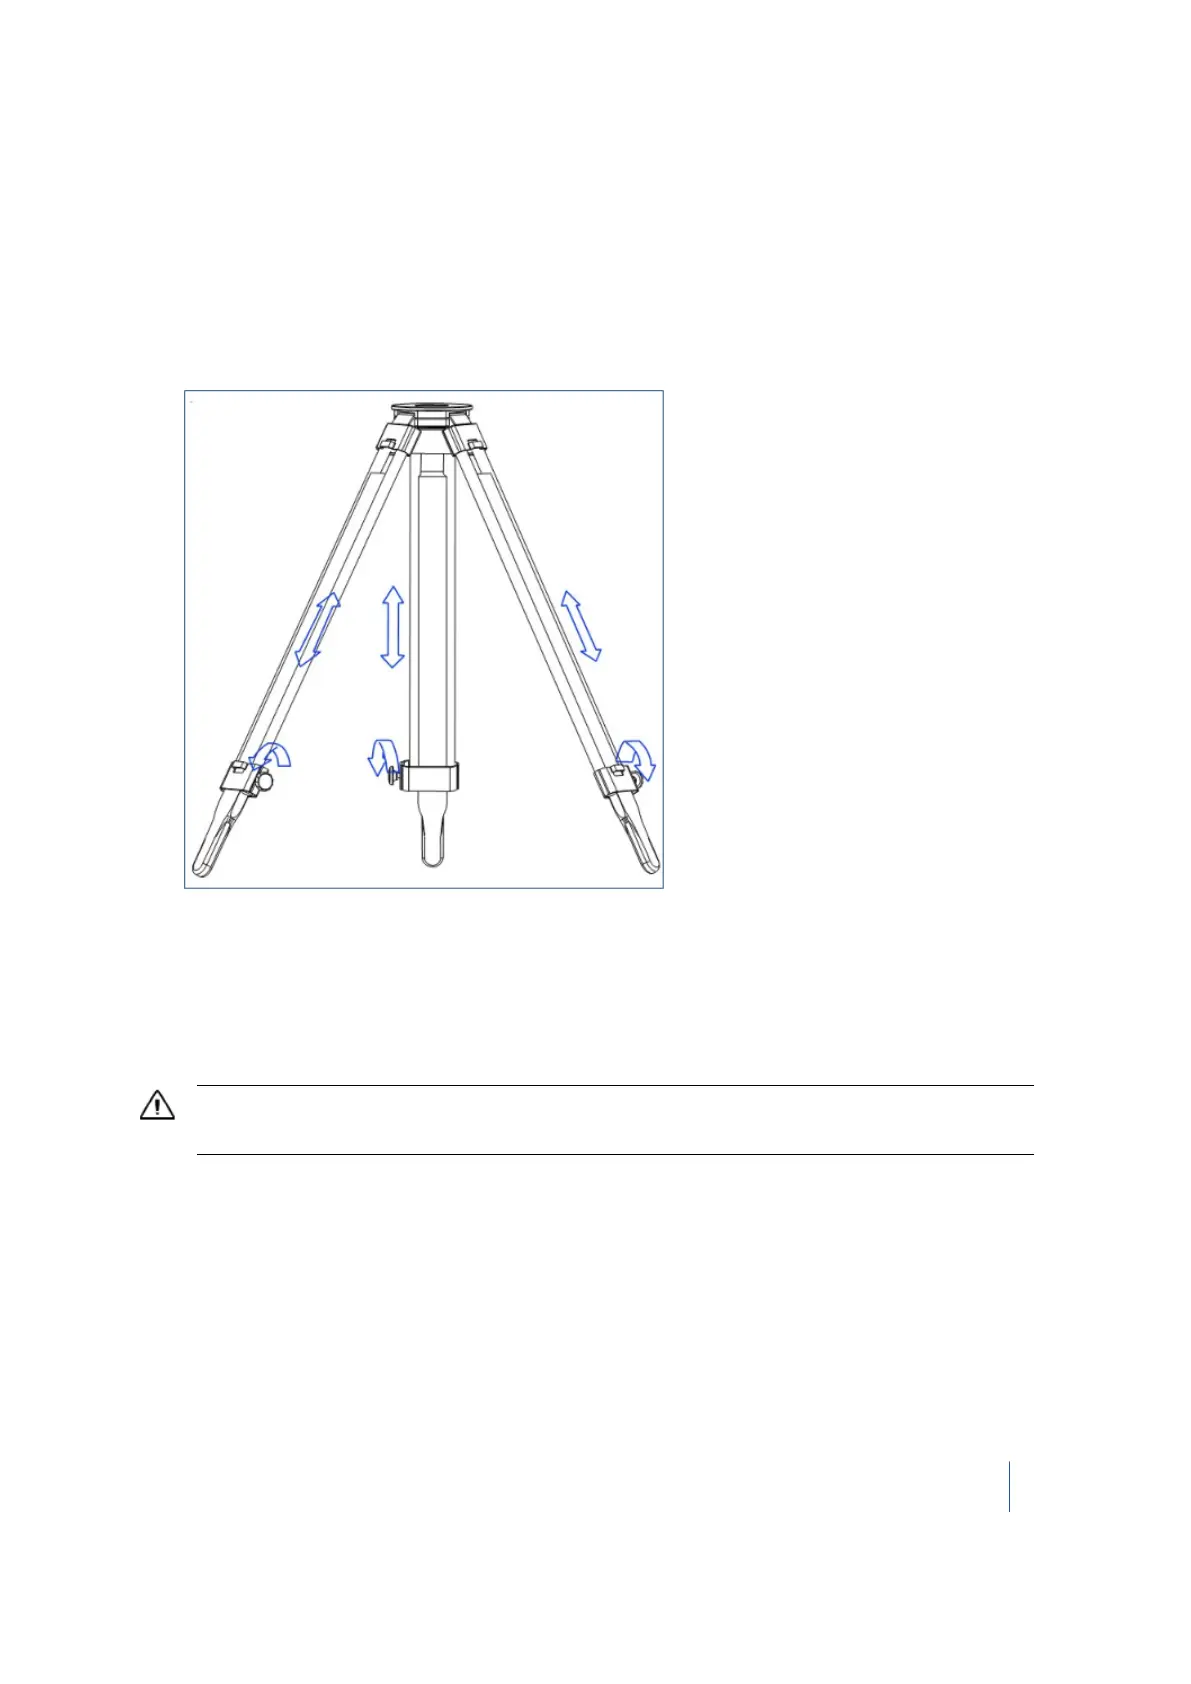
1. Spread the three legs of the tripod.
2. Unscrew the screw lock at the bottom of each leg.
3. Extend the three legs as far as required.
4.
Tighten the screw lock at the bottom of each leg.
Note – The three legs must be set wide enough apart to increase the stability of the setup. If it
is not possible to set the legs wide apart, consider lowering the tripod. However, the height of
the tripod must allow the instrument to be effectively mounted.
5. Position the tripod over the control point on flat and stable ground where possible.
6. Visually check that the tripod plate is as horizontal as possible.
CAUTION – To avoid the tripod tipping over and damaging the instrument, ensure that the ground is stable when
installing the tripod. Do not push the legs into the ground because you may need to adjust the tripod position.
Setting up the tribrach
Your TX8 instrument is supplied with a tribrach mounted on it. Remove it from the instrument
before performing the steps below.
1. Remove the rubber cover from the tripod head.
2. Stand a few paces from the tripod.
3. Visually check that the tripod is set up so that the tripod plate is as horizontal as possible.
Trimble TX8 3D Laser Scanner User Guide 37