3 Setup
l Lightly unscrew the central fixing screw below the tripod to move the tribrach. Look
through the eyepiece and align the cross-hairs with the control point and then secure the
fixing screw.
l Lightly unscrew the screw locks on the tripod, extend or retract the three legs to align the
cross-hairs with the control point and then secure the screw locks.
4. Stand a few paces from the tripod and visually check that the tripod head is still horizontal.
5. Visually check again that the bubble is still in the center of the circular bubble control level.
6. When satisfied, secure the tripod by pushing the legs into the ground.
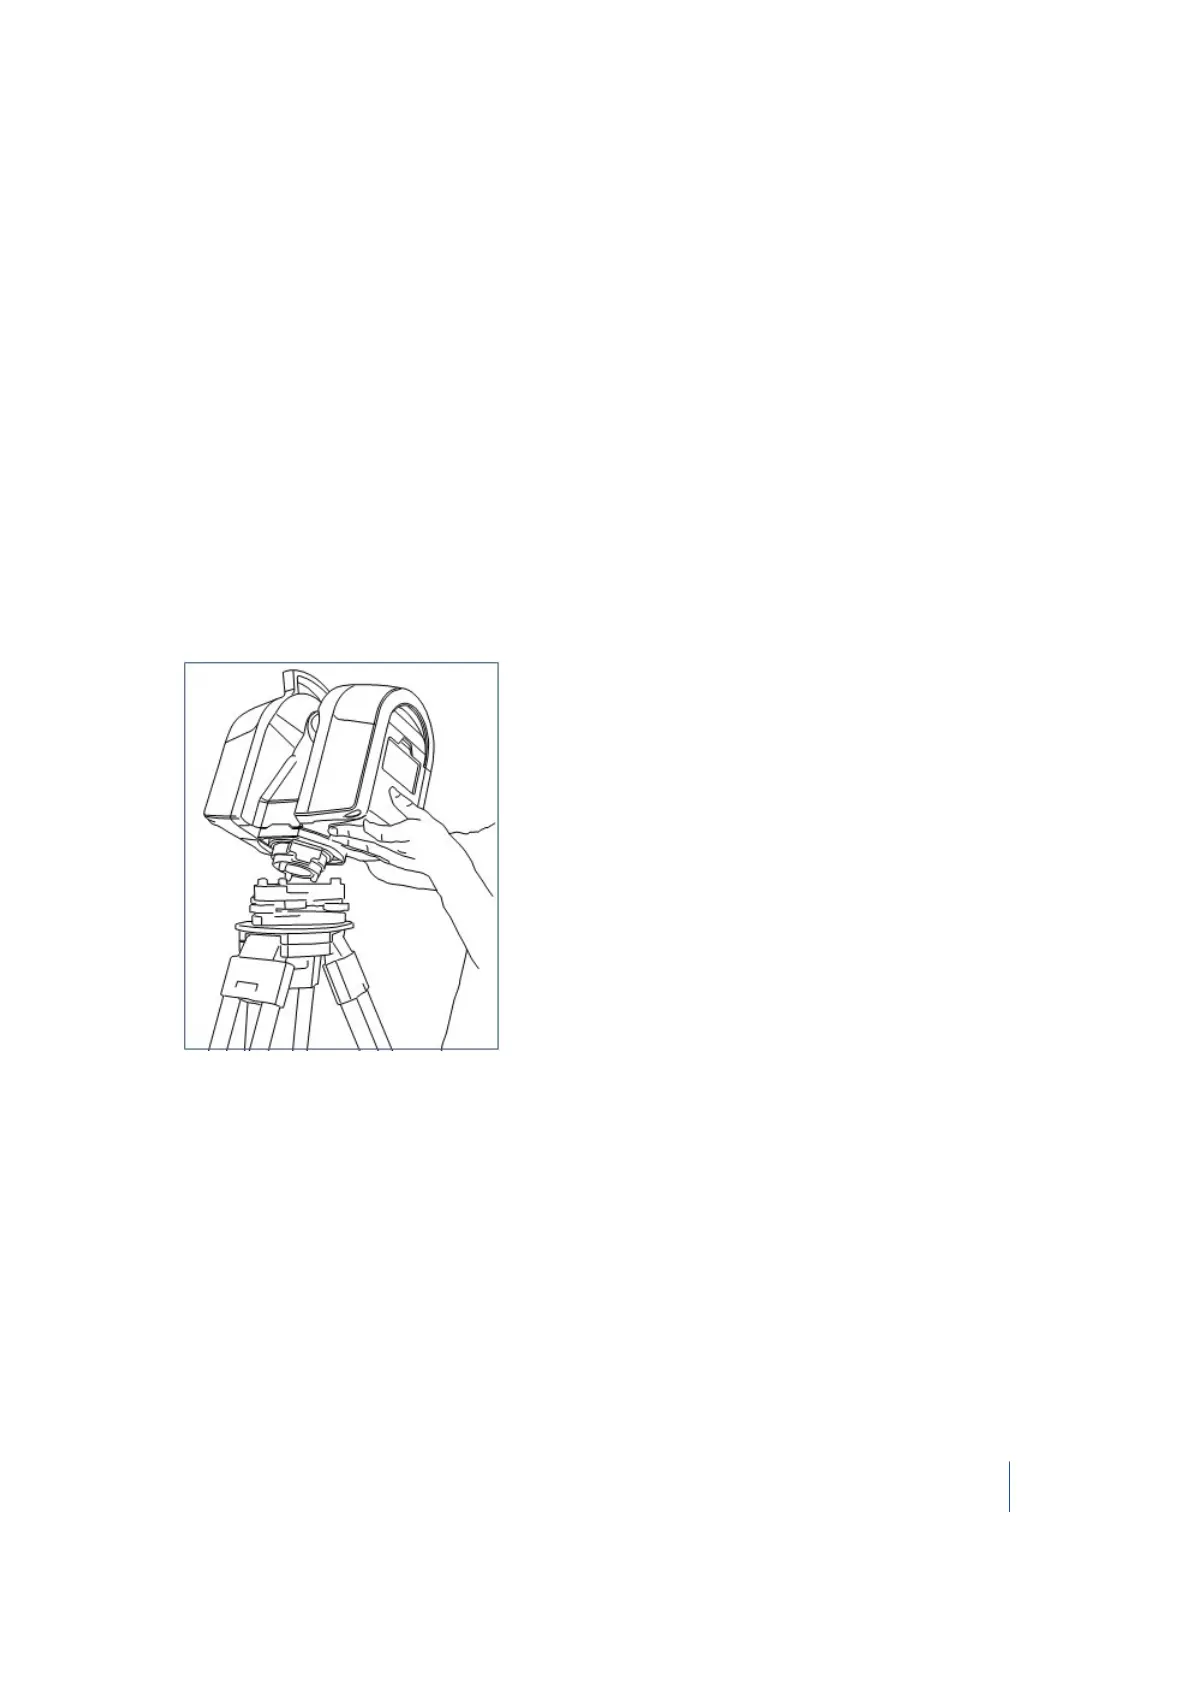
Setting up the instrument
Set up your instrument on the tripod using the following steps.
1. Place the instrument over the tribrach.
2.
Align the instrument studs with the foot screws of the tribrach:
3. Firmly insert the instrument into the tribrach.
4. Secure the instrument with the tribrach clamping arm.
Trimble TX8 3D Laser Scanner User Guide 40