33
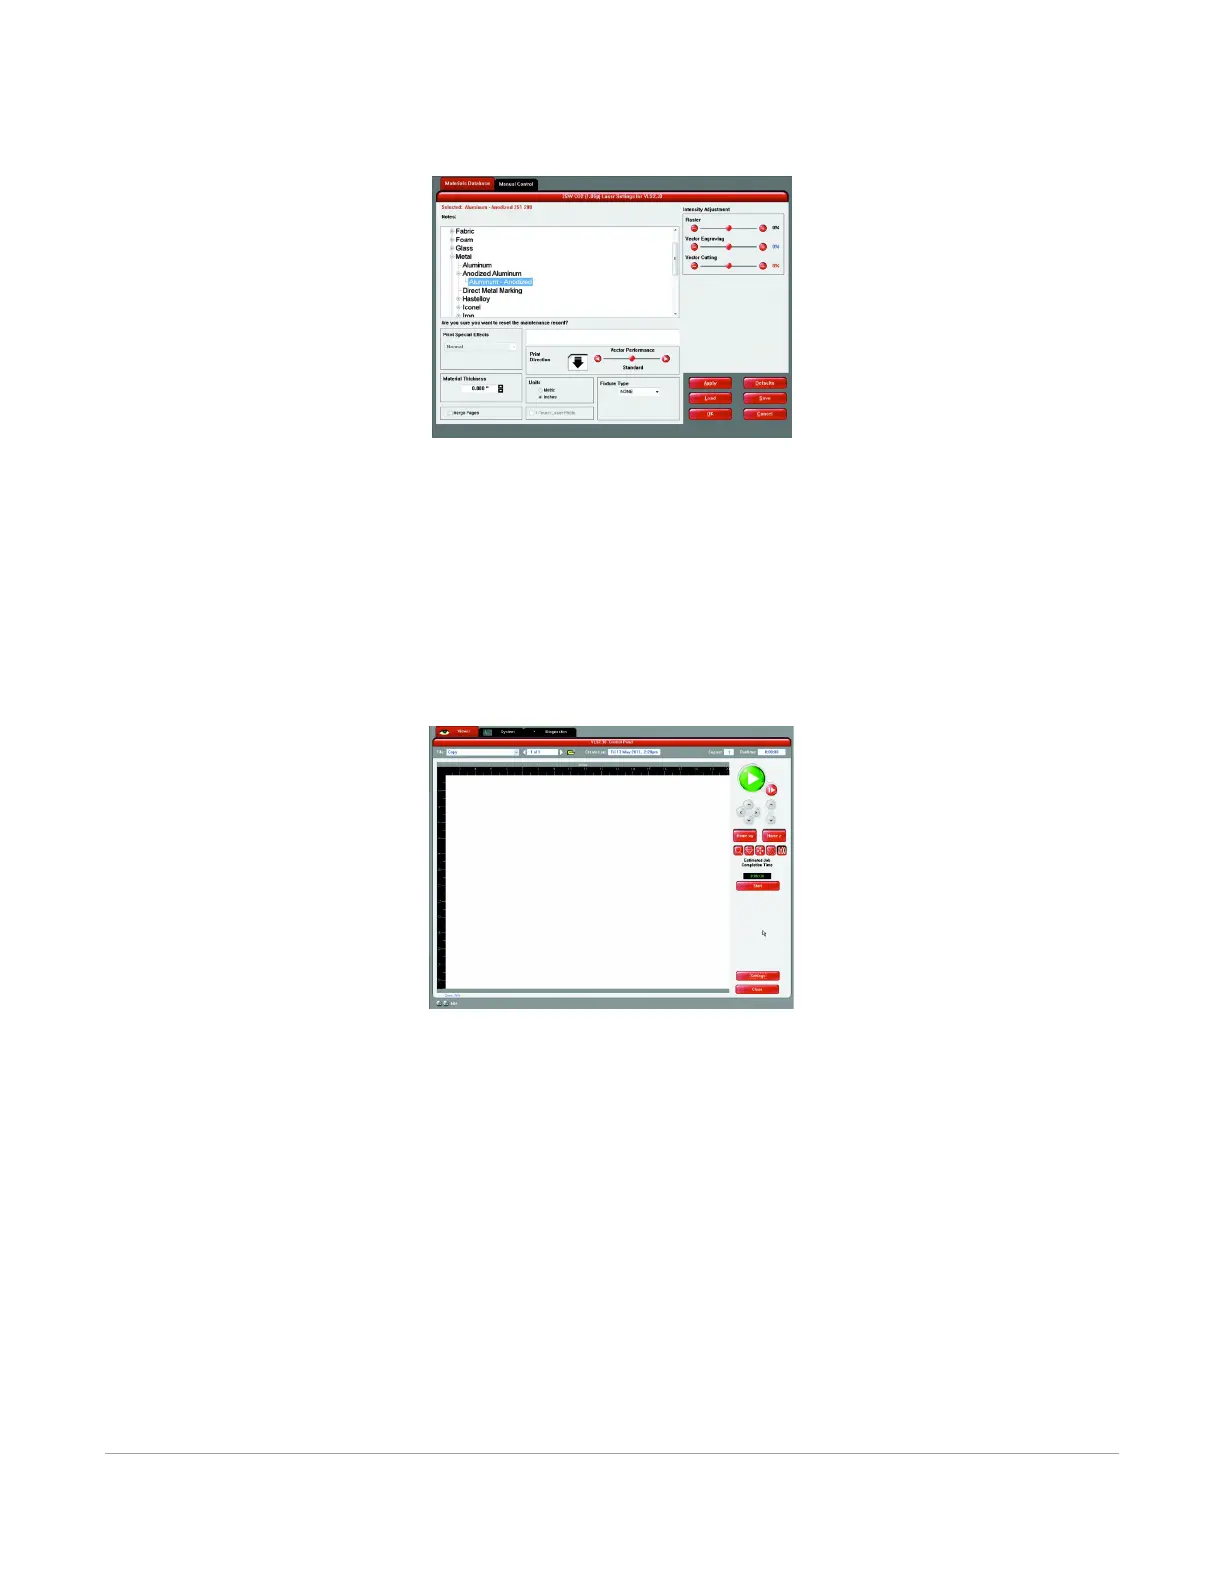
3. Choose your material category, in this case, metal, and then select the desired material: Aluminum
Anodized (Figure 5).
4. Set the Fixture Type to NONE.
Note: If you were using an optional accessory or custom fixture, you would choose it from the
fixture list.
5. Measure the thickness of the material (a digital caliper is recommended for this task) and enter it
into the material thickness field. In this example, the provided test card is 0.019” (0.483 mm) thick.
6. Select OK when done.
7. Now Select PRINT in the Print dialog window (Figure 4).
8. Launch the UCP by selecting the square red UCP icon on the taskbar and the current print job will
appear in the Viewer Tab of the Universal Control Panel (Figure 6).
9. Now select the System Tab and verify that the Auto Z box is checked.
10. Return to the Viewer Tab and proceed to the next step.
Step 4 – Starting the Process
1. Turn on the exhaust and laser system if not already on.
2. Note: Laser system cooling fans are variable speed and may speed up and slow down during
operation as needed to cool the lasers.
3. Make sure the material is positioned correctly within the engraving area.
4. Close the top door.
5. Press the green START button on the UCP to begin laser processing (Figure 6 on previous page).
CAUTION: Observe that the laser system is functioning properly. If everything is working properly, an image
should appear on the test card as the laser system runs the job. If no image appears, check focus manually
as described in the User Guide and adjust if necessary. If you cannot resolve the issue, please contact your
distributor or the ULS Customer Service Department. Never leave the laser system unattended while laser
processing.