82
Rotary Fixture
The Rotary Fixture allows the laser system to engrave and mark on cylindrical objects. The Rotary fixture is
equipped with an external cone-shaped fixture mounted to the fixed, motorized end and an internal cone-
shaped fixture attached to the adjustable end allowing the fixture to hold a variety of objects such as wine
glasses, mugs, cups, etc. Additional internal and external cone fixtures can be purchased by contacting the ULS
Customer Service Team at support@ulsinc.com
.
Installation
1. Lower the laser system engraving table enough to install the rotary fixture. Make sure the motion
system will clear the top of the rotary fixture.
2. Now turn the laser system OFF.
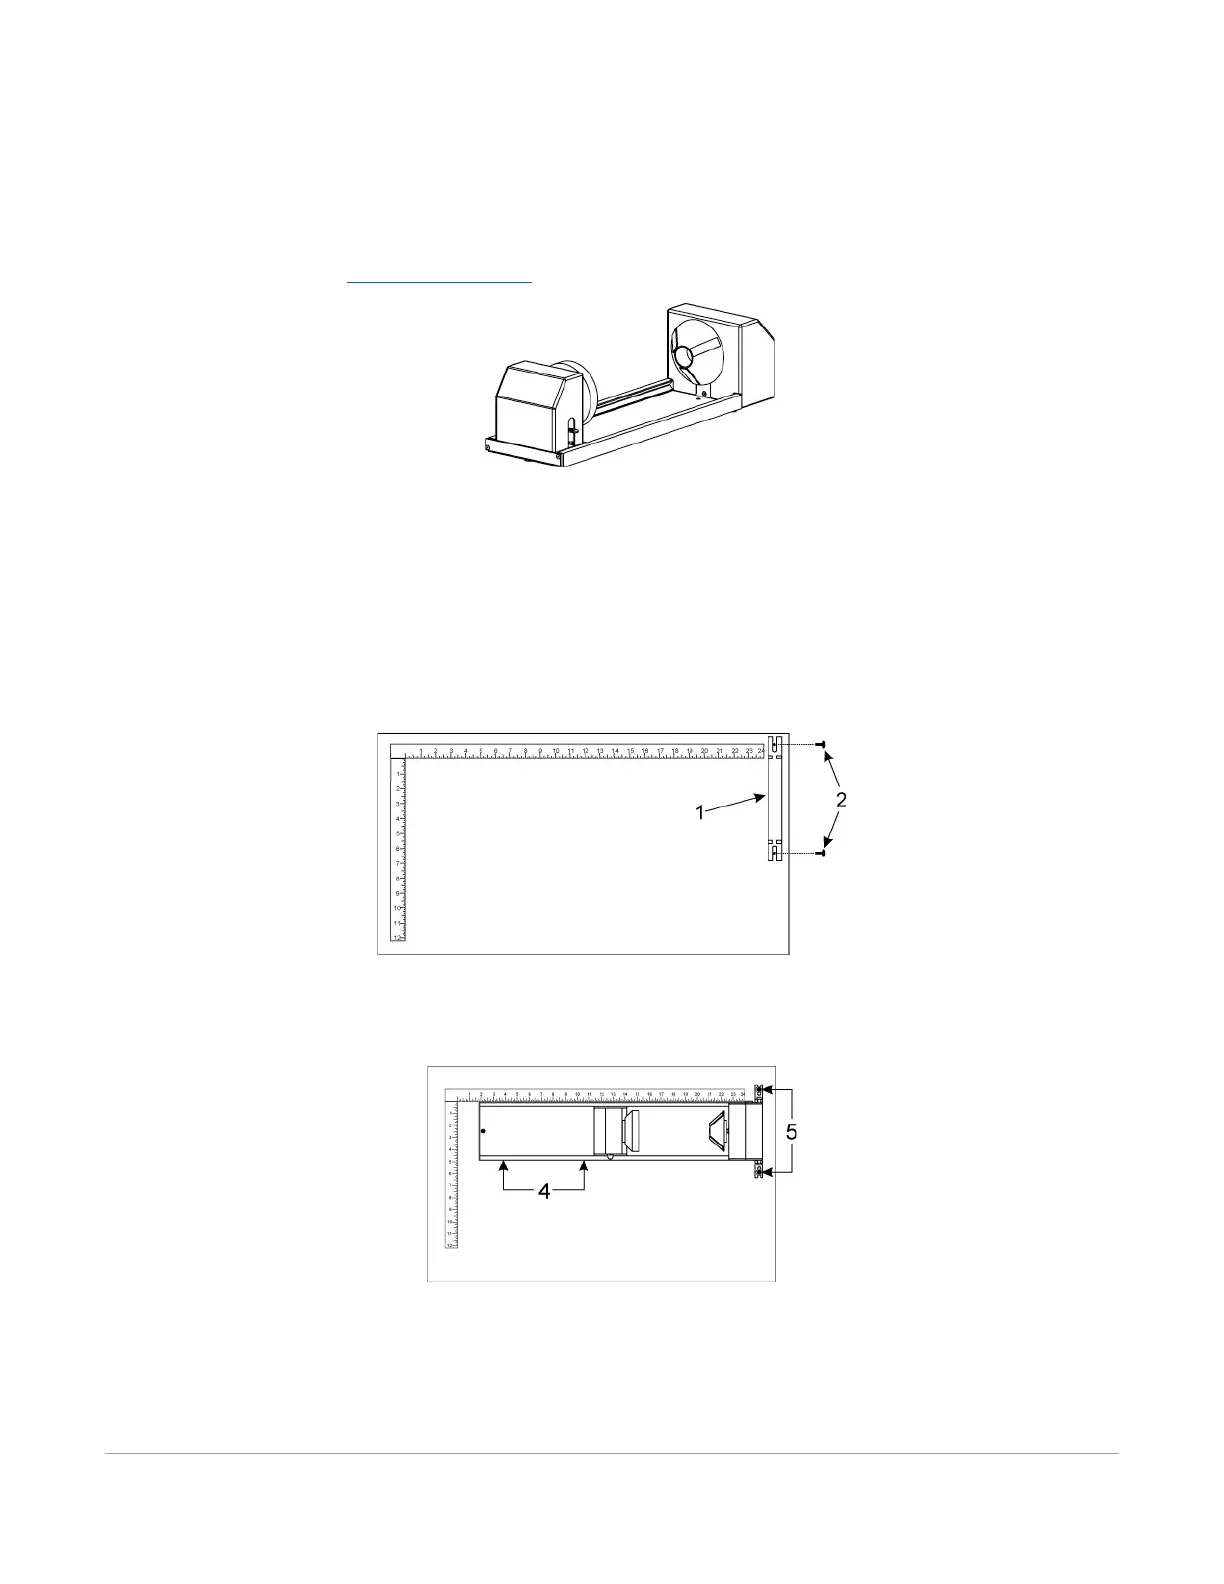
3. Place the rotary fixture support bracket (1) on the table positioned over the mounting holes on the
right side of the table. Install the provided thumbscrews but leave the thumbscrews loose enough to
allow adjustment of the rotary fixture.
4. Place the Rotary Fixture on top of the bracket so that its pivot bolts sit in the forks in the mounting
bracket. Push the fixture (4) against the top ruler then tighten down the thumbscrews (5).