84
7. Power ON the laser system. If you are using the rotary for the first time or replaced the laser
system’s CPU, rotary calibration may be needed, so proceed to the next step. If rotary calibration is
not needed proceed to “Determining Graphic Placement.”
Rotary Calibration
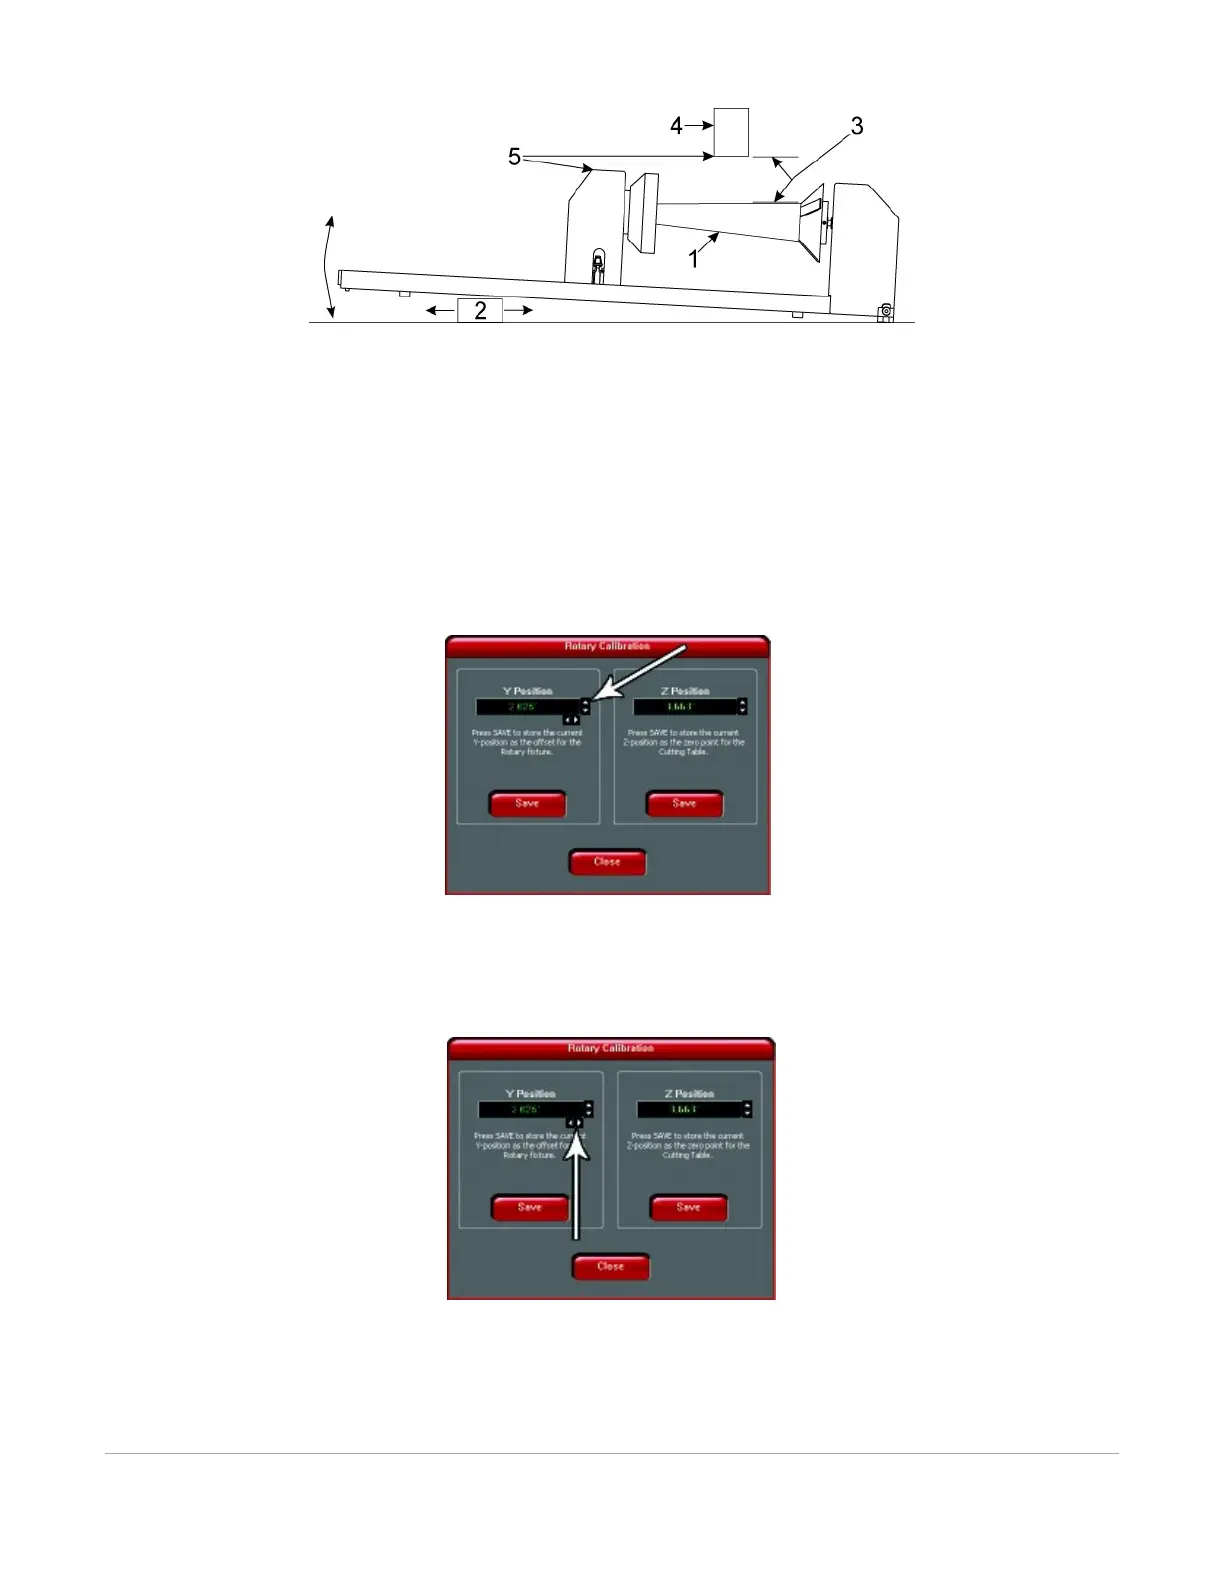
1. Select the System Tab of the UCP and press on the CALIBRATE button in the Rotary section.
2. In the Y Position box, use the Y-Axis buttons shown to move the focus carriage so that the Y axis
position indicated is aligned with the rotational axis of the rotary fixture.
3. Next, use the X-Axis buttons shown to move the focus carriage left or right and place the red dot
pointer over the flat part of the internal cone shaped fixture normally located on the left-hand side
of the rotary.
4. Now use the Z-Axis buttons in the rotary calibration dialog or the Z-Axis buttons on the machine
keypad to move the table up and down to focus using the Focus Tool on top of the flat surface of the
internal cone shaped fixture.