29
Finalizing the Connections
Make the following connections in the order described; otherwise, static electricity can potentially damage
the computer and/or the laser system’s electronics.
1. Connect the 4-inch (101.6 mm) flexible rubber exhaust system to the rear of the laser system.
2. Connect the laser system’s power cord and your computer’s power cord to a grounded electrical
outlet.
CAUTION: International users - if using an adapter or replacement power cord for local outlets,
make sure that you attach the adapter correctly to the power cord and that you are using a properly
grounded (earthed) adapter and power.
3. Do not power on the laser system at this time.
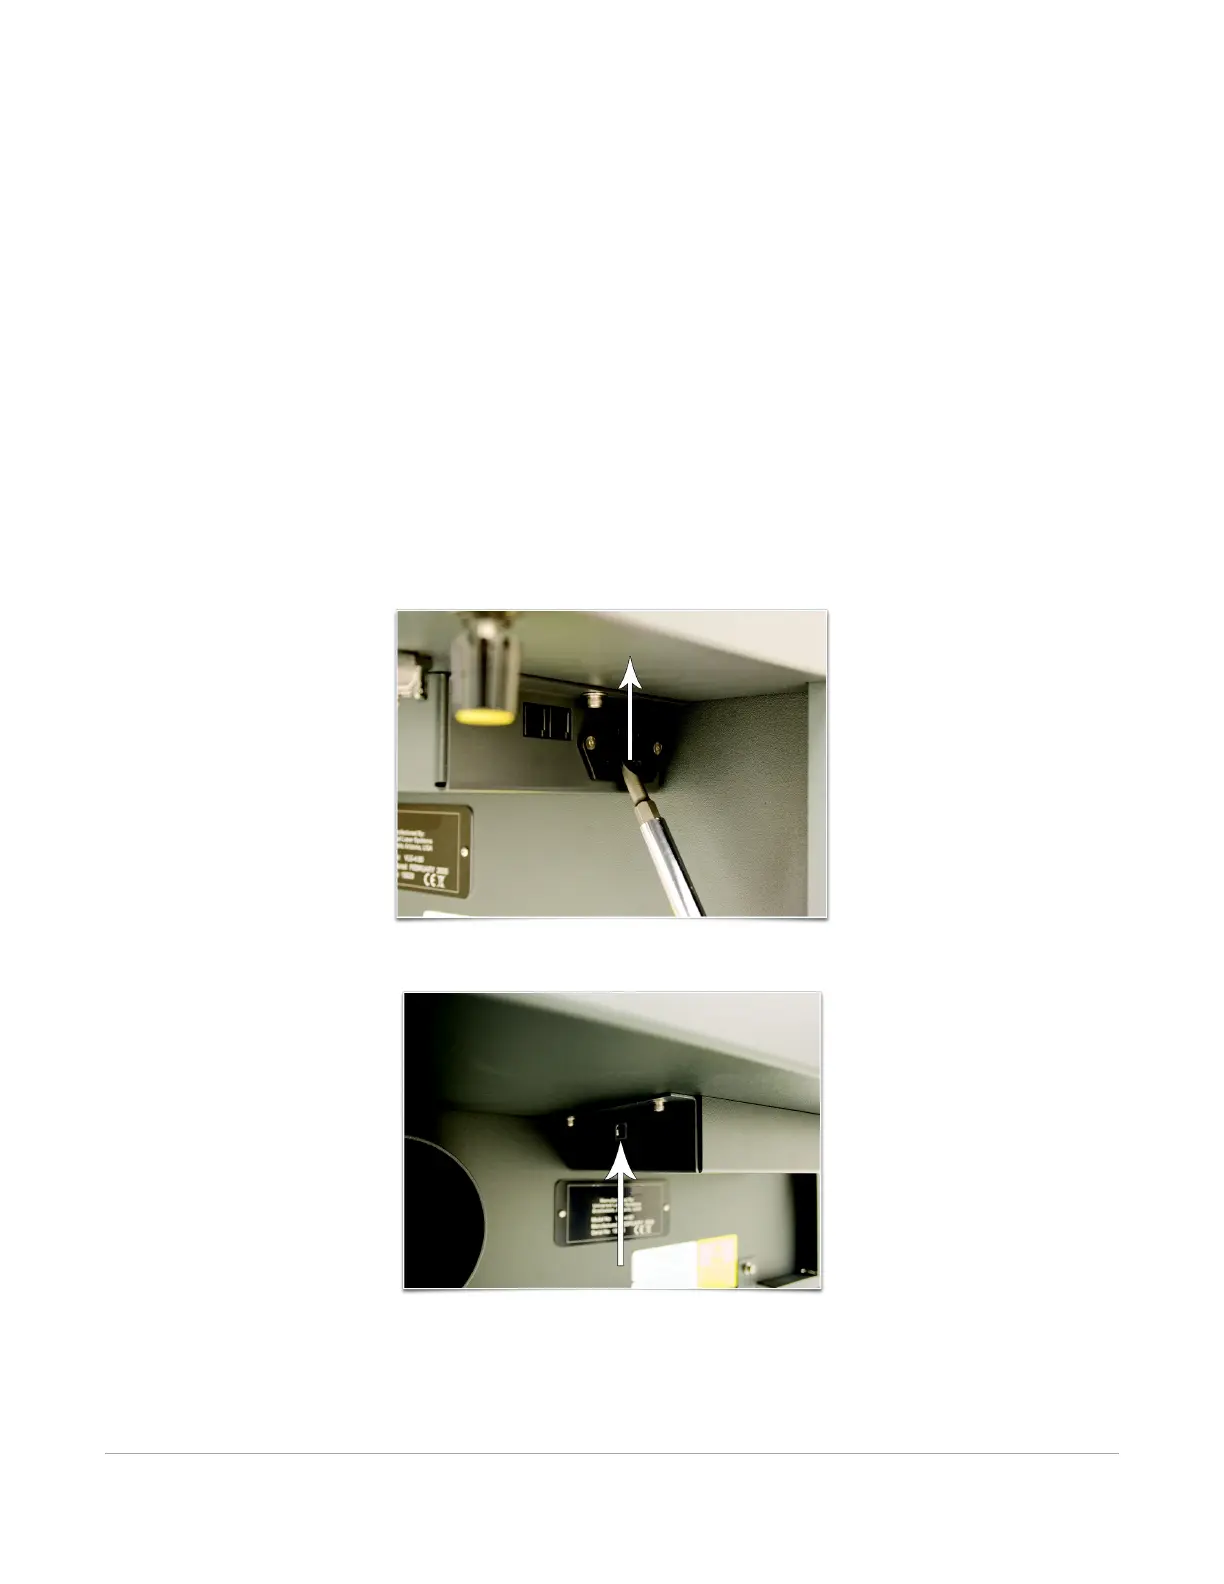
4. Locate the Thermal Sensor battery holder drawer on the side of the laser system. Install the
provided 9- volt Thermal Sensor battery using a flat head screwdriver to open the drawer.
Note: A properly installed 9-volt battery is necessary to operate the laser system. The laser system
will not function without a charged battery installed. Keep a spare 9-volt battery on hand at all
times.
5. Connect the USB cable provided with the laser system between the USB port of the computer and
the USB port on the back of the laser system.
CAUTION: The laser system is USB 2.0 Hi-Speed (only). The laser system comes equipped with a high
quality, 6-ft (2.0 meter) USB 2.0 certified cable. We recommend you use this provided cable. Do not
use any adapters, extension cables, USB cables longer than 6 ft (2.0 meters) or other devices
between the computer’s USB port and the port on the laser system; sporadic or unpredictable
behavior may result.