76
Flow-Through Cutting Table Focus Lens Calibration
CAUTION: To properly use the cutting table with the autofocus feature or the
auto-Z feature in the printer driver, the cutting table must be calibrated to
the lens you are using. This is done at the factory when the laser system
ships. You can check calibration by using the manual focus tool to focus on
the surface of the cutting table. Make sure to use the manual focus tool
included with the lens installed in the laser system and that the lens selected
in the system tab matches the lens installed in the laser system. Once
focused, the Z position indicated in the UCP should be 0” +/-.020” (.508 mm).
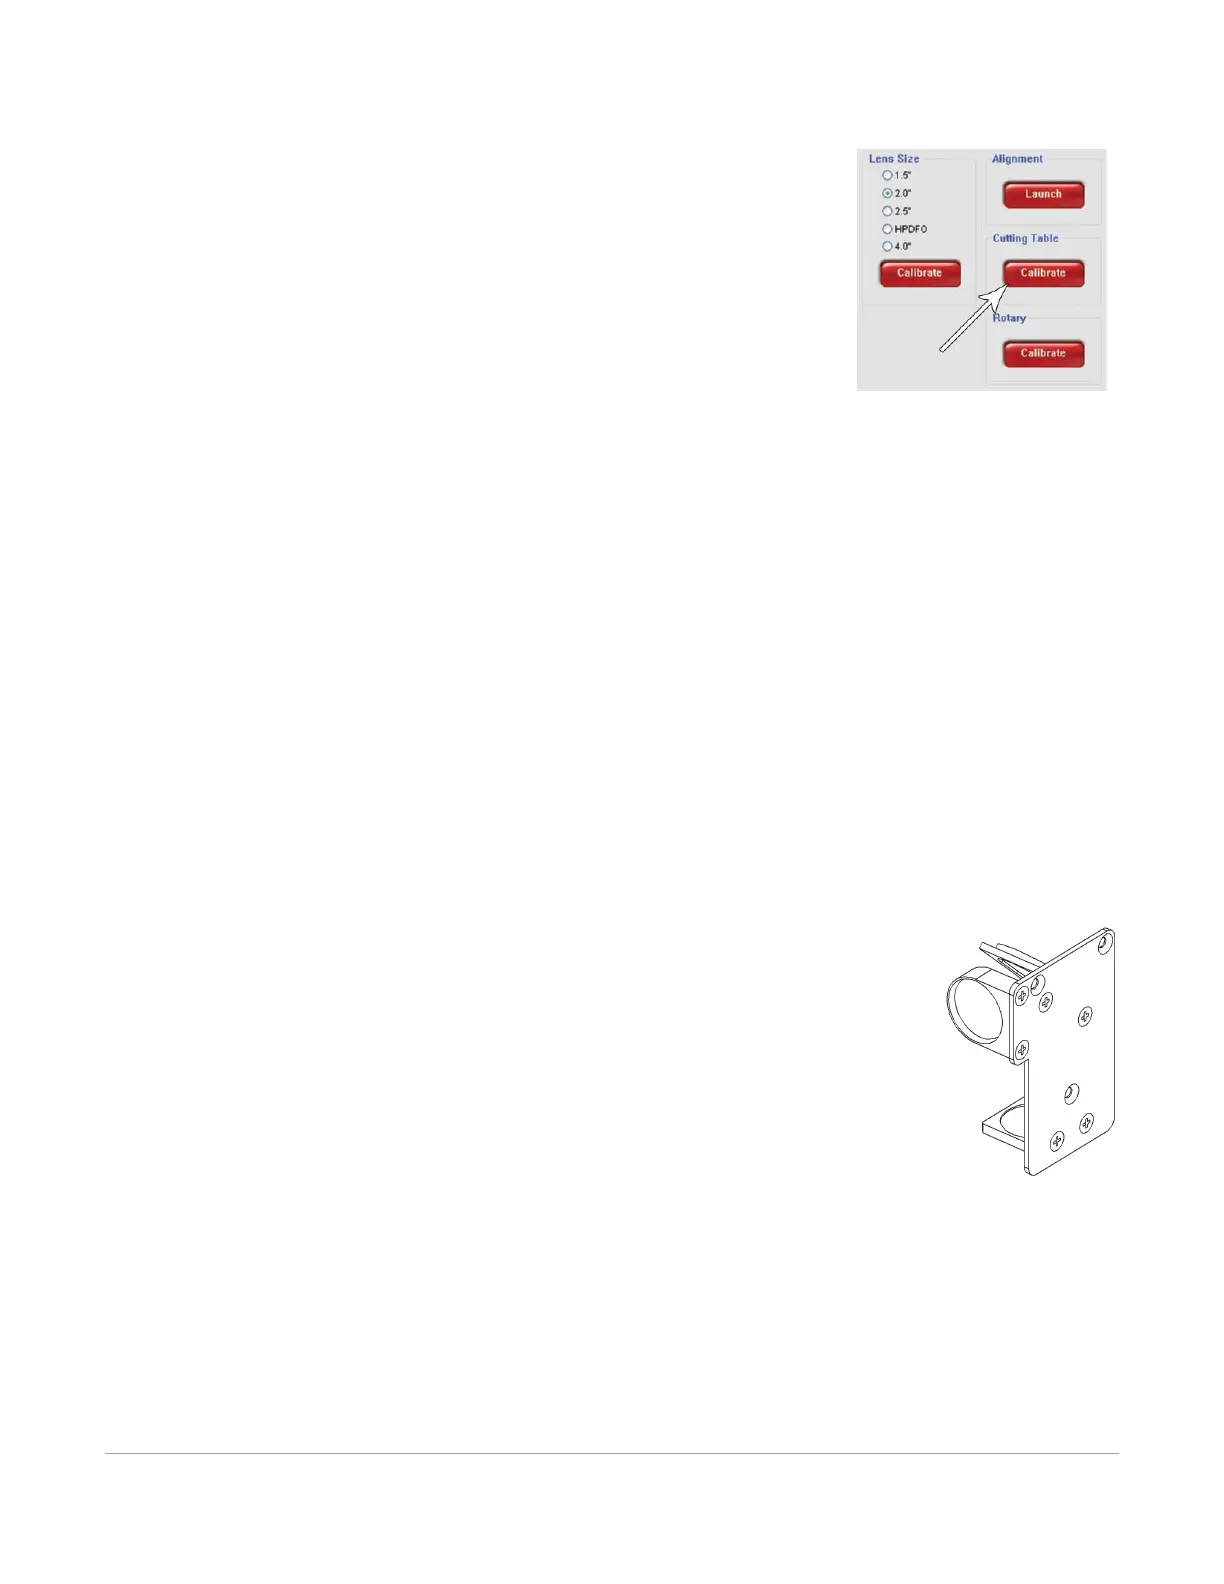
However, if you have to recalibrate, there is a calibrate feature in the system
tab of the UCP which will walk you through the process.
Maintenance
As you use the Flow-Through Cutting Table, material from the cutting process may fall through the
honeycomb surface and collect in the bottom of the cutting table. Periodically check this area and remove
any material that has collected there.
CAUTION: If left to build up in the bottom of the cutting table, this scrap material can be a fire hazard.
The honeycomb material that makes up the support surface for materials being cut will wear out over time
and can easily be replaced. New honeycomb can be purchased from the ULS Customer Service Team. To
replace the material, remove the rulers and flanges that hold the honeycomb in place around its edges.
Remove the old honeycomb and replace it with a new one. Reinstall the back panel. Reinstall the edge
flanges and rulers. Rulers should be installed slightly loose and then adjusted to match the edges of the
processing area by placing the cutting table back into the machine and following step 7 of the installation
instructions above.
HPDFO™
High Power Density Focusing Optics (HPDFO) has a smaller focal spot size than a standard
2.0” inch lens. Depending on the type of material being processed, the effective spot size
produced by the HPDFO can be as small as 1/4th the size of a standard 2.0” focusing lens.
With a smaller spot size (higher power density), depending on your material, you can engrave
smaller text, produce sharper graphics and photographs and vector mark and cut thinner
lines with the same laser power. With the HPDFO it is also possible to scribe and/or etch
some uncoated metals, such as stainless steel, directly without the assistance of chemicals or
coatings.
The HPDFO replaces the standard lens kit in the carriage and comes with its own calibrated focus tool which
should always be used when focusing with the HPDFO.
Installation
1. Turn off the laser system.
2. Bring the X-Arm forward by hand.
3. Remove the three thumbscrews that hold the lens kit in place and slide the lens kit out.
4. Replace the standard lens kit with the HPDFO lens kit.
5. Before running a file, select HPDFO from the lens size list on the UCP’s System Tab.