46
3D Setup Button
This button is used with the 3D print mode to adjust the grayscale to laser power level mapping
table. It only appears when 3D mode is selected. When 3D mode is selected the laser power
levels mapped to the various shades of gray in the image are scaled from the laser power level
you entered for the color black in the color table. The darkest shade of gray (black) in the image
will be assigned the black color laser power level. The lightest shade of gray (white) will
automatically be assigned a 0% laser power. All other shades of gray that fall between black and
white will automatically be mapped to a laser power level in between 0% and the laser power
level assigned to the black color based on the mapping table you set up in the window brought
up when you press the 3D setup button. When you select the 3D setup button, the ULS 3D
Power Calibration window will appear. There are 16 slider bars representing the 16 shades of
gray of the calibration scale. The 00 and the 15 are not adjustable as they represent white and
black. The other 14 can be adjusted. Higher values result in deeper engraving than lower values.
A linear mapping works for most applications (adjust the sliders in a diagonal line going up from
left to right), but in some cases, the setting can be varied as a sort of gamma correction for
depth of engraving.
The APPLY button saves any changes you have made to the mapping table. You must press the
apply button before pressing the CLOSE button to exit this window or you will lose your
changes.
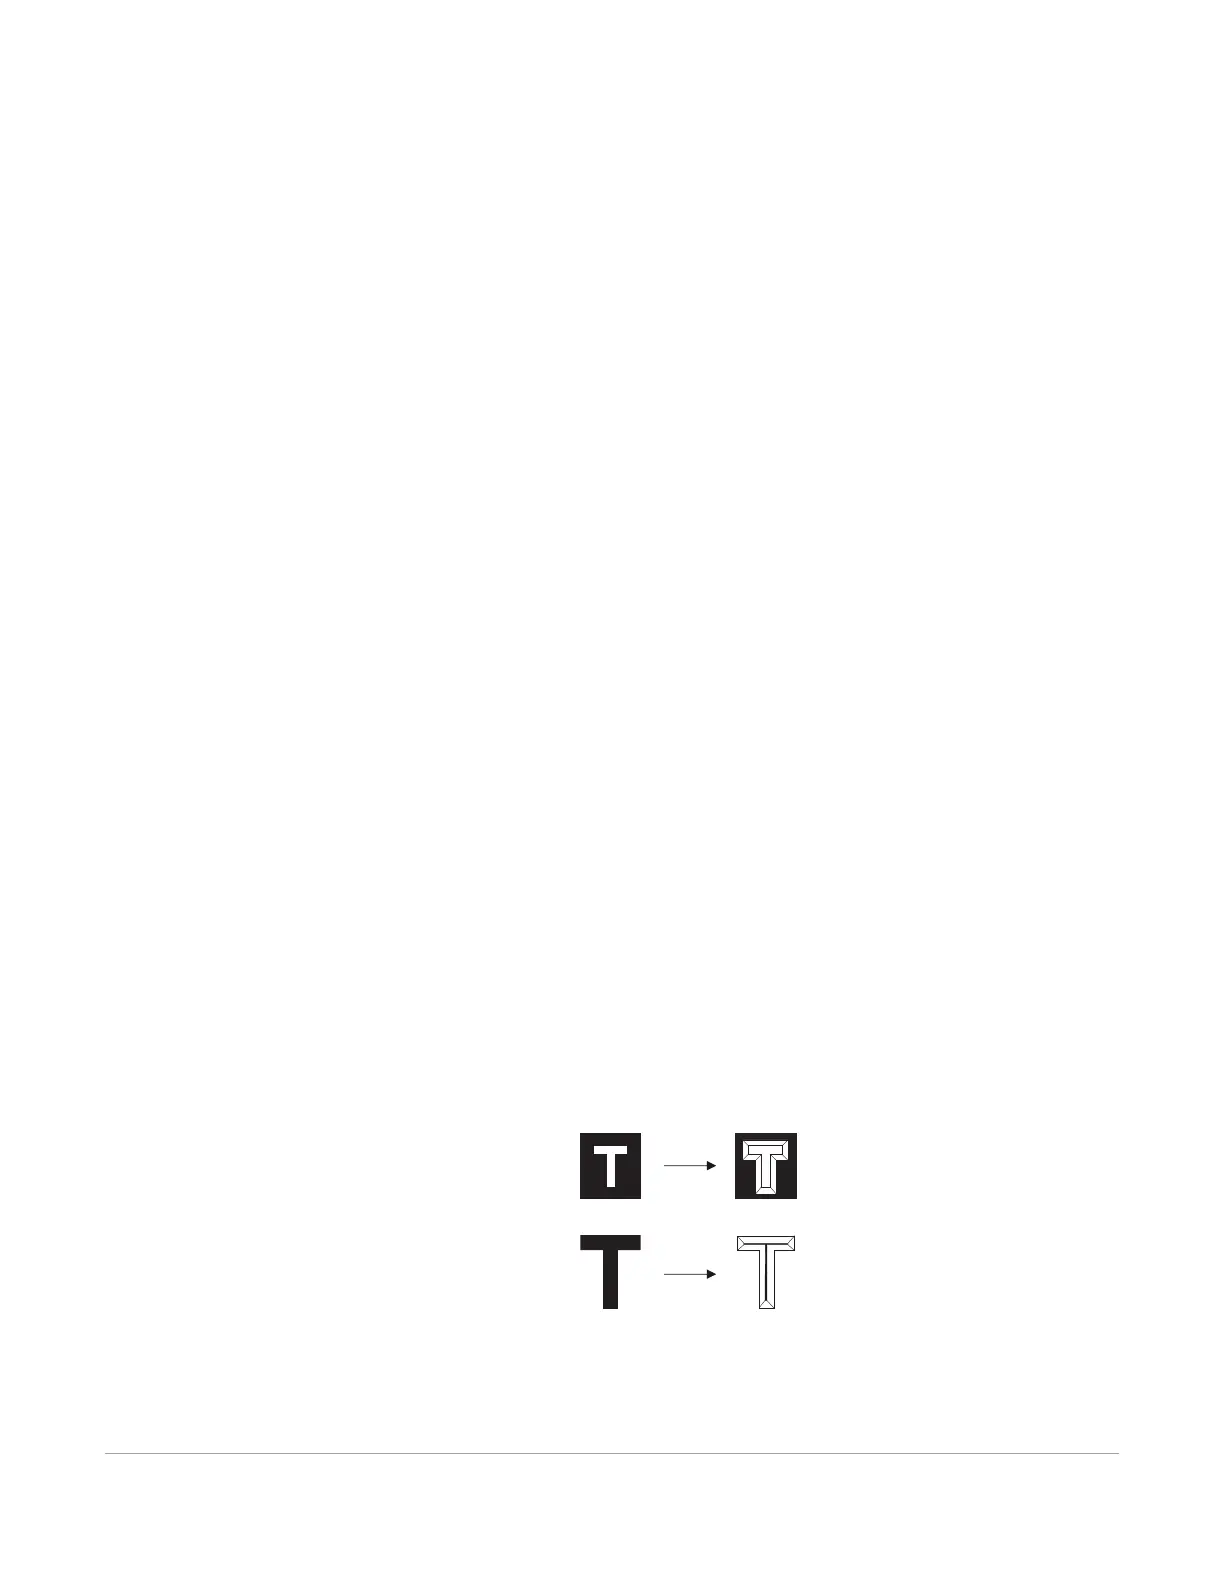
Rubber Stamp Mode
This mode is specifically for rubber stamp creation and is used for creating shoulders on characters
and graphics when processing rubber stamps. The shoulder is created by gradually ramping the laser
power up or down near the edges of each element in the graphic being printed creating a tapered
edge around each graphic element that produces a pyramid-like effect in the material being
processed. Most rubber stamp applications will require the graphic to be a negative image with
black representing the material to be removed by the laser. The shape of the taper or shoulder can
be varied as desired using the controls in the rubberstamp profile setup window by pressing the
Rubber stamp setup button. In this mode, all non-black raster data is converted to grayscale and a
halftone dither pattern is applied to it. By default, all other colors are forced to raster mode and are
not used since colored raster data is halftoned to black. The red pen is left in rast/vect mode and it is
recommended that all vector cut lines in the graphic being printed be colored red so that they will
be interpreted as vectors. Any black vector lines will the converted to raster objects.
Original
Graphic
Negative
Image
Positive
Image
Engraved
Result
Shoulder applied to
negative and positive images