88
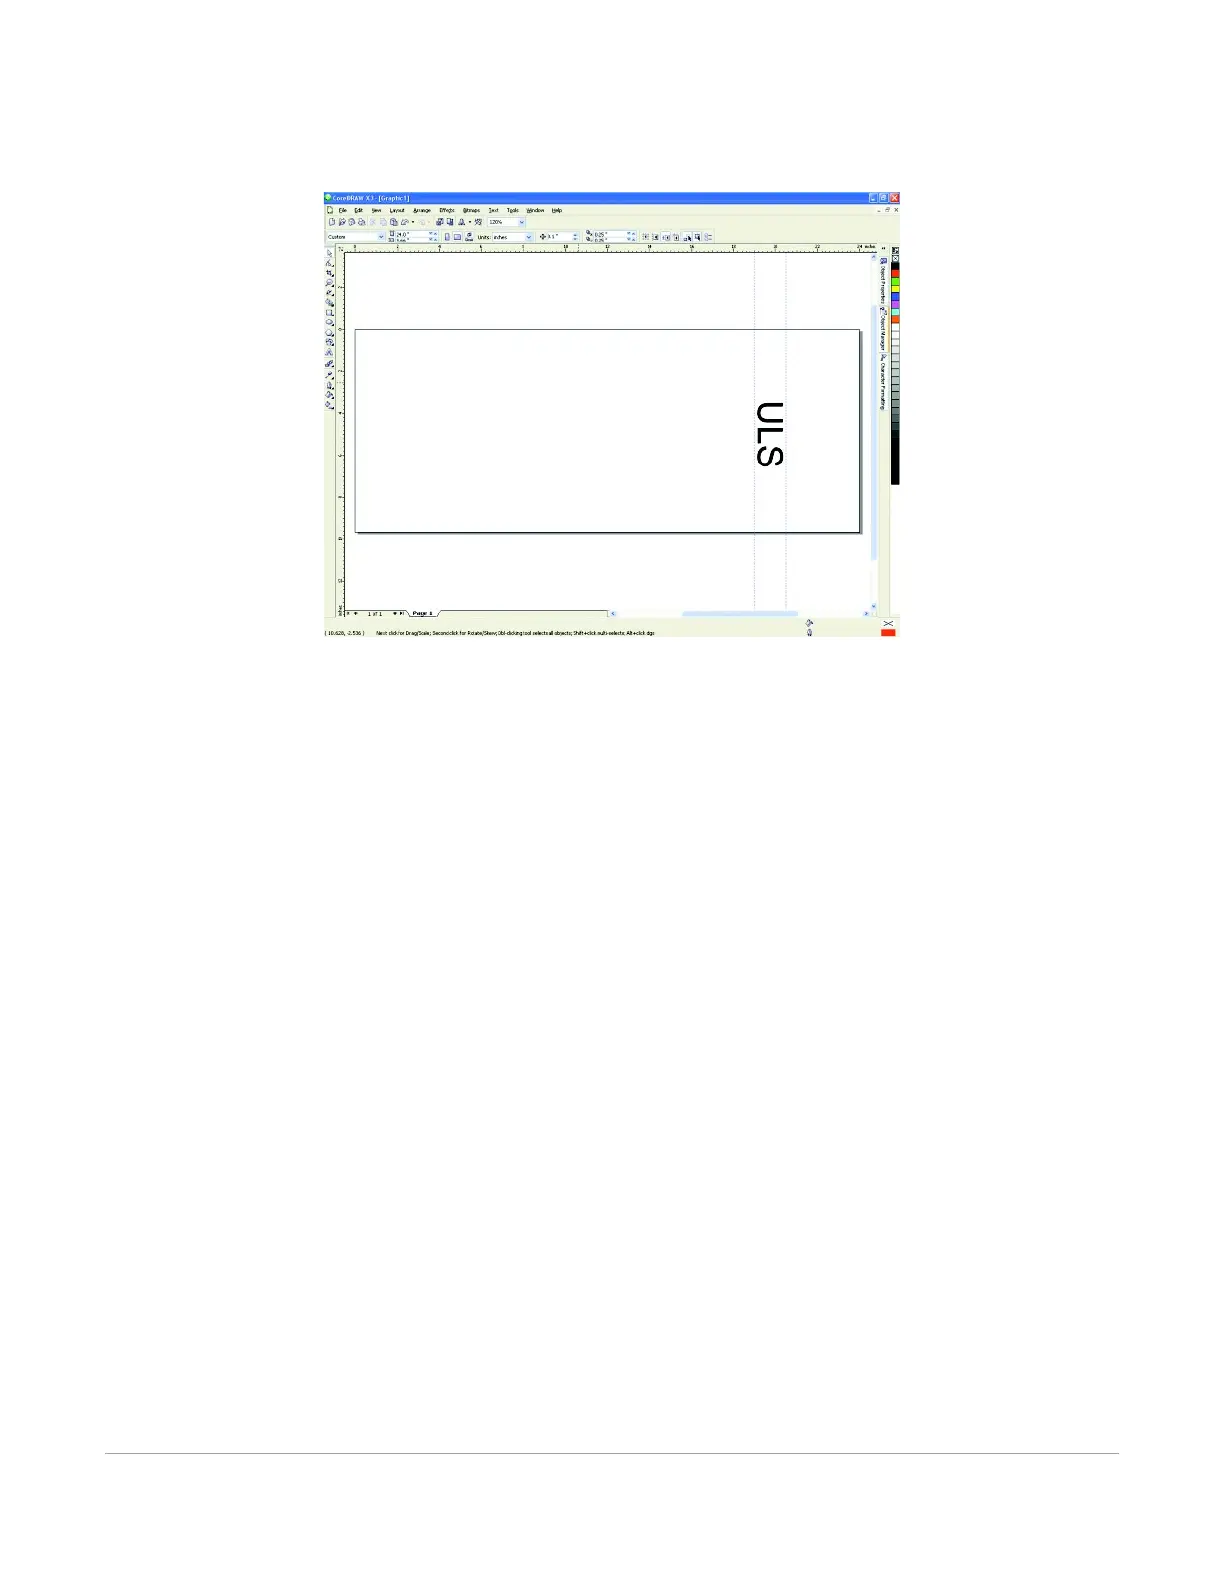
2. Position your graphic on page so that it is located horizontally within the upper and lower engraving
limits that you determined earlier and center the graphic vertically as shown below.
3. Once you are ready to print, select print in your graphics software and open the printer driver
preferences dialog. In the materials driver tab select the material you are going to laser process,
select “Rotary” in the fixture section and enter the diameter of the material measured earlier.
4. Finally, printing the job.
Note: Remember, before running a rotary job, to rotate the material by hand until the position you want
to be the center of your graphic is facing directly up. Keep in mind that the rotary fixture does not have a
home location in the rotational axis so the topmost part of the material (the part facing straight up) is
always the center of the graphic when printing using the materials driver tab or the center of the page
when printing using the manual driver tab.