---40---
D. Instruments and controls
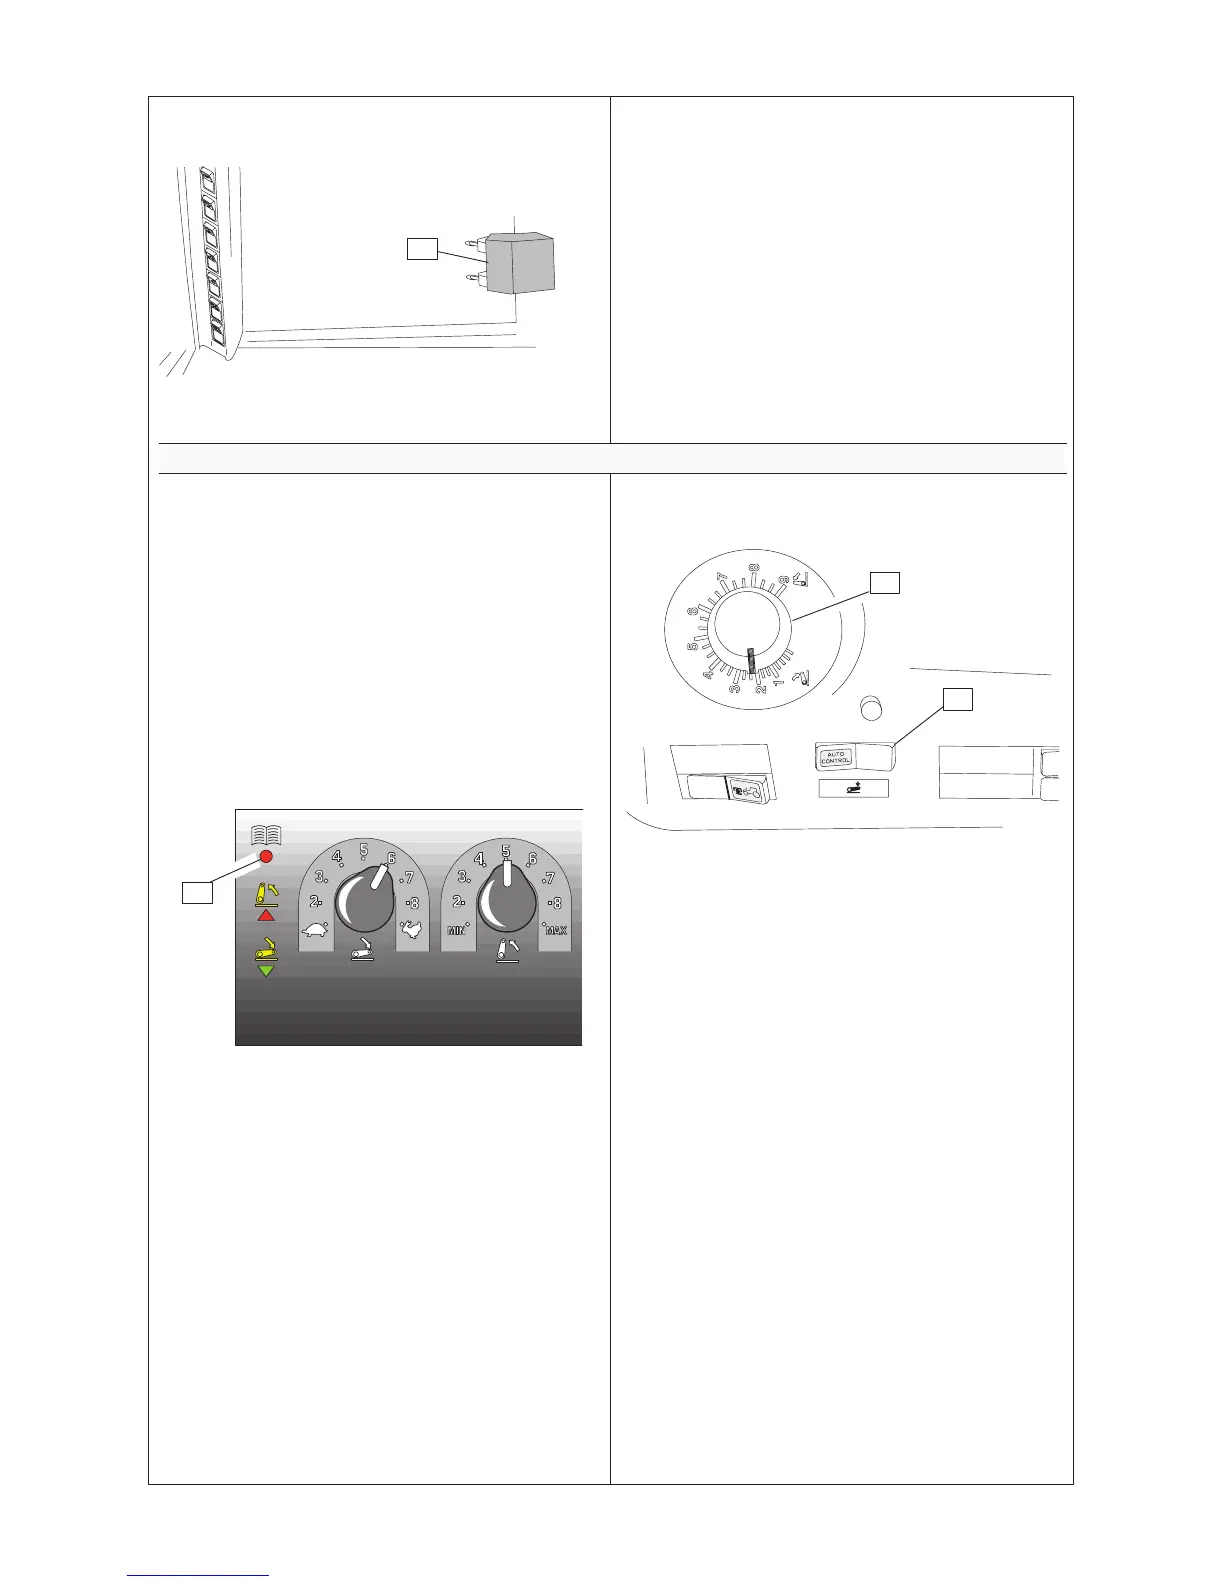
D 2.3.7. Openable side window (6.3) (on both sides)
6.3
69---28,6
Pull the handle rear side and push the window to the open
position.
D 2.4. Electro---hydraulic three---point linkage, control panel
D 2.4.1. Rear linkage (electrohydraulically
controlled lift) (1)
The following controls (1---12) are only fitted on tractors
with an electro---hydraulic three---point linkage. In this
case the following controls have been removed from the
cab:
--- position control lever
--- lowering speed control
The operating instructions for electro---hydraulic linkage
are (in section F) on page 57.
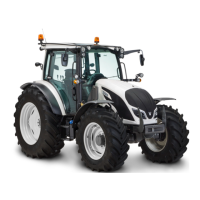
D 2.4.1.1. Diagnose light (1.1)
1.1
69---30,2
When the tractor ignition switch is on, the light illuminates
for a moment, goes out again and illuminates on again.
When the diagnostic light is on, it shows that the linkage
has not been activated.
The linkage is activated by turning the lift/stop/lower
switch (1.3) to lift or lower position, then the light goes out
and the linkage switches can be used. Linkage activation
must only be carried out when the main power has been
switched off, and when the inner switch for connecting
implements or the push button control has been used.
The flashing of the diagnostic light informs of a system
failure. In these instances contact with your nearest dealer.
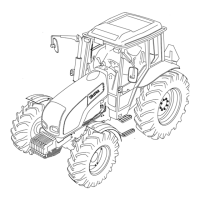
D 2.4.1.2. Position control knob (1.2)
1.2
1.3
69---30,3
The linkage is lifted when this knob is turned clockwise
and lowered when it is turned counter---clockwise. The
knob allows continuous control of the position of the lower
links. It sets the position of the lower links when the
lift/stop/lower switch (1.3) is in the lower position.
D 2.4.1.3. Lift/stop/lower switch (1.3)
The lift/stop/lower switch has 3 positions:
--- Left side pressed down lowers the linkage =
Autocontrol position.
--- Centre position stops the arms.
--- Right side pressed down the linkage lifts = transport
position
By switching to the lift position, the operator can use this
switch to lift the implement into the transport position; by
switching it to the lower position the implement is then
lowered to the right depth (as selected using the position
control knob 1.2).
Linkage movement can be stopped by placing the
lift/lower switch in the centre position.