Vertiv | SmartCabinet | User Manual 27
System Installation
2. Rotate the hexagon head bolt on the bottom of the feet clockwise or counter-clockwise till the feet rise or
drop to an optimal position. Use a gradienter to ascertain that the cabinet is horizontal.
3. Tighten the xing nuts (as shown in Figure 2-17) on the feet bolts counter-clockwise following which the
cabinet adjustment is completed.
2.3.2. Installation of the AC components for the 600mm Standard unit
The AC components comprise an AC Indoor unit and an outdoor unit. The AC Indoor unit is pre-installed in the
cabinet prior to delivery. The AC outdoor unit is placed inside the cabinet and delivered with the cabinet. The
outdoor unit needs to be placed and installed appropriately wherein the copper pipes are connected between
the indoor unit and the outdoor unit along with the other cables.
Removing and placing the Outdoor unit
Following are the steps that need to be observed while removing and placing the outdoor unit:
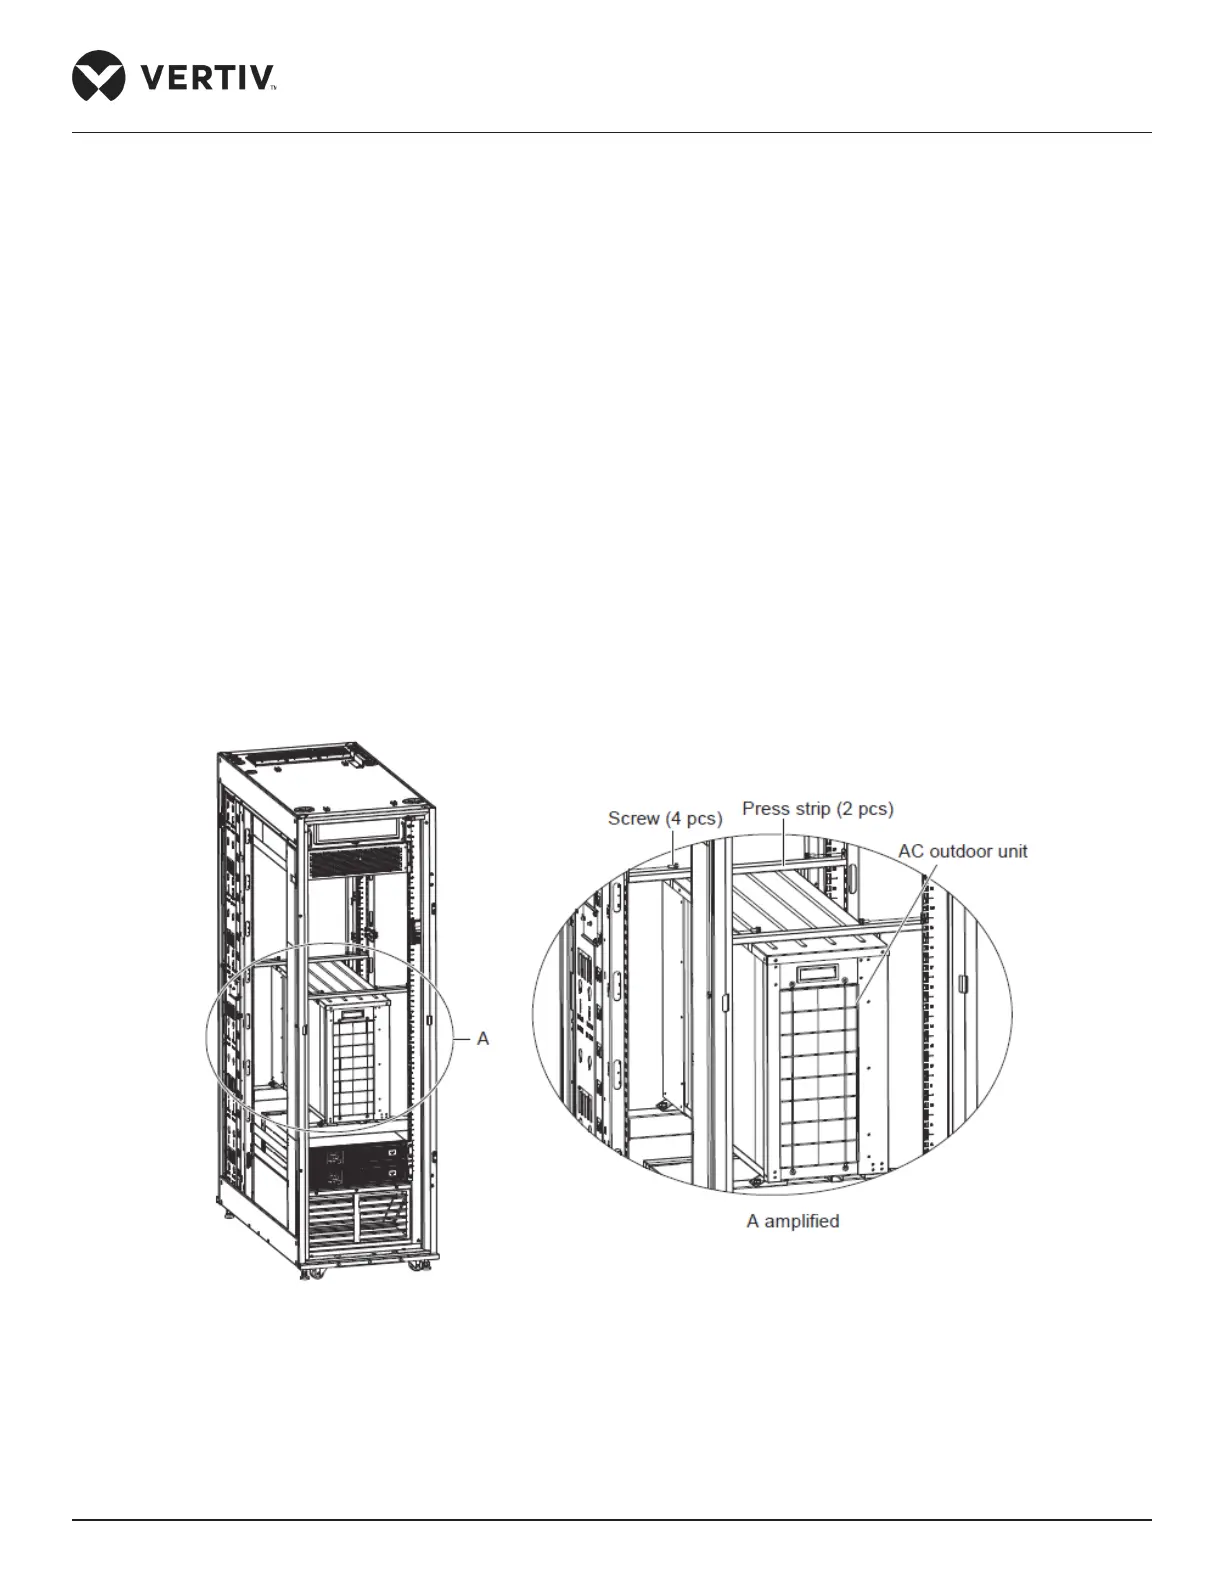
1. Remove the four screws on the press strips of the outdoor unit followed by removing the press strips as
shown in Figure 2-18.
Figure 2-18 Removing the press strips of outdoor unit