Vertiv | SmartCabinet | User Manual 38
System Installation
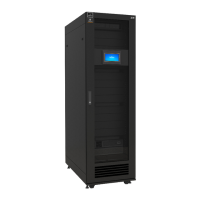
Figure 2-27 Condensate water pipe location
2.3.6. Installation of the Air Duct Parts (Optional)
For the SmartCabinet with the integrated condenser, the heat inside the cabinet needs to be dissipated to
the outside of the cabinet. If the dissipation of heat is not possible, a viable option is to install an air duct so
that the hot air is sent outdoors similar to an exhaust air system.
Air duct parts for connecting the air duct to the cabinet are available as an option. The set of procedures for
installing the air duct parts in the integrated condenser unit are explained in the following list:
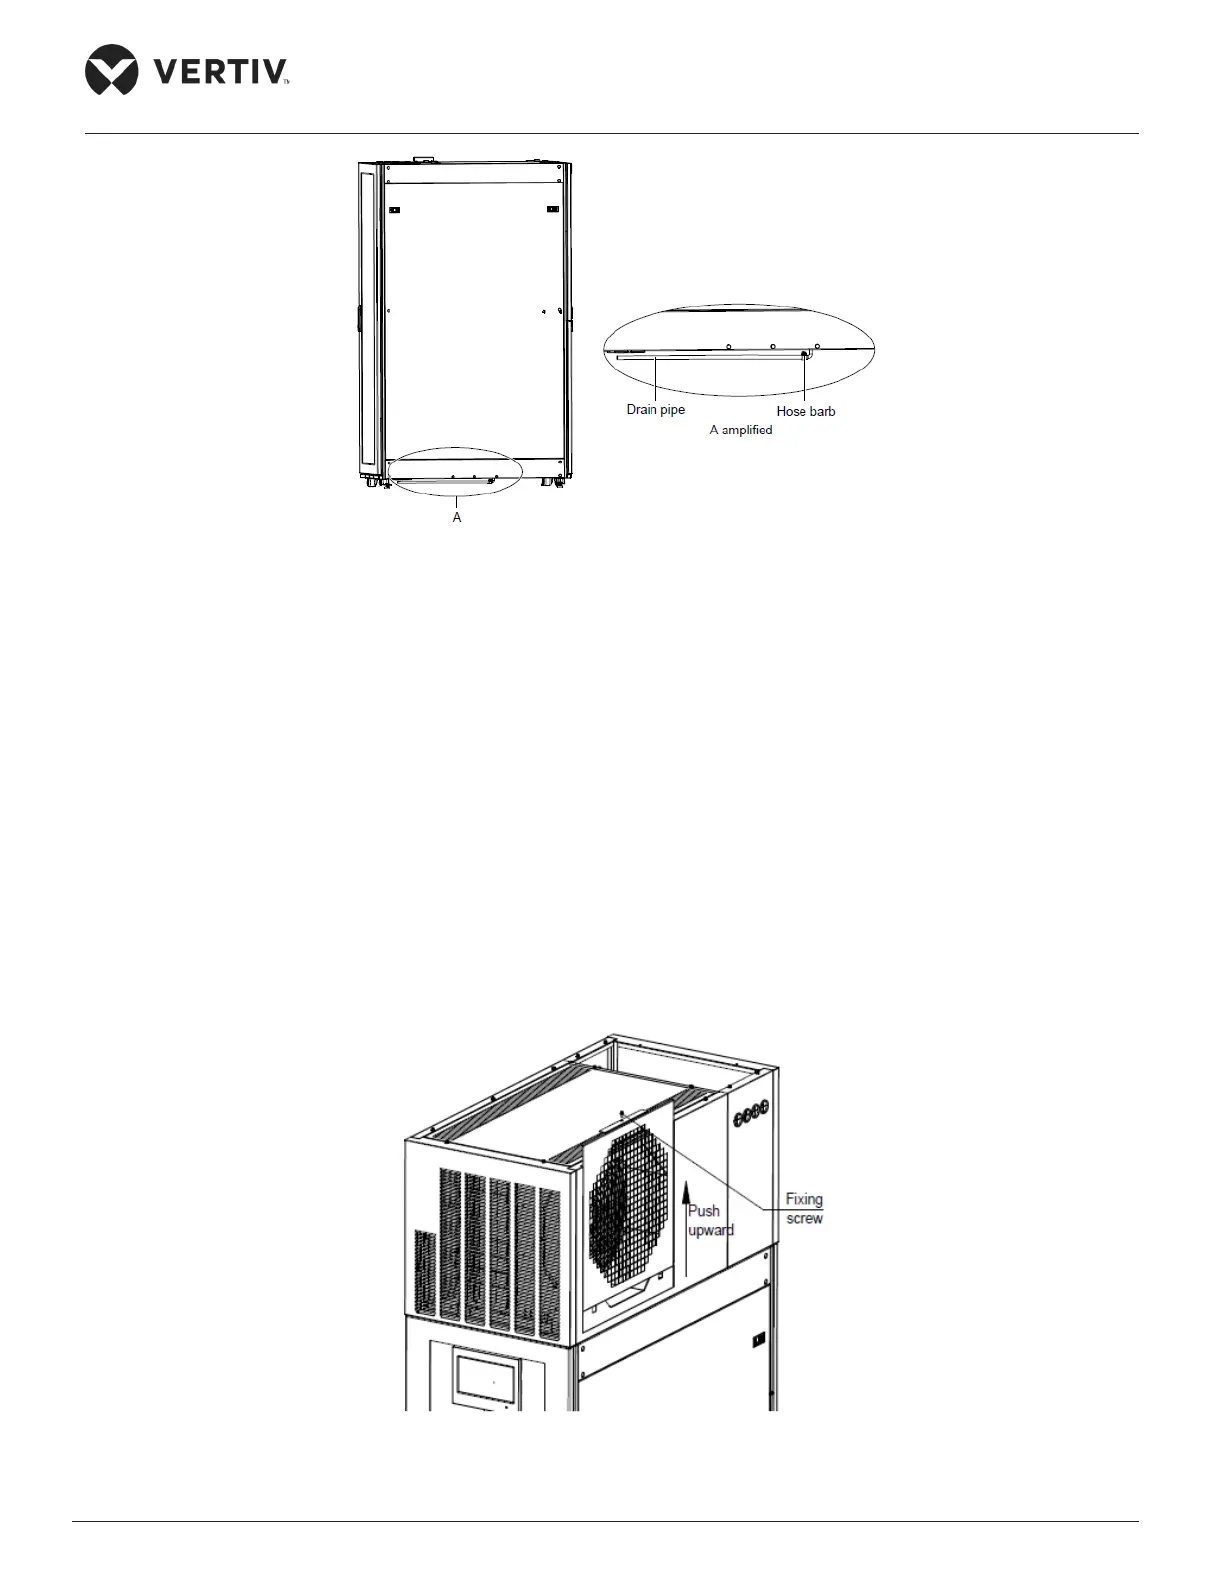
1. Remove the M4X10 screw (1 Pc). Push the original perforated board on the air outlet of the top body
frame in the upward direction.
2. Remove the perforated board as shown in Figure 2-28:
Figure 2-28 Removal of the perforated board on the air outlet