10.
Activate the
CAD/CAM integration activated
option.
11.
Activate the
Integrated CAM computer
option.
12.
If you want to change the language of the
DentalCNC user interface and the touchscreen of
the machine from English to another language,
do the following:
a.
Select the desired language from the
Lan-
guage
drop-down list.
b.
Quit and restart DentalCNC.
TRIOS Design Studio
This CAD application uses the standard DentalCAM
folder for sending objects to the machine.
Integration overview:
1.
Map a new network drive on the CAD computer
to the DentalCAM installation folder on the
internal CAM computer.
The required user account and network sharing
settings have already been configured on the
CAM computer.
2.
Store the network drive letter in TRIOS Design
Studio.
The integration in detail:
1.
Access the CAD computer.
2.
Access the DentalCAM DentalCNC installation
folder (
Ž
Accessing the DentalCAM DentalCNC
installation folder
– on page23
).
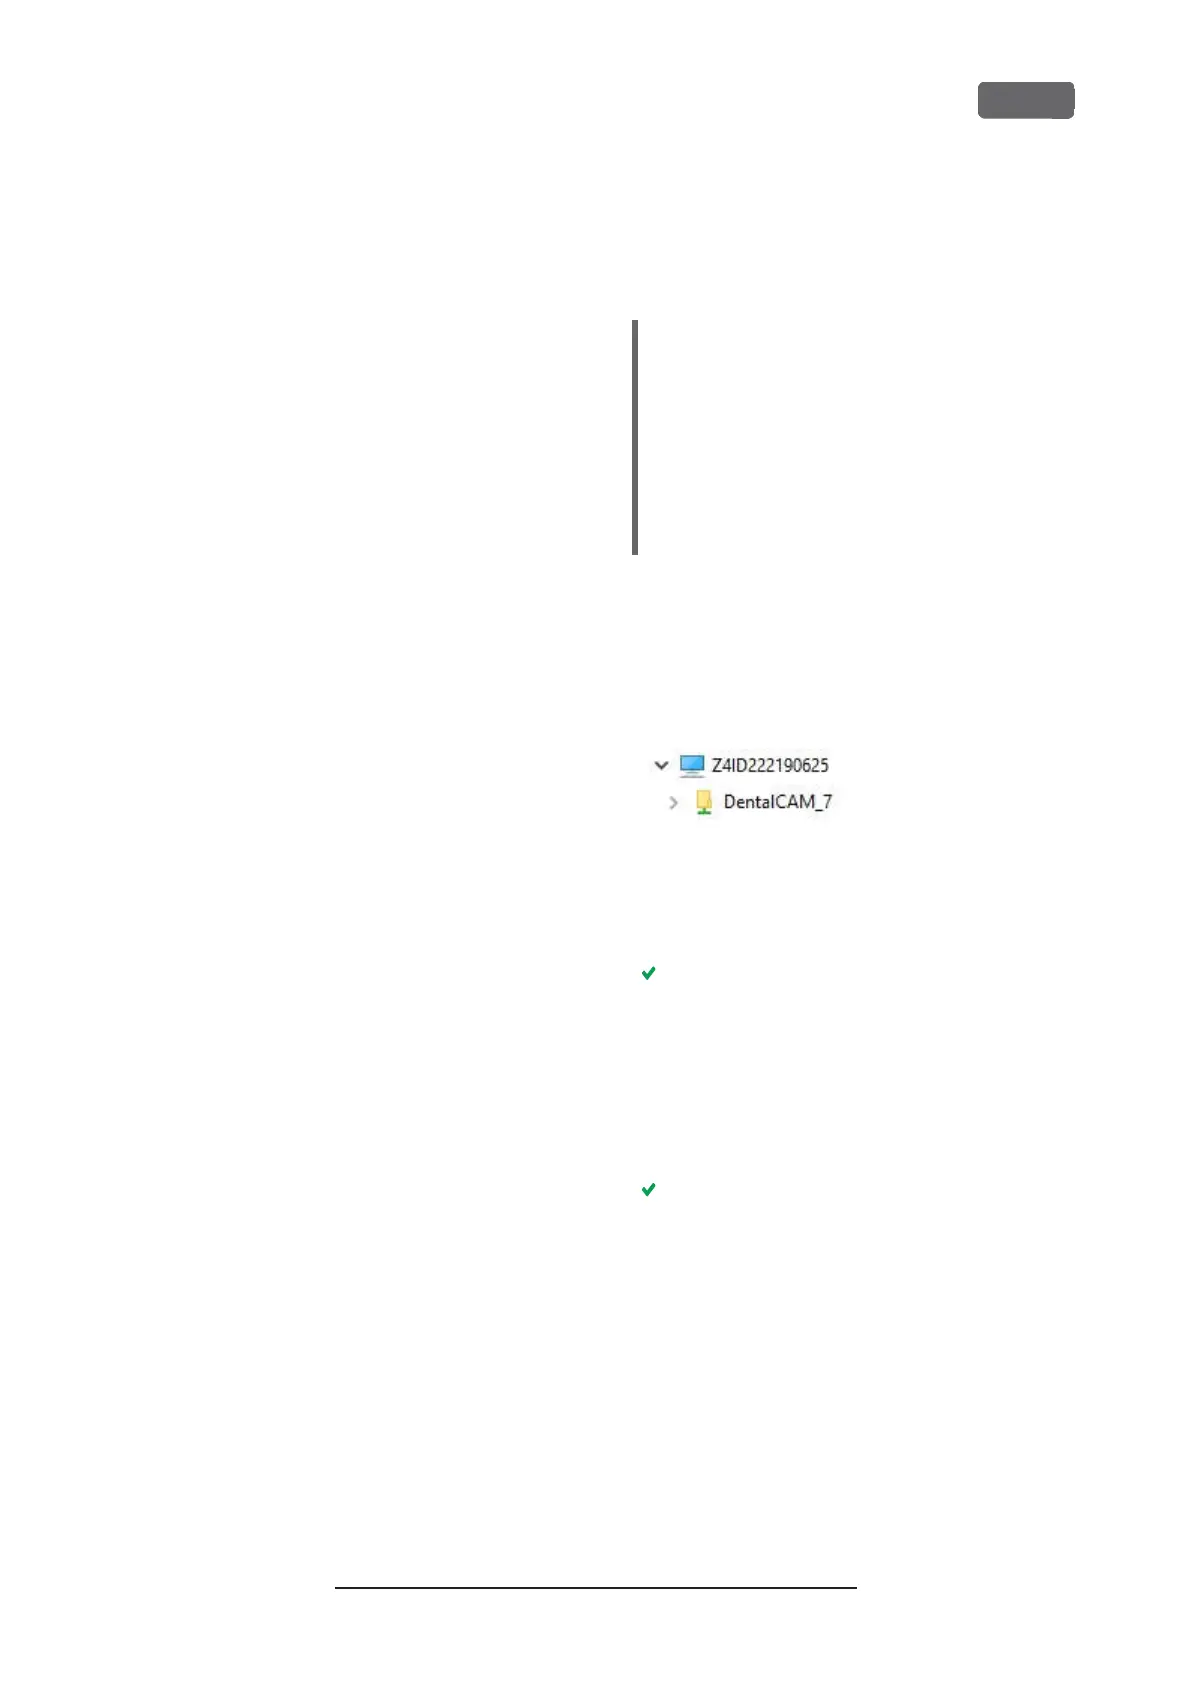
F
IG
. 17 – T
HE INSTALLATION FOLDER DISPLAYING IN
W
INDOWS
®
E
XPLORER
3.
Right-click onto the installation folder. From the
context menu, select
Map network drive…
The
Map network drive
window opens.
4.
(Optional)From the
Drive
drop-down list, select
the desired drive letter for the new network
drive.
5.
Record the drive letter for the network drive.
6.
Activate the
Reconnect at sign-in
option.
7.
Select
[Finish]
.
You have mapped the folder to a network drive.
8.
Open TRIOS Design Studio.
9.
In the menu bar, select
More
. In the drop-down
menu, select the
Settings
icon (
Ž
Fig. 18 –
on the
next page
).
Z4 – Installing the machine
EN 25
Original Operating Instructions:Z4
Version: 12/5/2018