34 D-303222 PowerMaster-10 / PowerMaster-30 Installer's Guide
3.3.1 Identical Installer and Master Installer Codes
In a 2-installer code system, the non-master installer may inadvertently change his Installer Code to that of the
Master Installer Code. In this case, the panel will allow the change in order to prevent the non-master installer
from realizing the discovery of the Master Installer's Code. The next time the Master Installer enters the Installer
Mode the Master Installer will be considered as an Installer and not as a Master Installer. In such a case the
Master Installer should use one of the following solutions:
(a) Access the panel using the Remote Programmer PC software application and change the Master Installer
Code to a different code than the one programmed by the Installer.
(b) i) Change the Installer Code to a temporary code, ii) exit the Installer Mode, iii) enter the Installer Mode
again using the Master Installer code (the Master Installer Code will now be accepted), iv) change the
Master Installer code to a different code, v) and change the NON-Master Installer Code back again (in other
words, undo the change to the temporary code) so that the NON-Master Installer can still enter the system.
It is also possible that a user inadvertently changes his User Code to the same code as that of the Installer
Code or Master Installer Code. In this case, the installer will not be able to enter the Installer Mode. The installer
should perform the same procedures as described above to solve this situation.
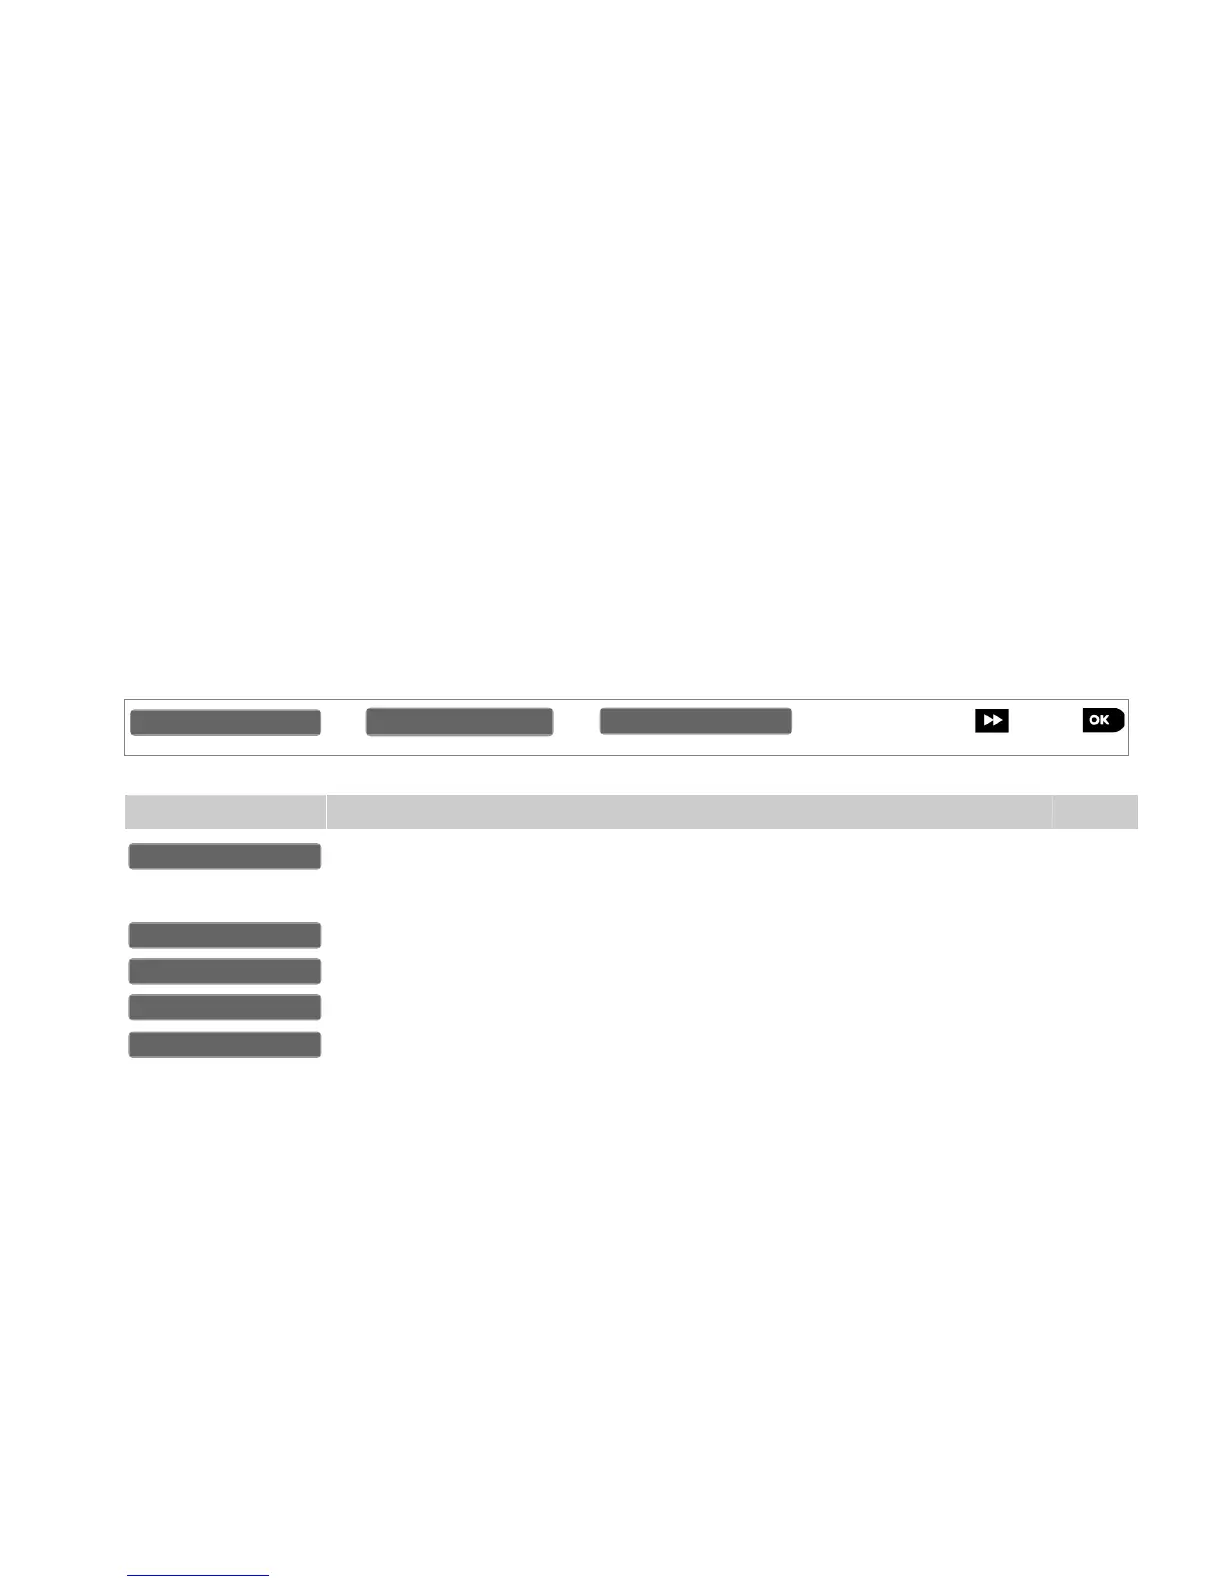
3.4 Zones / Devices
3.4.1 General Guidance & Zones/Devices Menu Options
The ZONES / DEVICES menu enable you to add new devices to the system, to configure them and to delete
them if required.
To select an option follow the instructions below. Additional details and guidance are provided in section 3.2.
Use to enroll and configure the device's operation according to your
preference and in case of sensors to also define their zone name (location),
zone type and chime operation.
3.4.2
Use to delete devices from the system and to reset their configuration. 3.4.3
Use to review and/or change the device's configuration. 3.4.4
Use to replace faulty devices with automatic configuration of the new device. 3.4.5
Use to customize the defaults of the device's parameters according to your
personal preferences for each new device enrolled in the system.
3.4.6
3.4.2 Adding (Enrolling) New Wireless Devices or Wired Sensors
One of the outstanding features of the PowerG network is that all devices can be configured from the PowerMaster-10
/ PowerMaster-30 panel (or even from a remote location). It is no longer necessary to travel to the installation site, or to
climb ladders and open devices just for changing the PIR sensitivity or any other function or parameter. The PowerG
devices can be also enrolled remotely using the Device ID number attached to each device.
Similar to WiFi technology, PowerG arrives in several protocol variants (example: different frequencies). The
exact variant of PowerG protocol employed by the device is listed on the back of every PowerG device. The
PowerG variant name appears in the format: FFF-M:DDD, where FFF is the frequency band and M:DDD is
the "flavor" within that frequency band. PowerG devices will not work with panels of a different variant
(different frequency band or different flavor), and the panel's display will indicate an incompatible device (see
the
Adding New Devices
table below for the possible fault displays) if you try to enroll a device where the
device's PowerG variant differs from that which the panel understands. However, PowerG panels can
understand and work with multiple flavors of PowerG protocol simultaneously as long as these flavors are
within the same frequency band. For example, Panels with flavor FFF-M:ANY can work with devices of any
DDD value, on condition that the device's FFF and M values match that of the panel.
02:ZONES/DEVICES