70 D-303222 PowerMaster-10 / PowerMaster-30 Installer's Guide
3.8 Custom Names
3.8.1 Custom Zone Names
During the device enrollment process you are defining also the Location name where the device is installed. The
location name is selected from a Location List of 26 predefined names and 5 Custom names (Custom 1 to
Custom 5) - see Section 3.4.2 Steps 6-7 and corresponding Location List in section 3.4.2.
Here you can define the 5 custom location names according to your specific needs and to use them during the
device enrollment instead of the “Custom 1” to “Custom 5” names in the location list.
To define the Custom Location names follow the instructions below. Additional details and guidance are
provided in section 3.2.
To program the custom location you wish, enter the menu (see guidance above), then
refer to the table below which provides you with detailed explanations and programming instructions.
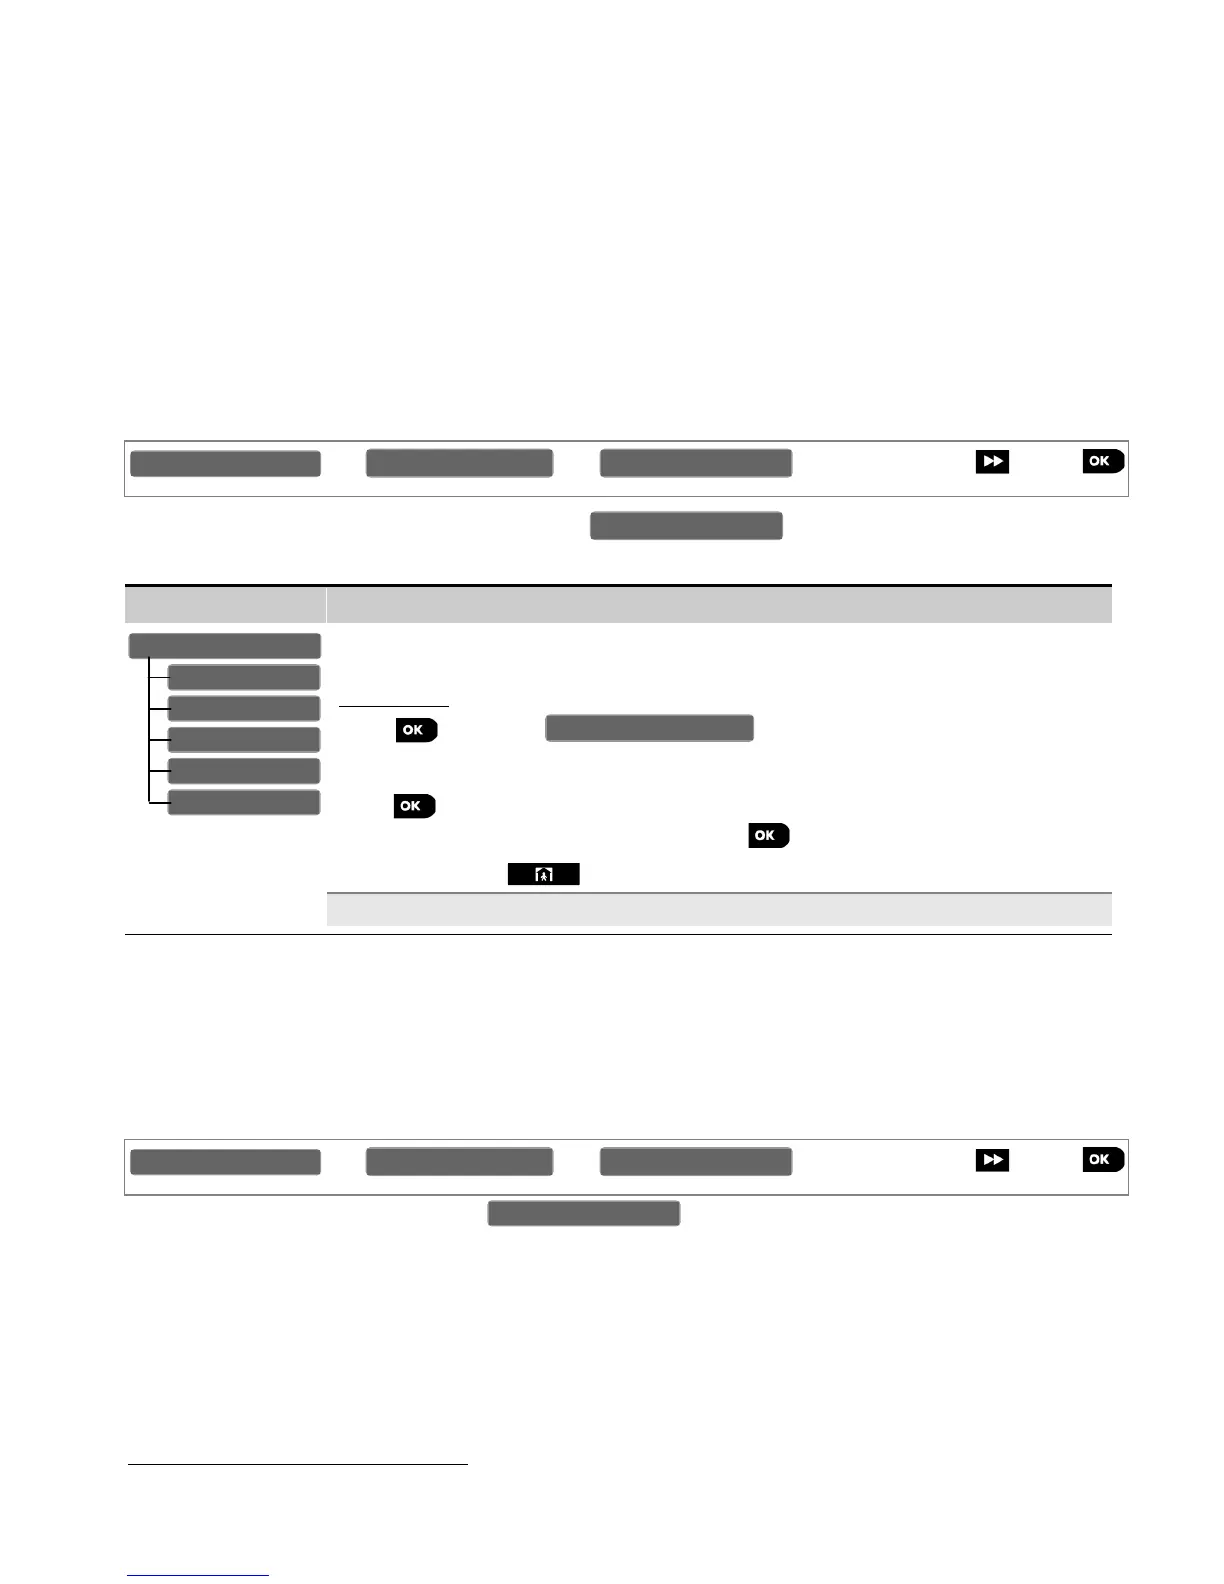
Option Configuration Instructions
Here you can enter the five Custom Location names you wish to use instead of the
"Custom 1" to "Custom 5" names in the Location List in Section 3.4.2.
To program:
Press to enter the sub menu and then select the
Location # you wish to program, for example "EDIT USER TERM 1". The display
shows the current Custom name, for example "Custom 1". To change the name
press for the programming cursor to appear under the first character. Enter the
Location name you wish and at the end press to confirm.
When done, press to return.
Note: To enter the Location name use the "Text Editor" at the end of section 3.6.3.
3.8.2 Record Speech
∗
∗∗
∗
This mode allows you to record short-duration speech messages for the house identity, user names and custom
zone names.
For the recording procedure follow the instructions below. Additional details and guidance are provided in
section 3.2.
To select the option you wish, enter the menu, select the option you wish to perform (see
guidance above), then refer to the table below which provides you with detailed explanations for each option.
∗
Refers to PowerMaster-30 only
CUST. ZONES NAME
EDIT USER TERM 5
EDIT USER TERM 1
EDIT USER TERM 2