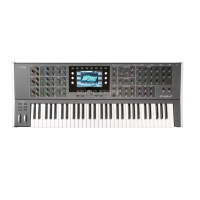
Setup and Connection – Inventory
Waldorf microQ User´s Manual 20
Setup and Connection
Inventory
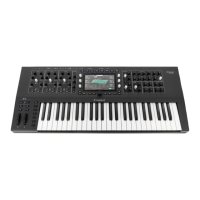
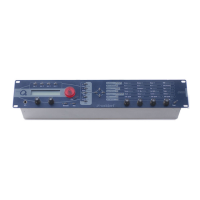
The Waldorf microQ comes complete with:
• the microQ synthesizer (Omega, lite or Keyboard)
• external power supply or power cable (microQ keyboard)
• this manual including a inlaying warranty card on page 5
Please ensure all the items above were included. If something is missing, contact your local dealer.
We recommend that you save the original packing material for future transport.
Make sure you fill out the warranty card and send it to the appropriate distributor or the
address printed on the card. This is the only way we can keep you informed of updates and
upgrades. Other available services are listed on the warranty card.
Setup
Place the microQ on a clean, even surface. We recommended the installation in a stable 19" rack for
the microQ rack version. If you choose to take the device on the road, we suggest transporting it in a
special keyboard case, which should be available from your dealer.
Connections
In order to get started with your microQ you will need an AC power outlet, a mixing console, an amp
and an audio monitor such as a speaker cabinet. The microQ rack version also needs to connect with
a MIDI master keyboard.
You can also use a computer or sequencer to make use of the microQ’s MIDI features.
 Loading...