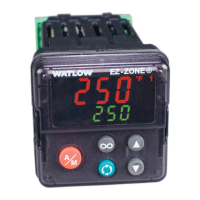
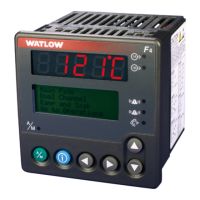
Watlow EZ-ZONE
®
PMI Controller • 201 • Chapter 9 Features
2. Up arrow ¿ to Timer Menu tЛЏr.
3. Advance ‰ to Timer Enable ti.En to make selection using the up ¿ and down ¯ arrow
keys to select from the options below:
yEs Yes
no No
4. Advance ‰ to Timer Start Method ti.st to select the method that will start the timer.
5. Use the up arrow ¿ to select from the options below:
iЛЏd Immediate
rdy Ready Band
rdya Ready Ack
pФІr Power
6. Advance ‰ to Source Function A sfn.a to select which input will start/terminate the
timer. Use the up arrow ¿ to select from the options below:
nonE None
dio Digital I/O
fUn Function Key
7. Advance ‰ to Source Instance A and use the up arrow ¿ to make a selection below:
If Source Function A of previous step is set to None nonE:
1 Does not matter which number is here
si.a Source Instance A
If Source Function A of previous step is set to Digital I/O dio:
5 Select 5 to 12
si.a Source Instance A
If Source Function A of previous step is set to Function Key fUn:
1 EZ1 Key
2 EZ2 Key
6 Hold innity key for 2 seconds
7 Innity ˆ and Down arrow ¯
8 Innity ˆ and Up arrow ¿
si.a Source Instance A
8. Advance ‰ to Source Function C sfn.C to select the analog source for the ready band.
Use the up arrow ¿ to select from the options below:
pu Process Value
nonE None
ai Analog Input
Lnr Linearization
9. Advance ‰ and use the up arrow ¿ to make a selection below:
1 1 or (2, if second instance of Source Function C)
10. Advance ‰ to Source Function D sfn.d to select which input will acknowledge the ready
band. Use the up arrow ¿ to select from the options below:
nonE None
dio Digital I/O
fUn Function Key

 Loading...