3-1
3
Mounting and Connections
3
Mounting and Connections
This chapter explains how to mount the Basic Module and Optional Modules. Also refer to
the connection specifications for the Basic Module.
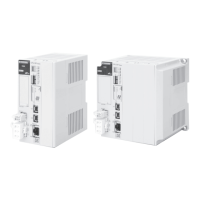
3.1
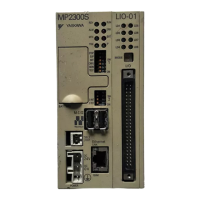
Mounting the MP2300
- - - - - - - - - - - - - - - - - - - - - - - - - - - - - - - - - - - - - - 3-2
3.1.1
Basic Module Dimensional Drawings
- - - - - - - - - - - - - - - - - - - - - - - - - - - - - - - - - - - - 3-2
3.1.2
Mounting the MP2300
- - - - - - - - - - - - - - - - - - - - - - - - - - - - - - - - - - - - - - - - - - - - - - 3-3
3.1.3
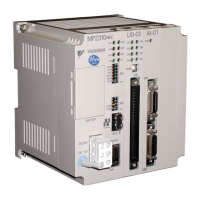
Replacing and Adding Optional Modules
- - - - - - - - - - - - - - - - - - - - - - - - - - - - - - - - - 3-6
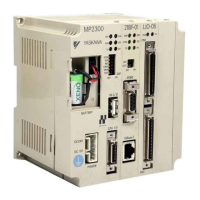
3.2
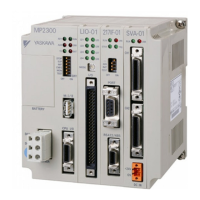
Basic Module Connections Specifications
- - - - - - - - - - - - - - - - - - - - - - - - 3-9
3.2.1
Connectors
- - - - - - - - - - - - - - - - - - - - - - - - - - - - - - - - - - - - - - - - - - - - - - - - - - - - - - 3-9
3.2.2
Power Supply Connector
- - - - - - - - - - - - - - - - - - - - - - - - - - - - - - - - - - - - - - - - - - - 3-10
3.2.3
MECHATROLINK Connectors
- - - - - - - - - - - - - - - - - - - - - - - - - - - - - - - - - - - - - - - 3-12
3.2.4
CPU I/O (Built-in I/O) Connectors
- - - - - - - - - - - - - - - - - - - - - - - - - - - - - - - - - - - - - 3-16