Enter the required information from the motor nameplate. Press to proceed to the Auto-
Tuning start display.
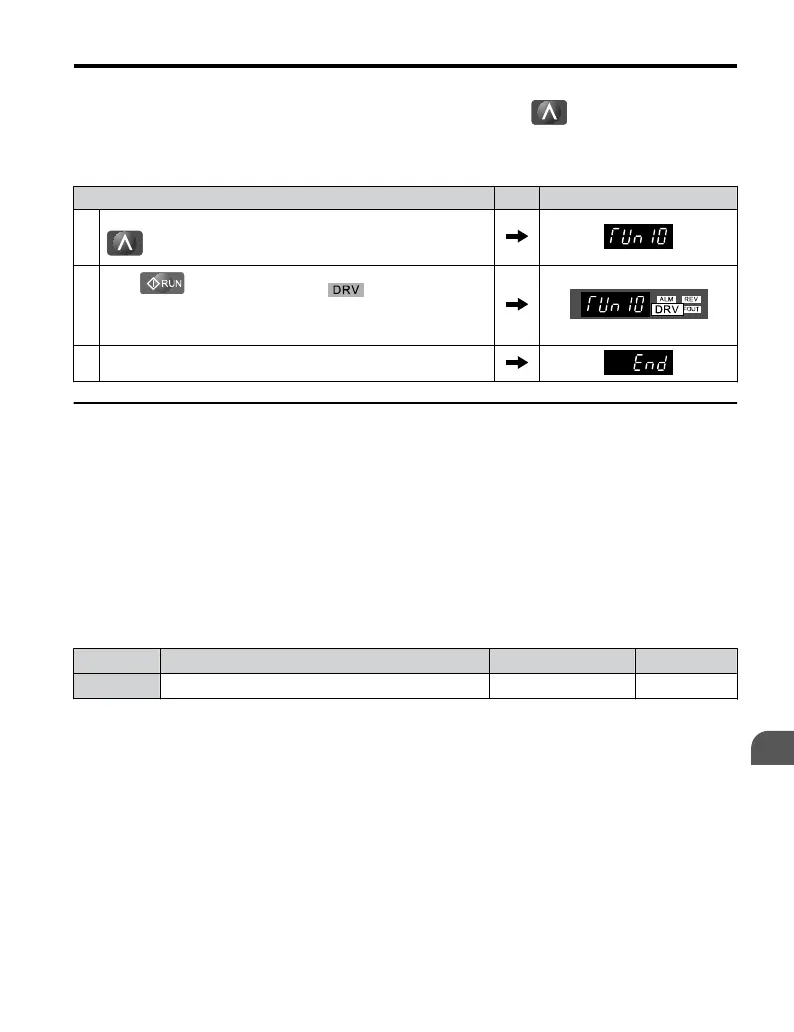
Note: These instructions continue from Step 7 in “Enter Data from the Motor Nameplate”.
Step Display/Result
1.
After setting T1-07 as illustrated in the previous section, press
and confirm the display is as described below:
2.
Press to activate Auto-Tuning. flashes.
Note: The first digit indicates which motor is undergoing Auto-Tuning
(motor 1 or motor 2). The second digit indicates the type of Auto-
Tuning being performed.
3. Auto-Tuning finishes in approximately one to two minutes.
u
Input Data for Auto-Tuning
The T1-oo parameters are used to set the Auto-Tuning input data.
Note: 1. Cycling power to the drive will reset any values set during the Auto-Tuning process to factory
defaults.
2. For motors that are to be operated in the field weakening range, first perform the Auto-Tuning with
the base data, i.e. the frequency at which the motor is operating with its rated voltage (base frequency).
After Auto-Tuning is complete, change the maximum frequency E1-04 to the desired value.
n
T1-00: Motor 1/Motor 2 Selection
Selects the motor to be tuned when motor 1/2 switching is enabled, i.e., a digital input is set
for function H1-oo = 16. This parameter is not displayed if motor 1/2 switching is disabled.
No. Name Setting Range Default
T1-00 Motor 1/2 Selection 1 or 2 1
Setting 1: Motor 1
Auto-Tuning automatically sets parameters E1-oo and E2-oo for motor 1.
Setting 2: Motor 2
Auto-Tuning automatically sets parameters E3-oo and E4-oo for motor 2. Make sure that
motor 2 is connected to the drive for Auto-Tuning.
4.7 Auto-Tuning
YASKAWA ELECTRIC TOEP C710606 47A YASKAWA AC Drive – V1000 Quick Start Guide
119
4
Start-Up Programming
& Operation

 Loading...


