853D SYSTEMS, INC. PN:80-D27 Rev.B
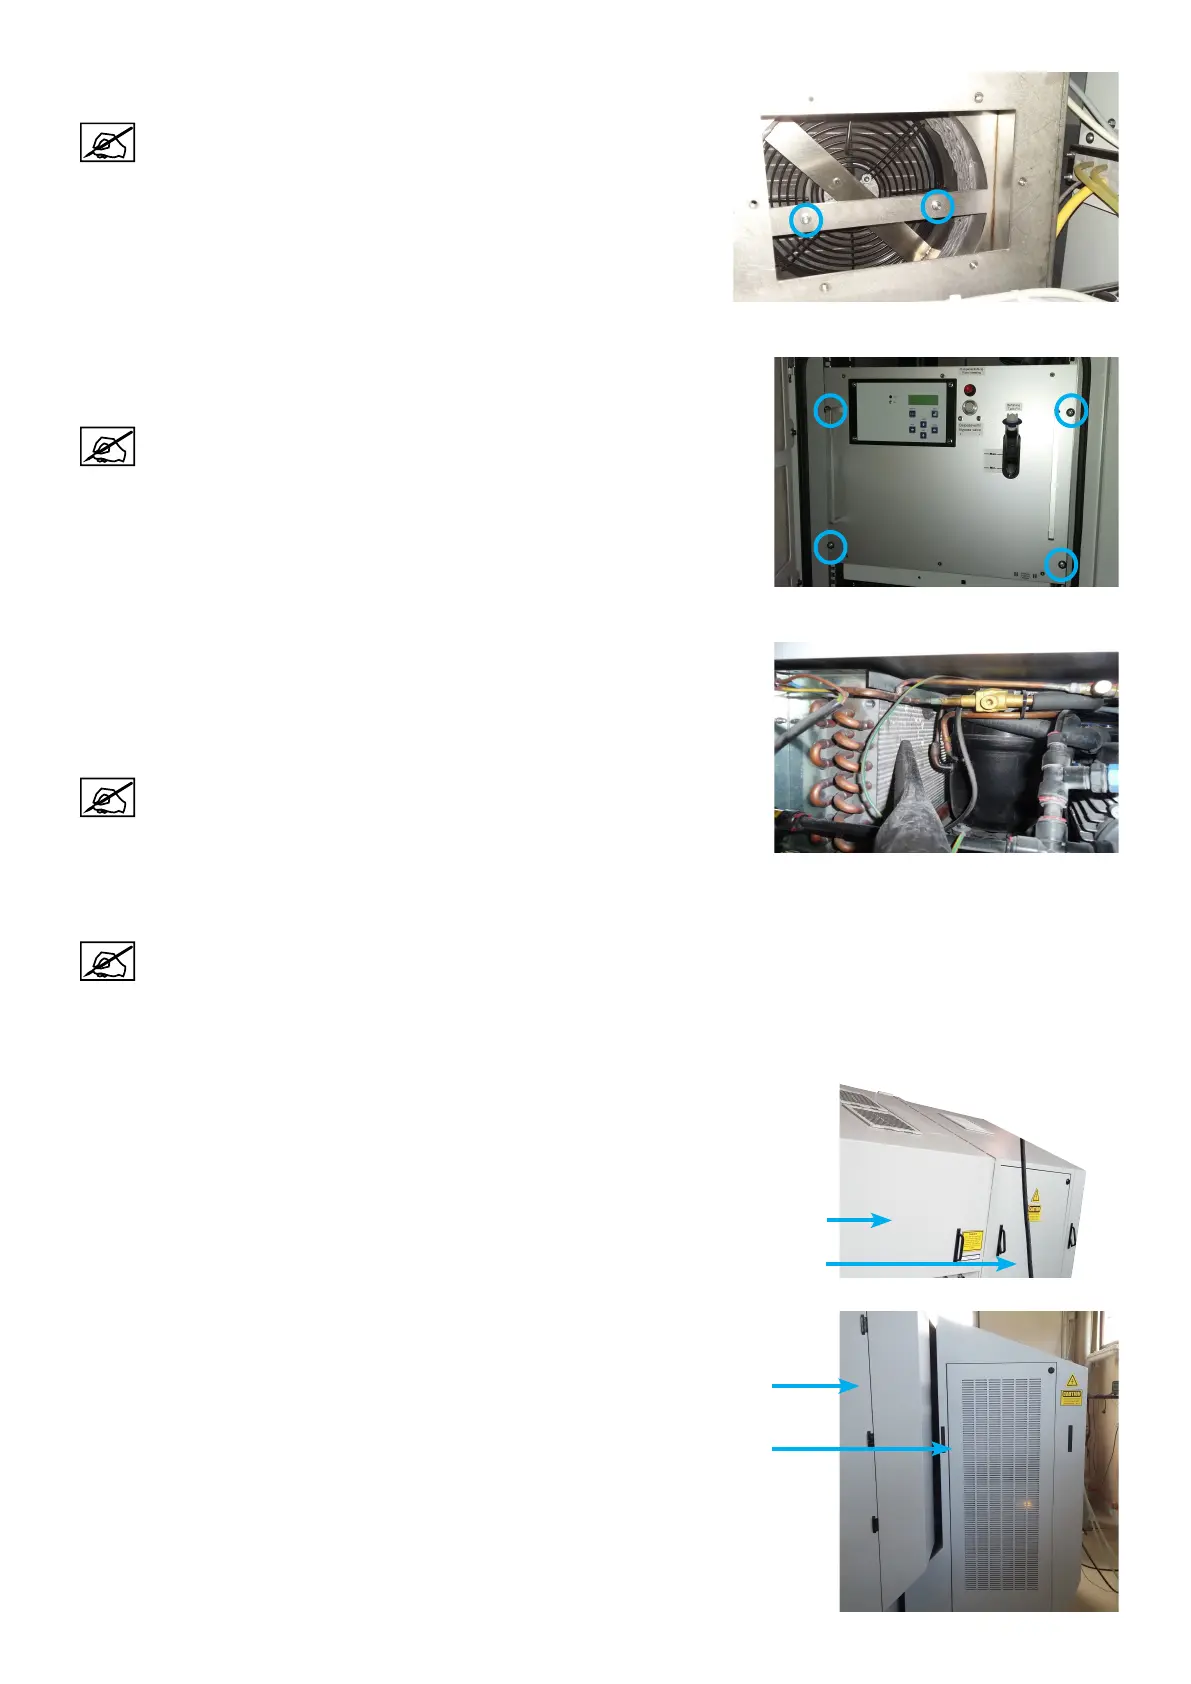
8. Remove the 2 screws to unfasten the air ducting hose from the cabinet.
Do not disconnect the air ducting hose from the chiller.
9. Open the side door of the supply cabinet.
10. Remove the chiller from the supply cabinet by removing the screws located in front of the chiller.
Use a lifting trolley when removing the chiller.
The air ducting hose will come with the chiller. Do not damage it
during maintenance.
11. Remove the side panels of the chiller.
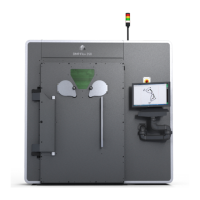
12. Blow the dirt out of the block by using compressed air and vacuum cleaner. It
may be necessary to use a solvent in order to remove any oil residue. Should
the accumulated dirt be excessive, the fan can be removed to assist the
cleaning. Clean the fan blades. Remove all dirt deposits from the fan housing.
Do not damage components inside the chiller (evaporator,
compressor, heat exchanger...).
13. Replace the side panels of the chiller.
14. Put the chiller back to the supply cabinet and secure it by tightening the screws removed on step 10.
Make sure to install the chiller without damaging the air ducting hose.
15. Secure the air ducting hose by tightening the screws removed on the step 8.
16. Put the cover plate, removed on step 7, back.
17. Re-plug the cables into the chiller that were removed on the step 6.
18. Gather the supply cabinet and the control cabinet together.
19. Position them close to the main cabinet.
20. Re-start the printer (see section "Powering up the printer" on page 37).
Main cabinet
Supply cabinet
Supply cabinet
Control cabinet